×
- Hello
- Login or Register
- Quick Links
- Live Chat
- Track Order
- Parts Availability
- RMA
- Help Center
- Contact Us
- Shop for
- Nissan Parts
- Nissan Accessories

My Garage
My Account
Cart
Genuine Nissan 240SX Drive Shaft
Axle Shaft- Select Vehicle by Model
- Select Vehicle by VIN
Select Vehicle by Model
orMake
Model
Year
Select Vehicle by VIN
For the most accurate results, select vehicle by your VIN (Vehicle Identification Number).
20 Drive Shafts found
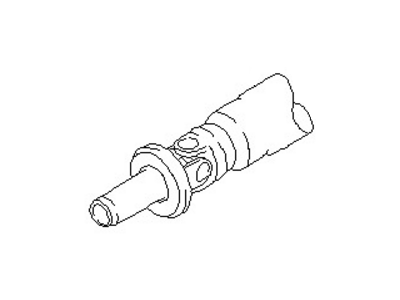
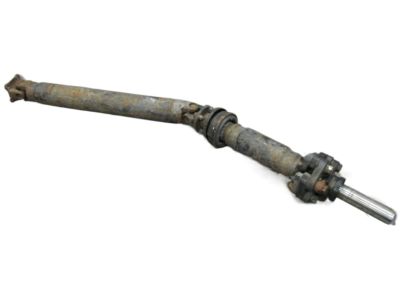
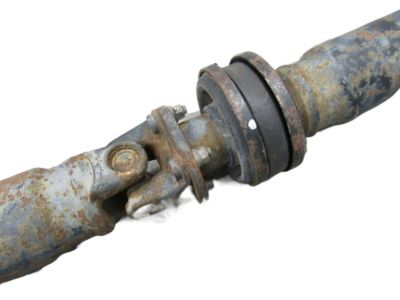
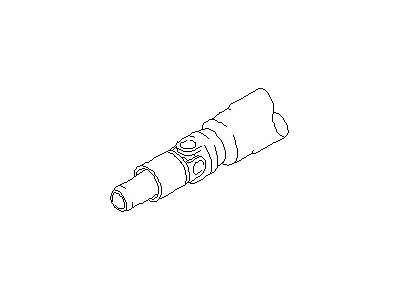
Nissan 240SX Shaft Assembly-PROPELLER
Part Number: 37000-43F01$567.65 MSRP: $740.09Limited AvailabilityYou Save: $172.44 (24%)
Nissan 240SX Drive Shaft
If you need any OEM Nissan 240SX Drive Shaft, feel free to choose them out of our huge selection of genuine Nissan 240SX Drive Shaft. All our parts are offered at unbeatable prices and are supported by the manufacturer's warranty. In addition, we offer quick shipping to have your parts delivered to your door step in a matter of days.
Nissan 240SX Drive Shaft Parts Questions & Experts Answers
- Q: How to the remove and install of the driveshaft and Universal Joints on Nissan 240sx?A:To change the driveshaft on 200SX and 240SX cars with 3 U-joints and the center bearing,Jack up the car and safely support it as required. Label the flanges on the driveshaft and differential so that the component can be properly aligned to help maintain balance of the drive line. Remove the rear flange and center bearing bracket's bolts, and then slide the driveshaft backwards and out of the transmission. Connect the extension housing of the transmission to ensure that it does not leak oil. To install, apply clean engine oil on the splines of the sleeve yoke, slip the drive shaft into the transmission housing, and ensure that the matchmarks of the flange are aligned. Screw in the flange and center bearing, tighten the center bearing support bracket bolts to a torque of 80-130Nm. For the 200SX using the CA20E, and VG30E engines, tighten flange bolts to a torque of 29-33 ft. lbs. For the L300, use the torque of 39-44 Nm, while for the 240SX, the same torque figures should be used. In this process, it is some critical points: labeling the relationship of all the components for the reassembly, taking out the snaprings, and knocking the yoke to free the bearing caps without removing the needle rollers. Check the backlash of the spline, run out of the driveshaft, and spiders of the U-joint and replace any worn out component. To assemble, insert the needle rollers in the races, set the spider in the yokes and replace all the seals with the races held by the snaprings. To check and correct an unbalanced driveshaft, remove the undercoat and foreign matter, test drive the car, if the feels vibration, then, loosen the driveshaft at the differential carrier companion flange, reverse it, and join it as before. If vibration is still noted after replacement, replace the driveshaft assembly with a new one; it should exhibit no dents or cracks, and the run out should not exceed 0.6mm.
