×
- Live Chat
- 1-888-726-6993

My Garage
My Account
Cart
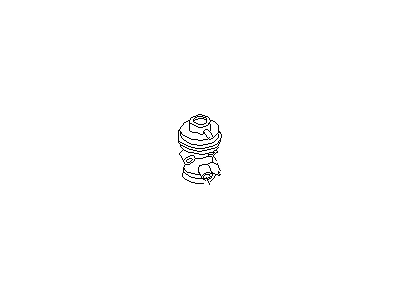
Genuine Nissan 240SX EGR Valve
Emissions EGR Valve- Select Vehicle by Model
- Select Vehicle by VIN
Select Vehicle by Model
orMake
Model
Year
Select Vehicle by VIN
For the most accurate results, select vehicle by your VIN (Vehicle Identification Number).
15 EGR Valves found
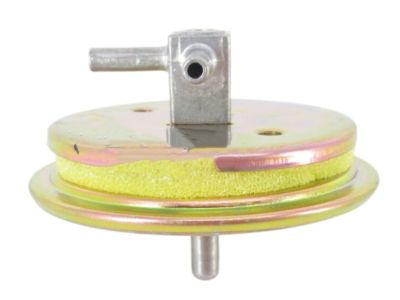
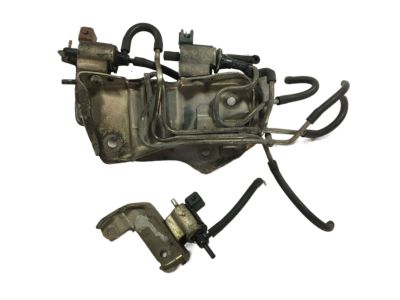
Nissan 240SX BPT Valve
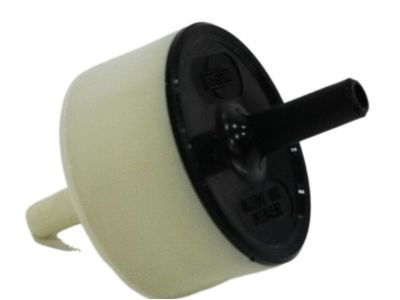
Part Number: 14741-10W00$89.73 MSRP: $123.60You Save: $33.87 (28%)Ships in 1-2 Business DaysNissan 240SX Valve Assembly Vacuum Delay
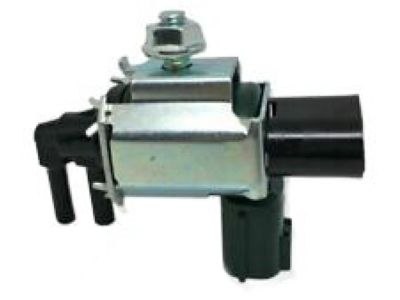
Part Number: 14958-V6700$31.59 MSRP: $43.52You Save: $11.93 (28%)Ships in 1-3 Business DaysNissan 240SX Valve Assembly-SOLENOID
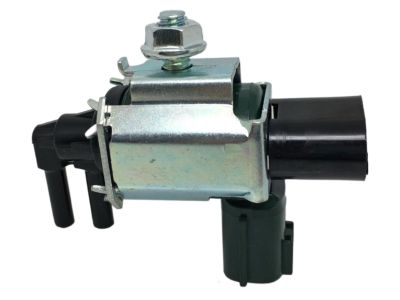
Part Number: 14956-31U00$90.22 MSRP: $127.43You Save: $37.21 (30%)Ships in 1-2 Business DaysNissan 240SX Valve Assembly-SOLENOID
Part Number: 14956-35U10$89.98 MSRP: $123.93You Save: $33.95 (28%)Ships in 1-3 Business DaysNissan 240SX Valve Assembly-SOLENOID
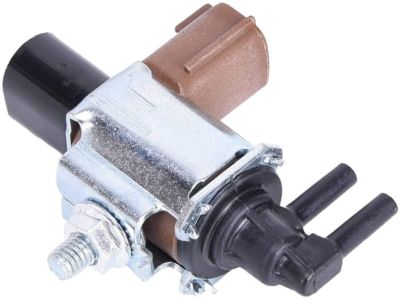
Part Number: 14956-35U00$105.89 MSRP: $145.85You Save: $39.96 (28%)Ships in 1-2 Business DaysNissan 240SX Valve Assembly-SOLENOID
Part Number: 14956-60U00$136.40 MSRP: $187.88You Save: $51.48 (28%)Ships in 1-2 Business DaysNissan 240SX Valve Assembly-SOLENOID
Part Number: 14956-53F00$93.81 MSRP: $129.22You Save: $35.41 (28%)Ships in 1-3 Business DaysNissan 240SX Valve Assembly-SOLENOID
Part Number: 14956-53F10$93.81 MSRP: $129.22You Save: $35.41 (28%)Ships in 1-3 Business DaysNissan 240SX Valve Assembly-SOLENOID
Part Number: 14956-41U00$121.98 MSRP: $168.02You Save: $46.04 (28%)Ships in 1-3 Business DaysNissan 240SX Valve Assembly-SOLENOID
Part Number: 14956-60U10$136.40 MSRP: $187.88You Save: $51.48 (28%)Ships in 1-3 Business DaysNissan 240SX Valve Assembly-SOLENOID EGR Cut
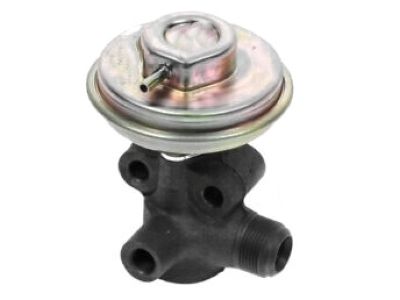
Part Number: 14956-35F10$97.02 MSRP: $133.63You Save: $36.61 (28%)Nissan 240SX Exhaust Gas Recircuration Valve
Part Number: 14710-70F00$150.52 MSRP: $207.33You Save: $56.81 (28%)
Nissan 240SX EGR Valve
If you need any OEM Nissan 240SX EGR Valve, feel free to choose them out of our huge selection of genuine Nissan 240SX EGR Valve. All our parts are offered at unbeatable prices and are supported by the manufacturer's warranty. In addition, we offer quick shipping to have your parts delivered to your door step in a matter of days.
Nissan 240SX EGR Valve Parts Questions & Experts Answers
- Q: How do you test, remove, and install an EGR Valve on Nissan 240sx?A: Exhaust gas recirculation (EGR) is implemented to lower engine combustion temperatures, thereby reducing nitrogen oxide (NOx) emissions. The EGR valve is centrally mounted on the intake manifold and directs recycled exhaust gas, drawn through the exhaust manifold heat stove and the EGR valve, into the intake manifold's riser portion. A vacuum diaphragm, connected to a timed signal port at the carburetor flange, controls the EGR valve's operation. As the throttle valve opens, vacuum pressure is applied to the EGR valve vacuum diaphragm, causing it to move against spring pressure. At approximately 2 in. Hg of vacuum, the diaphragm rises fully at 8 in. Hg, opening the exhaust gas metering valve, allowing exhaust gas to enter the engine's intake manifold. The system is inactive during idling to prevent rough idling conditions. Some later models employ a thermal vacuum valve in the engine's thermostat housing, regulating vacuum application to the EGR valve based on predetermined engine coolant temperature. When the coolant reaches the set temperature, the thermal vacuum valve opens to route vacuum to the EGR valve; otherwise, it remains closed. Many vehicles include a B.P.T. (Back Pressure Transducer) valve between the EGR valve and thermal vacuum valve, which adjusts EGR flow based on exhaust back pressure by raising or lowering a diaphragm to control an air bleed in the EGR vacuum line. High back pressure leads to increased EGR flow as the diaphragm rises, blocking the air bleed and allowing more vacuum to activate the EGR valve. On early models, a V.V.T. (Venturi Vacuum Transducer) valve is used instead of the B.P.T. valve, monitoring exhaust pressure and carburetor vacuum to control throttle vacuum applied to the EGR control valve, thereby expanding the EGR flow rate's operating range. To test the EGR valve, remove it and apply vacuum to the diaphragm to ensure it opens and remains open for over 3 seconds after vacuum removal. Inspect the valve for damage and clean the seat using a brush and compressed air to remove deposits. For removal and installation, first, remove the nuts attaching the EGR tube or BP tube to the EGR valve, if equipped. Unscrew the mounting bolts and remove the heat shield plate from the EGR control valve, if equipped. Disconnect and label the EGR vacuum hose(s). Unscrew the mounting bolts and remove the EGR control valve. To install, secure the EGR valve assembly with mounting bolts (torque evenly) to the intake manifold location, connect all vacuum hoses, and install the heat shield if equipped. Attach the EGR tube or BP tube to the EGR valve if equipped, ensuring the replacement valve matches the old one.
