×
- Live Chat
- 1-888-726-6993

My Garage
My Account
Cart
Genuine Nissan 240SX Oil Pan
Oil Drain Pan- Select Vehicle by Model
- Select Vehicle by VIN
Select Vehicle by Model
orMake
Model
Year
Select Vehicle by VIN
For the most accurate results, select vehicle by your VIN (Vehicle Identification Number).
4 Oil Pans found
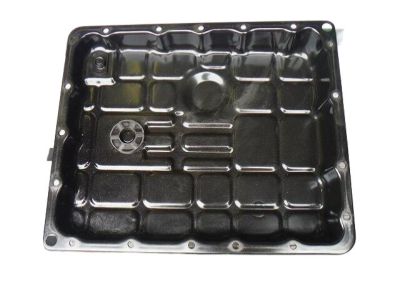
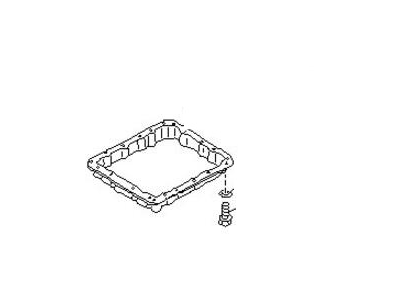
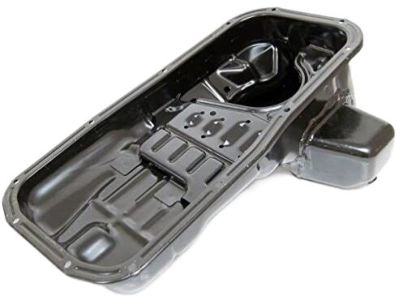
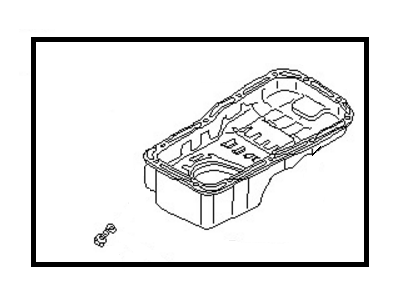
Nissan 240SX Pan Assy-Oil
Part Number: 31390-41X00$97.30 MSRP: $134.02You Save: $36.72 (28%)Ships in 1-3 Business Days
Nissan 240SX Oil Pan
If you need any OEM Nissan 240SX Oil Pan, feel free to choose them out of our huge selection of genuine Nissan 240SX Oil Pan. All our parts are offered at unbeatable prices and are supported by the manufacturer's warranty. In addition, we offer quick shipping to have your parts delivered to your door step in a matter of days.
Nissan 240SX Oil Pan Parts Questions & Experts Answers
- Q: How to remove and install the oil pan on Nissan 240sx?A: To remove and install the oil pan, first, disconnect the negative battery cable and securely lift the front of the vehicle. Now, drain the oil pan, next pull apart power steering bracket from suspension crossmember. Then, separate stabilizer bar from transverse link and other tension rod from transverse link. Remove nuts attaching front engine mounting insulators to body then lift engine up. Loosen specified number of oil pan bolts in given sequence; further remove suspension cross member bolts and power steering oil tubes screws securing to cross member. Lower suspension cross member so as to provide enough space for removal of oil pan. Take seal cutter and fit it between cylinder block and oil pan, tap it lightly with hammer moving it around whole periphery of oil pan. Be careful not to thrust it into rear seal retainer portion or into Oil Pump. Lower oil pan out of cylinder block toward front end ofengine. While installing clean sealing surfaces well and apply sealant on oil pump gasket as well as rear oil seal retainer gasket surfaces. Apply liquid gasket continuously around four corners of cylinder block mounting surface at an appropriate position for 5 minutes before installing pan on it. Tighten specified torque in sequence for all bolts in order for the oil pan bolt to be secured properly together. Lastly reassemble in reverse order; fill crankcase with proper amount of oil; connect negative battery cable; start engine; check leaks. In case of particular vehicle models like 200SX with VG30E engine removal entails draining the oil sump, removing engine mount insulator nuts & bolts, taking out center cross member assembly installed by unbolting the exhaust pipe connecting nuts that secure the sump flange from beneath . It involves cleaning sealing surfaces, applying sealant, putting back the cup along with its gasketing material, screwing down bowl fasteners uniformly until fully tightened up and lastly lowering assembly down onto mountings again once torque has been applied to nuts. Removal of stabilizer bars, covers and other model specific components is also carried out in similar manner for other vehicle models such as 240SX and Stanza with CA or KA24E engines.


