×
- Hello
- Login or Register
- Quick Links
- Live Chat
- Track Order
- Parts Availability
- RMA
- Help Center
- Contact Us
- Shop for
- Nissan Parts
- Nissan Accessories

My Garage
My Account
Cart
Genuine Nissan 300ZX Automatic Transmission Filter
AT Filter- Select Vehicle by Model
- Select Vehicle by VIN
Select Vehicle by Model
orMake
Model
Year
Select Vehicle by VIN
For the most accurate results, select vehicle by your VIN (Vehicle Identification Number).
7 Automatic Transmission Filters found

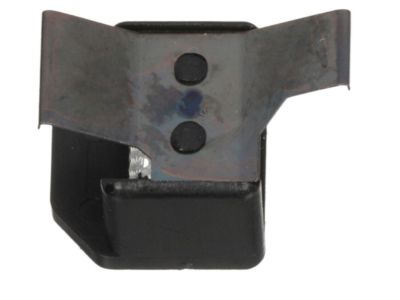
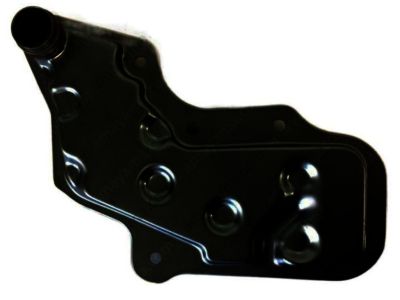
Nissan 300ZX Oil Filter Assembly
Part Number: 31726-41X00$15.55 MSRP: $22.52You Save: $6.97 (31%)Ships in 1-3 Business Days
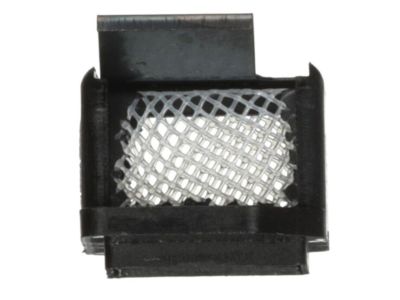
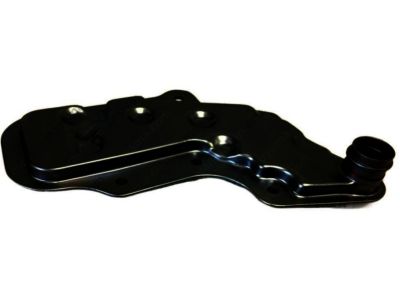
Nissan 300ZX Oil Strainer Assembly
Part Number: 31728-41X02$33.68 MSRP: $46.43You Save: $12.75 (28%)Ships in 1-3 Business DaysNissan 300ZX Oil Strainer Assembly
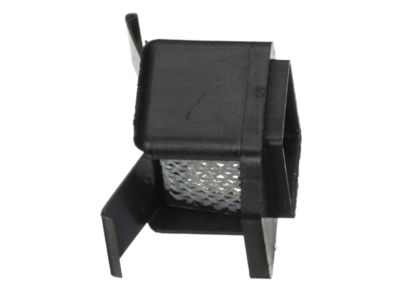
Part Number: 31728-41X00$33.68 MSRP: $46.43You Save: $12.75 (28%)Ships in 1-2 Business DaysNissan 300ZX Oil Strainer Assembly
Part Number: 31728-51X02$42.32 MSRP: $59.00You Save: $16.68 (29%)Ships in 1-3 Business DaysNissan 300ZX Oil Strainer Assembly
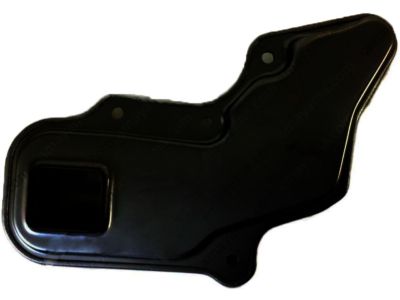
Part Number: 31728-51X05$42.32 MSRP: $59.00You Save: $16.68 (29%)Ships in 1-3 Business Days
Nissan 300ZX Automatic Transmission Filter
If you need any OEM Nissan 300ZX Automatic Transmission Filter, feel free to choose them out of our huge selection of genuine Nissan 300ZX Automatic Transmission Filter. All our parts are offered at unbeatable prices and are supported by the manufacturer's warranty. In addition, we offer quick shipping to have your parts delivered to your door step in a matter of days.
Nissan 300ZX Automatic Transmission Filter Parts Questions & Experts Answers
- Q: What steps should be followed to change the transmission fluid and replace the filter on Nissan 300ZX?A:Depend on time periods, the fluid in the automatic transmission must be replaced and the filter to be replaced with new one, because in most cases there is no a drain plug available hence the transmission oil pan from the bottom must be removed in order to drain the fluid. prior to that, acquire the correct type and amount of transmission fluid to be installed, a new filter, and all gaskets as old ones must not be used to avoid contamination. Some of the required equipment while performing the above task include Jack Stands that will be used to support the vehicle, wrench that will be used to loosen the oil pan bolts, Standard Screw driver, plastic drain pan of 8 pint, Newspapers and Clean Rags. It is advised to drain the fluid while the fluid is still hot to get sediment out of the system, which may be adequately hot enough to burn the hand, always wear rubber gloves. Following this, start the car and warm the fluid before steaming and then safely placing the equipment on the car using the jackstands but not touching hot part. Locate the drain pan beneath the transmission oil pan, extract the oil pan bolts around the rear part and both ends, and half tighten the front bolts. Gently lower the pan at the back so that the hot fluid can be drained by using a screwdriver if essential to penetrate the gasket without damaging the pan or transmission case. As you continue to support the pan, undo the rest of the front bolts, lower it and if there is still some fluid immersed add it to the drain pan and look for all those metal particles that would indicate that the transmission is bad. Scrub the transmission oil pan clean with solvent removing all the gasket materials from the mounting flange using a gasket scraper or putty knife. Loosen and pull off the nuts that secure the filter to the valve body, change or clean the filter/strainer and then reinstall it, and finally tighten the nuts to the right recommended torque. Place the gasket sealant on the oil pan mounting surface and fit the new gasket to the surface and screw the pan to the mounting studs tightening the nuts diagonally to the specified torque. After that, lower the vehicle using the jackstands, then take off the dipstick and install the funnel into the dipstick tube to add the oil slowly as you're observing the level, that is, you can add about 4 to 5 pints of the fluid. When the selector lever is in Park, apply the brake and turn the engine to low speed for at least two minutes, then sprint through all the gears, check the oil level with the dipstick and look for weeping around the flange of the oil pan mating surface. Pour in enough oil to bring the level to just below the lower mark on the dipstick, but do not overfill it, then insert the stick back in place and drive the car till it warms up. Last but not the least, park the car on a flat surface on the side, north side preferred; turn the engine on and engage the selector to Park, and check the level on the dipstick with the engine ON, and add more oil if required, keeping over fillage in mind.
Related Nissan 300ZX Parts
Browse by Year
1996 Automatic Transmission Filter 1995 Automatic Transmission Filter 1994 Automatic Transmission Filter 1993 Automatic Transmission Filter 1992 Automatic Transmission Filter 1991 Automatic Transmission Filter 1990 Automatic Transmission Filter 1989 Automatic Transmission Filter 1988 Automatic Transmission Filter 1987 Automatic Transmission Filter 1986 Automatic Transmission Filter 1985 Automatic Transmission Filter 1984 Automatic Transmission Filter

