×
- Live Chat
- 1-888-726-6993

My Garage
My Account
Cart
Genuine Nissan Armada Car Speakers
Audio Speakers- Select Vehicle by Model
- Select Vehicle by VIN
Select Vehicle by Model
orMake
Model
Year
Select Vehicle by VIN
For the most accurate results, select vehicle by your VIN (Vehicle Identification Number).
29 Car Speakers found
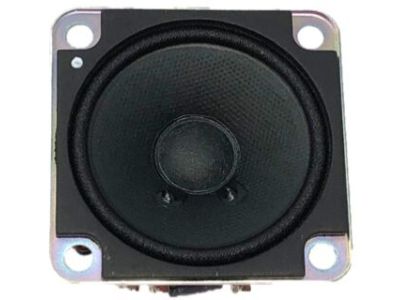
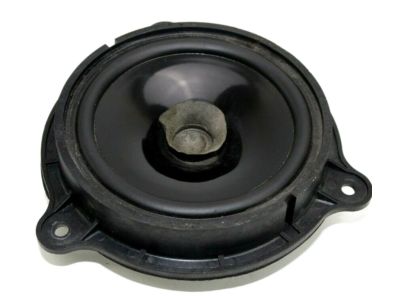
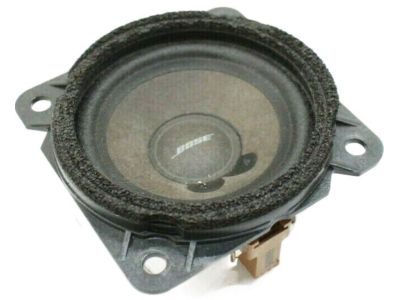
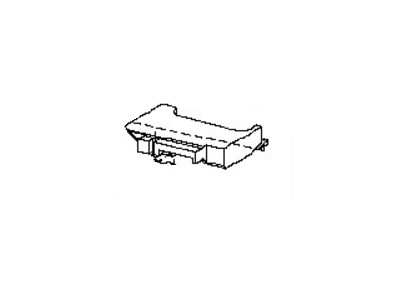
Nissan Armada Speaker Unit
Part Number: 28156-9NA0A$78.53 MSRP: $108.17You Save: $29.64 (28%)Ships in 1-3 Business DaysNissan Armada Instrument Panel Speaker
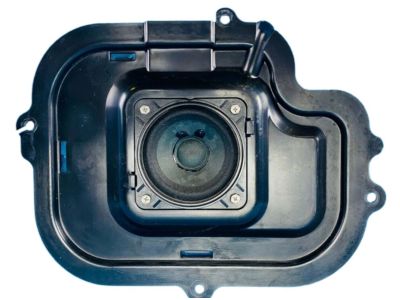
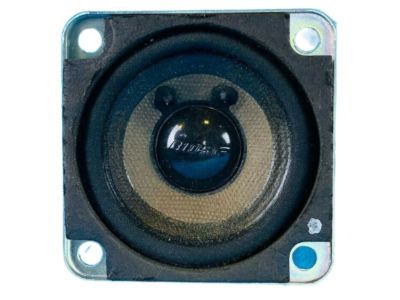
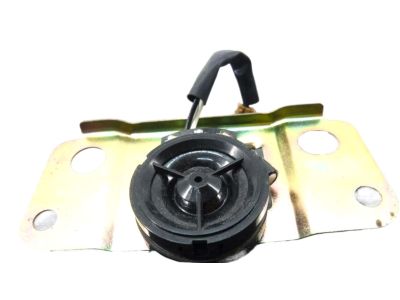
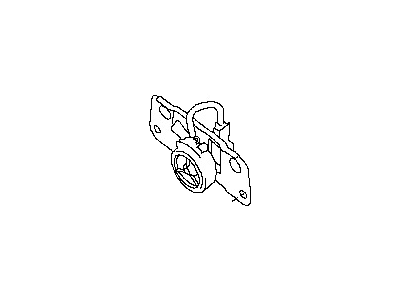
Part Number: 28152-1AK0A$121.69 MSRP: $167.62You Save: $45.93 (28%)Ships in 1-3 Business DaysNissan Armada Speaker Unit
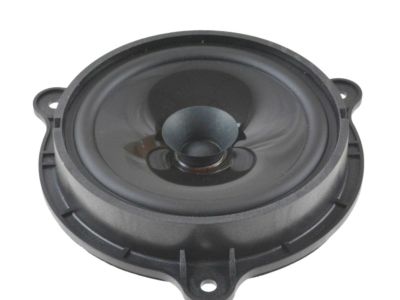
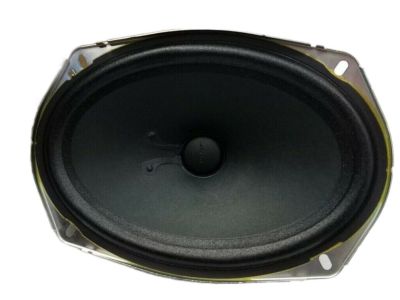
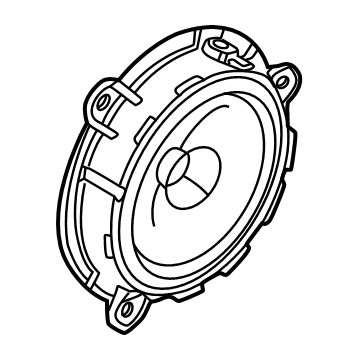
Part Number: 28152-5Z000$55.36 MSRP: $76.25You Save: $20.89 (28%)Ships in 1-2 Business DaysNissan Armada Speaker Unit
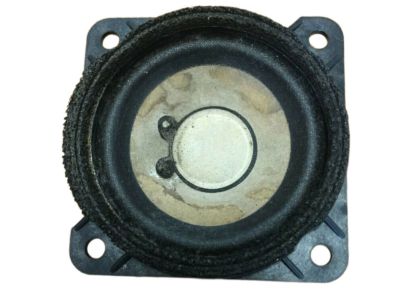
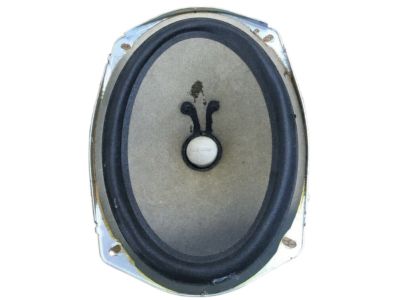
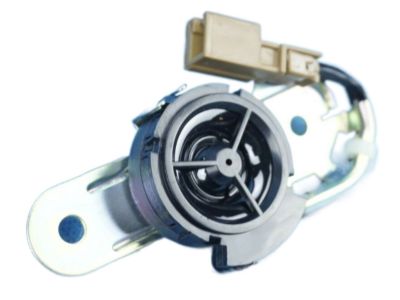
Part Number: 28154-5Z200$103.19 MSRP: $142.13You Save: $38.94 (28%)Ships in 1-3 Business DaysNissan Armada Front Door Speaker
Part Number: 28156-ZB000$55.11 MSRP: $77.83You Save: $22.72 (30%)Ships in 1-2 Business DaysNissan Armada Speaker Unit
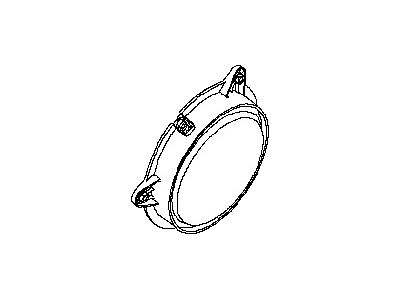
Part Number: 28153-3TA0A$57.85 MSRP: $79.68You Save: $21.83 (28%)Ships in 1-3 Business DaysNissan Armada Speaker Unit
Part Number: 28156-8J000$55.11 MSRP: $77.83You Save: $22.72 (30%)Ships in 1-3 Business DaysNissan Armada Speaker Unit
Part Number: 28152-7S200$203.85 MSRP: $280.78You Save: $76.93 (28%)Ships in 1-3 Business DaysNissan Armada Speaker Unit
Part Number: 28157-7S200$158.10 MSRP: $217.77You Save: $59.67 (28%)Ships in 1-2 Business DaysNissan Armada Speaker Unit
Part Number: 28157-JM20A$121.69 MSRP: $167.62You Save: $45.93 (28%)Ships in 1-2 Business DaysNissan Armada Speaker Unit
Part Number: 28153-5CA2A$103.19 MSRP: $142.13You Save: $38.94 (28%)Ships in 1-3 Business DaysNissan Armada Speaker Unit
Part Number: 28148-7S000$44.91 MSRP: $63.43You Save: $18.52 (30%)Ships in 1-3 Business DaysNissan Armada Door Speaker
Part Number: 28138-EA500$47.22 MSRP: $66.70You Save: $19.48 (30%)Ships in 1-3 Business DaysNissan Armada Speaker Unit
Part Number: 28156-7Y300$301.69 MSRP: $415.55You Save: $113.86 (28%)Ships in 1-2 Business DaysNissan Armada Subwoofer Box
Part Number: 28170-7S200$803.11 MSRP: $1115.43You Save: $312.32 (28%)Ships in 1-3 Business DaysNissan Armada Speaker Unit
Part Number: 28157-1ZR0A$60.85 MSRP: $83.82You Save: $22.97 (28%)Ships in 1-3 Business DaysNissan Armada Speaker Unit
Part Number: 28138-EA50A$47.22 MSRP: $66.70You Save: $19.48 (30%)Ships in 1-3 Business DaysNissan Armada Speaker Unit
Part Number: 28156-5MA0A$81.54 MSRP: $112.32You Save: $30.78 (28%)Ships in 1-3 Business DaysNissan Armada Speaker Unit
Part Number: 28137-1LA0A$89.96 MSRP: $123.92You Save: $33.96 (28%)Ships in 1-3 Business DaysNissan Armada Subwoofer Box
Part Number: 28170-1LA0A$891.80 MSRP: $1238.62You Save: $346.82 (28%)Ships in 1-3 Business Days
| Page 1 of 2 |Next >
1-20 of 29 Results
Nissan Armada Car Speakers
If you need any OEM Nissan Armada Car Speakers, feel free to choose them out of our huge selection of genuine Nissan Armada Car Speakers. All our parts are offered at unbeatable prices and are supported by the manufacturer's warranty. In addition, we offer quick shipping to have your parts delivered to your door step in a matter of days.
Nissan Armada Car Speakers Parts Questions & Experts Answers
- Q: How do you disconnect and remove the radio and speakers on Nissan Armada?A: First off, one should remove the cable lead from the negative terminal of the battery. For every model year before 2009 and not the later Armada series, you can use a small screwdriver or the trim tool for the purpose of lifting the center bezel which contains the radio control and A/C heater control. Pull the electrical connectors, take off the center bezel and radio control as a single unit, unfasten the radio control mounting bolts to remove the radio control from the center bezel. Next, unscrew the bolts that are located at the back of the radio unit and pull out the radio unit out of the dash, after that it is appropriate to detach the antenna lead and the electrical connectors before you finally remove the radio. Installation on the other hand is done in the reverse order. For the later model years up to 2009, use trim tool to pull the center bezel, and un plugs the electrical connectors, removes the mounting screws of the radio unit then pulls it. Depose all the radio/navigation display mounting fasteners, then it is proper to pull out the display, along with the bracket as a single unit. Slide the display forward, release the electrical connectors and take off the display head as well as the bracket, with the latter being reversely used to install the displays. Front tweeters also requires the removal of a cover using a small screwdriver or trim tool then removing the mounting screws, tweeter and the electrical connector; to install reverse the process above. For the center speaker, remove the black cover by popping the clips and pulling; disconnect the electrical connector; unscrew the four screws at the back, and pry out the center speaker from the black cover, and the procedure for reinstallation is a reverse of these steps. For door speakers, the process will involve; Actually removing the door trim panel, twisting off the speaker mounting fasteners, disconnecting the electrical connector and then finally disconnecting the speakers. For liftgate speakers, to dismantle it, you need to open the liftgate trim panel, then uncrew the mounting bolts of the speaker, then disconnect it by unhooking its electrical connector, then the liftgate speaker is removed from the trim panel and removed from the car; to assemble it just reverse the above process. For crews, depending on the stereo package selected, there may be a sub-woofer assembly which will be fitted under the front driver's seat; this would require the following to be done: Disconnect the electrical connector, remove the mounting screws, and lift out the sub-woofer assembly, remove front seat.
Related Nissan Armada Parts
Browse by Year
2023 Car Speakers 2022 Car Speakers 2021 Car Speakers 2020 Car Speakers 2019 Car Speakers 2018 Car Speakers 2017 Car Speakers 2015 Car Speakers 2014 Car Speakers 2013 Car Speakers 2012 Car Speakers 2011 Car Speakers 2010 Car Speakers 2009 Car Speakers 2008 Car Speakers 2007 Car Speakers 2006 Car Speakers 2005 Car Speakers 2004 Car Speakers


