×
- Live Chat
- 1-888-726-6993
My Garage
My Account
Cart
Genuine Nissan Armada Hood
Engine Hood- Select Vehicle by Model
- Select Vehicle by VIN
Select Vehicle by Model
orMake
Model
Year
Select Vehicle by VIN
For the most accurate results, select vehicle by your VIN (Vehicle Identification Number).
3 Hoods found

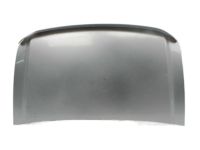
Nissan Armada Hood
Part Number: 65100-7S030$808.92 MSRP: $1225.64You Save: $416.72 (34%)Ships in 1-2 Business Days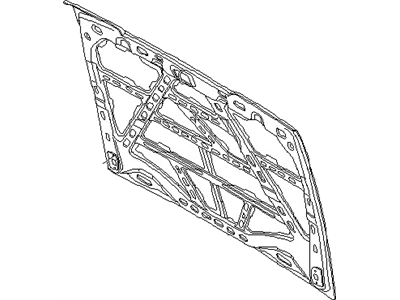
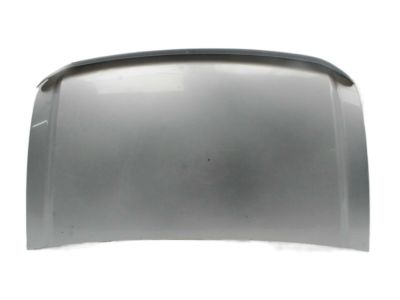
Nissan Armada Hood
Part Number: F510M-1LBMA$664.90 MSRP: $999.09You Save: $334.19 (34%)Ships in 1-3 Business Days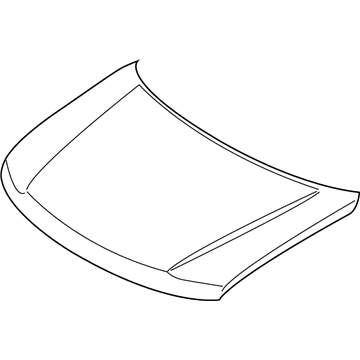
Nissan Armada Hood
Part Number: F510M-6JFMA$736.88 MSRP: $1116.49You Save: $379.61 (34%)Ships in 1-3 Business Days
Nissan Armada Hood
If you need any OEM Nissan Armada Hood, feel free to choose them out of our huge selection of genuine Nissan Armada Hood. All our parts are offered at unbeatable prices and are supported by the manufacturer's warranty. In addition, we offer quick shipping to have your parts delivered to your door step in a matter of days.
Nissan Armada Hood Parts Questions & Experts Answers
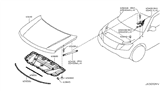
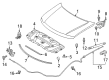
- Q: How should the hood be removed and installed to ensure proper alignment and secure closure on Nissan Armada?A: The hood is heavy and somewhat awkward to remove and install, so at least two people should perform this procedure. Begin by using blankets or pads to cover the cowl area of the body and the Fenders to protect the paint as the hood is lifted off. Scribe alignment marks around the hinge flanges to ensure proper alignment during installation, using paint or a permanent-type felt-tip marker if needed. Disconnect the windshield washer hoses and any electrical connectors from the hood. With an assistant supporting one side of the hood, take turns removing the hinge-to-hood bolts and lift off the hood, supporting it with your shoulder while removing the mounting bolts. For installation, reverse the removal steps. To adjust the hood, move it in relation to the hinge flanges after loosening the bolts for fore-and-aft and side-to-side adjustments. Scribe or trace a line around the entire hinge plate to judge the amount of movement, and after loosening the bolts, move the hood into correct alignment, tightening the hinge bolts and carefully lowering the hood to check the alignment. If necessary, adjust the entire Hood Latch assembly up-and-down and side-to-side on the radiator support to ensure the hood closes securely and flush with the fenders. Scribe a line around the hood latch mounting bolts for reference, loosen them, and reposition the latch assembly as needed, then retighten the mounting bolts. Finally, adjust the hood Bumpers so that when closed, the hood is flush with the fenders, twisting the bumpers in or out for fine adjustments. Periodically lubricate the hood latch assembly and hinges with white, lithium-base grease to prevent binding and wear.