×
- Live Chat
- 1-888-726-6993

My Garage
My Account
Cart
Genuine Nissan Armada Oil Pan
Oil Drain Pan- Select Vehicle by Model
- Select Vehicle by VIN
Select Vehicle by Model
orMake
Model
Year
Select Vehicle by VIN
For the most accurate results, select vehicle by your VIN (Vehicle Identification Number).
10 Oil Pans found
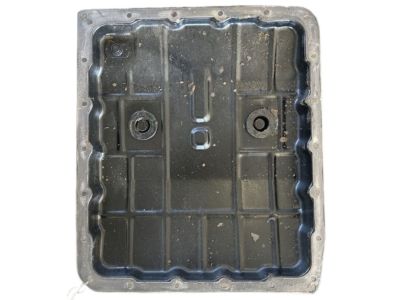
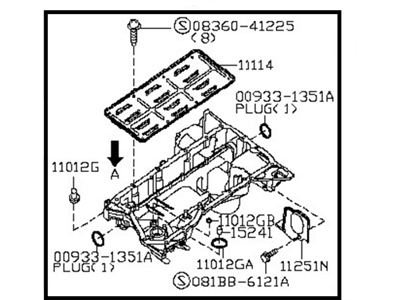
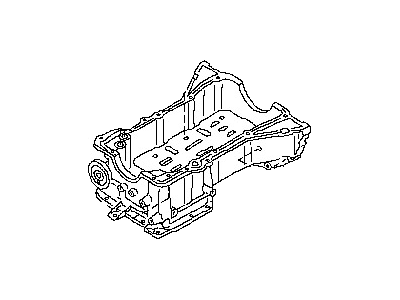
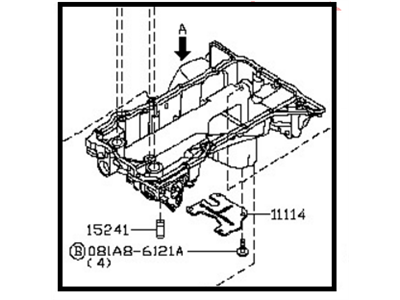
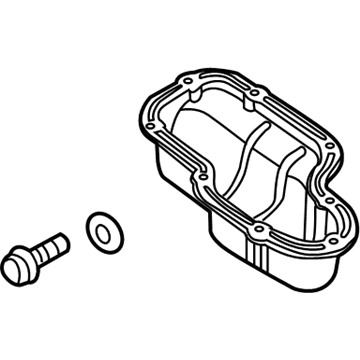
Nissan Armada Pan Assy-Oil
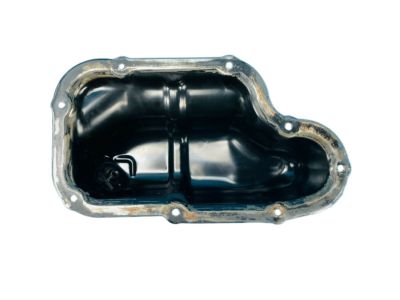
Part Number: 31390-1XJ0C$132.36 MSRP: $182.32You Save: $49.96 (28%)Ships in 1-3 Business DaysNissan Armada Pan Oil
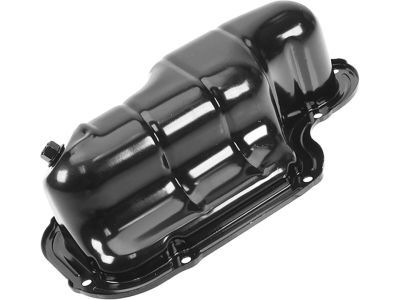
Part Number: 31390-90X00$76.48 MSRP: $105.35You Save: $28.87 (28%)Ships in 1-2 Business DaysNissan Armada Pan Assy-Oil
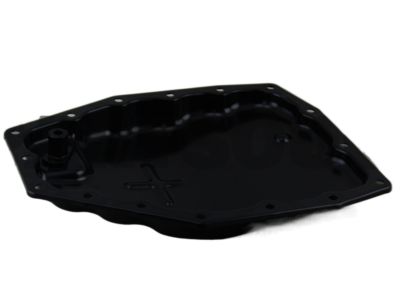
Part Number: 11110-EZ30B$201.28 MSRP: $277.25You Save: $75.97 (28%)Ships in 1-3 Business DaysNissan Armada Pan Assy-Oil
Part Number: 11110-7S010$130.11 MSRP: $179.22You Save: $49.11 (28%)Ships in 1-2 Business DaysNissan Armada Pan Oil
Part Number: 31390-90X0A$83.02 MSRP: $114.35You Save: $31.33 (28%)Ships in 1-3 Business DaysNissan Armada Pan Assy Oil
Part Number: 11110-7S00A$139.59 MSRP: $192.27You Save: $52.68 (28%)Ships in 1-3 Business DaysNissan Armada Pan Assy-Oil
Part Number: 11110-7S000$139.59 MSRP: $192.27You Save: $52.68 (28%)Ships in 1-3 Business DaysNissan Armada Pan Assy-Oil
Part Number: 11110-EZ30A$425.77 MSRP: $601.37You Save: $175.60 (30%)Ships in 1-3 Business DaysNissan Armada Pan Assy Oil
Part Number: 11110-1LA0A$436.59 MSRP: $601.37You Save: $164.78 (28%)Ships in 1-3 Business DaysNissan Armada PAN ASSY OIL
Part Number: 11110-EZ31A$436.59 MSRP: $601.37You Save: $164.78 (28%)Ships in 1-3 Business Days
Nissan Armada Oil Pan
If you need any OEM Nissan Armada Oil Pan, feel free to choose them out of our huge selection of genuine Nissan Armada Oil Pan. All our parts are offered at unbeatable prices and are supported by the manufacturer's warranty. In addition, we offer quick shipping to have your parts delivered to your door step in a matter of days.
Nissan Armada Oil Pan Parts Questions & Experts Answers
- Q: How do you remove and install the upper and lower oil pans on Nissan Armada?A: The engine must be removed from the vehicle to access the upper (cast aluminum) oil pan, while the lower (stamped steel) oil pan can be removed without this step. Begin by disconnecting the negative battery cable, setting the parking brake, and blocking the rear wheels. Raise the front of the vehicle and support it securely on jackstands, then remove the splash shields under the engine. Drain the engine oil and remove the oil filter. If only the lower oil pan is being removed, take out the crossmember; otherwise, remove the engine from the vehicle. Carefully remove the mounting bolts for the lower steel pan in a criss-cross pattern, then pry between the upper and lower pans to separate them. For the upper aluminum pan, disconnect hoses and remove the oil cooler, then take out the engine oil dipstick, dipstick tube, and oil pump screen. Remove the upper aluminum pan mounting bolts in reverse order of tightening, and use a flat head screwdriver or thin prybar to loosen the upper oil pan from the block without damaging sealing surfaces. For installation, scrape off old gasket material and sealant from the upper aluminum section, lower steel pan, and engine block, ensuring the surfaces are clean. Apply RTV sealant to the timing chain cover and rear oil seal retainer, install new O-rings, and apply sealant around the upper aluminum oil pan flange, making sure to install the pan within 15 minutes. Position the upper aluminum oil pan on the engine block, install the bolts, and tighten them in the recommended sequence. Reinstall the oil strainer and check the lower steel oil pan flange for distortion, flattening it if necessary. Apply RTV sealant around the steel oil pan flange, install the pan, and tighten the fasteners in a criss-cross pattern. Finally, complete the installation in reverse order, ensuring to install a new oil filler and wait at least one hour before adding oil.


