×
- Live Chat
- 1-888-726-6993

My Garage
My Account
Cart
Genuine Nissan Armada Transmission Assembly
Trans Assembly- Select Vehicle by Model
- Select Vehicle by VIN
Select Vehicle by Model
orMake
Model
Year
Select Vehicle by VIN
For the most accurate results, select vehicle by your VIN (Vehicle Identification Number).
54 Transmission Assemblies found
Nissan Armada Automatic Transmission Assembly
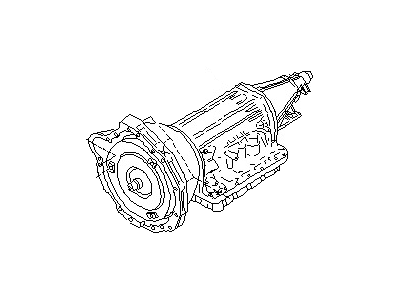
Part Number: 31020-X046D$7801.18 MSRP: $9287.11You Save: $1485.93 (16%)Ships in 1-3 Business DaysNissan Armada Automatic Transmission Assembly
Part Number: 31020-X046E$7801.18 MSRP: $9287.11You Save: $1485.93 (16%)Ships in 1-3 Business DaysNissan Armada Blank Automatic Transmission
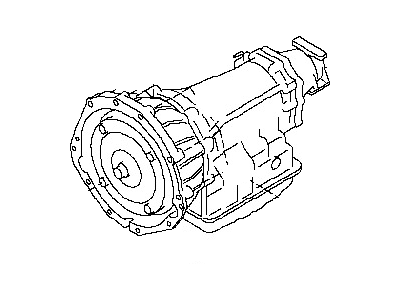
Part Number: 31020-64X0D$7043.33 MSRP: $8384.91You Save: $1341.58 (16%)Ships in 1-3 Business DaysNissan Armada Automatic Transmission Assembly
Part Number: 31020-63X7A$5322.47 MSRP: $6336.27You Save: $1013.80 (16%)Ships in 1-2 Business DaysNissan Armada Automatic Transmission
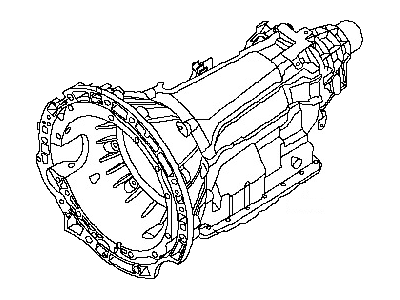
Part Number: 31020-26X9E$7801.18 MSRP: $9287.11You Save: $1485.93 (16%)Ships in 1-3 Business DaysNissan Armada Reman Automatic Transmission Assembly
Part Number: 3102M-X046ERE$5884.31 MSRP: $7001.39You Save: $1117.08 (16%)Ships in 1-3 Business DaysNissan Armada Blank Automatic Transmission
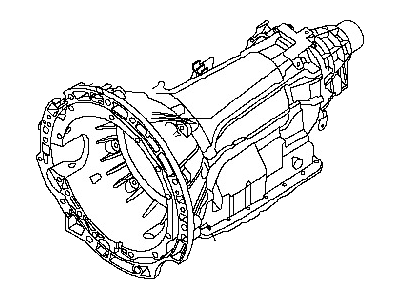
Part Number: 31020-64X7C$5521.18 MSRP: $6572.83You Save: $1051.65 (16%)Ships in 1-3 Business DaysNissan Armada Blank Automatic Transmission
Part Number: 31020-64X6E$6121.18 MSRP: $7287.11You Save: $1165.93 (16%)Ships in 1-3 Business DaysNissan Armada Automatic Transmission
Part Number: 31020-X040A$7801.18 MSRP: $9287.11You Save: $1485.93 (16%)Ships in 1-3 Business DaysNissan Armada Automatic Transmission Assembly
Part Number: 31020-X041A$7801.18 MSRP: $9287.11You Save: $1485.93 (16%)Ships in 1-3 Business DaysNissan Armada Automatic Transmission Assembly
Part Number: 31020-X047B$7801.18 MSRP: $9287.11You Save: $1485.93 (16%)Ships in 1-3 Business DaysNissan Armada Automatic Transmission
Part Number: 31020-X054C$7801.18 MSRP: $9287.11You Save: $1485.93 (16%)Ships in 1-3 Business DaysNissan Armada Transmission Assembly - Automatic
Part Number: 31020-X059D$7801.18 MSRP: $9287.11You Save: $1485.93 (16%)Ships in 1-3 Business DaysNissan Armada Transmission Assembly - Automatic
Part Number: 31020-X059C$7804.33 MSRP: $9287.11You Save: $1482.78 (16%)Ships in 1-3 Business DaysNissan Armada Automatic Transmission Assembly-Reman
Part Number: 3102M-26X9ERE$5884.31 MSRP: $7001.39You Save: $1117.08 (16%)Ships in 1-3 Business DaysNissan Armada Blank Automatic Transmission
Part Number: 31020-3HX9E$4787.80 MSRP: $5699.76You Save: $911.96 (16%)Ships in 1-3 Business DaysNissan Armada Automatic Transmission Assembly
Part Number: 31020-ZE00C$5569.64 MSRP: $6630.53You Save: $1060.89 (16%)Ships in 1-2 Business DaysNissan Armada Automatic Transmission Assembly
Part Number: 31020-ZQ00D$6414.50 MSRP: $7636.31Limited AvailabilityYou Save: $1221.81 (16%)Nissan Armada Automatic Transmission Assembly
Part Number: 31020-ZC35D$5256.96 MSRP: $6258.29You Save: $1001.33 (16%)Ships in 1-3 Business DaysNissan Armada Automatic Transmission Assembly-Reman
Part Number: 3102M-26X9DRE$5884.31 MSRP: $7001.39You Save: $1117.08 (16%)Ships in 1-3 Business Days
| Page 1 of 3 |Next >
1-20 of 54 Results
Nissan Armada Transmission Assembly
If you need any OEM Nissan Armada Transmission Assembly, feel free to choose them out of our huge selection of genuine Nissan Armada Transmission Assembly. All our parts are offered at unbeatable prices and are supported by the manufacturer's warranty. In addition, we offer quick shipping to have your parts delivered to your door step in a matter of days.
Nissan Armada Transmission Assembly Parts Questions & Experts Answers
- Q: How do you remove and reinstall the transmission and torque converter as a single assembly on Nissan Armada?A: To make the removal and extraction of the transmission and the torque converter easier, ensure that the two are extracted as a single unit since the extraction of the torque converter alone Excessive will cause or destroy the drive plate, pump bushing, or oil seal. Start by loosening the black cable from the battery, then twist the fastener of the engine cover to release it and use jackstands to securely lift the car. Pull-out the skid plate and the engine splash shield and then siphon out the transmission fluid. Pull the Shift Cable out of the way, designate the driveshaft flange using a paint pen, unbolt, and pull out any exhaust hinderances for removal. Crankshaft Position-now you can disconnect it physically by unscrewing it and disconnect the wiring harness connectors of it. Locate the relation between the torque converter and driveplate, after that, remove the torque converter-to-driveplate bolts in a clockwise fashion of the crankshaft. Remove the seals, studs and nuts on the fill/dipstick tube and fluid cooler lines. For the 4WD models, decide on whether to have the transfer case removed depending on the usage of the car. Then properly support the engine and the transmission, next, remove the transmission mount bolts and the crossmember. Slightly drop the engine and the transmission to expose the bolts that are used to join them collectively with keen essence on their positions for refitting. Push the transmission backward to get free from the dowel pins of the engine block or see to it that the torque converter is disconnected. For installation, make sure that the torque converter is properly engaged in the pump while for this some transmission fluid may need to be applied on the rear hub if required. Lift the transmission up into the proper position getting the torque converter holes lined up with the driveplate holes. Shift the transmission forward and push it until the dowel pins can be heard or felt to be in place and there are no spaces in-between. Place the transmission back into the engine and tighten up all the bolts associated with the transmission to the engine. Next, raise and support the rear of the transmission and bolt in the new crossmember; then, lower the jacks. Insert and fasten the torque converter-to-driveplate bolts followed by the dipstick tube and the seal. Attach the transmission fluid cooler lines up with the new sealing washers and plug in the electrical connectors along with reconnection of shift cable. The 4WD models will require reinstallation of the transfer case together with the drive shafts, repositioning of the shift cable and reinstallation of the exhaust parts. At last, lower the vehicle, fill the transmission with the identified fluid, start the engine and look for any leakage.
Related Nissan Armada Parts
Browse by Year
2022 Transmission Assembly 2021 Transmission Assembly 2020 Transmission Assembly 2019 Transmission Assembly 2018 Transmission Assembly 2017 Transmission Assembly 2015 Transmission Assembly 2014 Transmission Assembly 2013 Transmission Assembly 2012 Transmission Assembly 2011 Transmission Assembly 2010 Transmission Assembly 2009 Transmission Assembly 2008 Transmission Assembly 2007 Transmission Assembly 2006 Transmission Assembly 2005 Transmission Assembly 2004 Transmission Assembly
