×
- Live Chat
- 1-888-726-6993

My Garage
My Account
Cart
Genuine Nissan Juke Door Handle
Inside Door Handle- Select Vehicle by Model
- Select Vehicle by VIN
Select Vehicle by Model
orMake
Model
Year
Select Vehicle by VIN
For the most accurate results, select vehicle by your VIN (Vehicle Identification Number).
40 Door Handles found
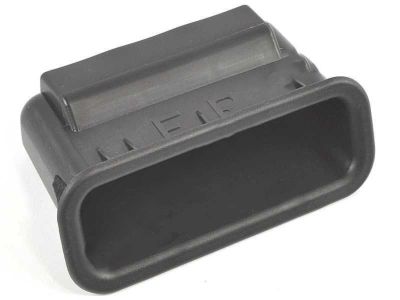
Nissan Juke Back Door Pull Handle
Part Number: 90940-1KA0A$22.95 MSRP: $34.49You Save: $11.54 (34%)Ships in 1-2 Business DaysNissan Juke Outside Handle Grip, Passenger Side
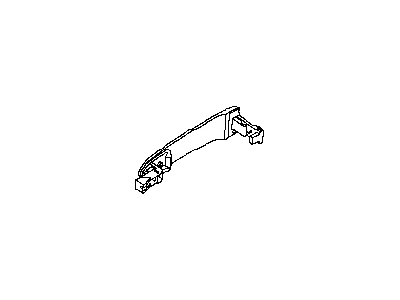
Part Number: 80640-1FA8B$112.09 MSRP: $172.71You Save: $60.62 (36%)Ships in 1-3 Business DaysNissan Juke Outside Handle Grip, Passenger Side
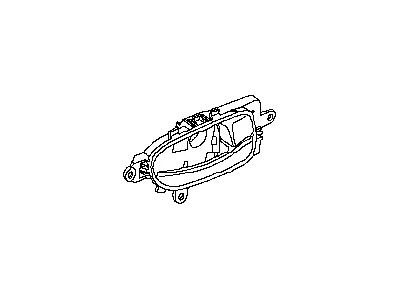
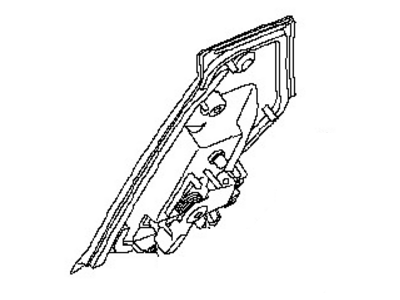
Part Number: 80640-1FE0B$81.95 MSRP: $123.15You Save: $41.20 (34%)Ships in 1-3 Business DaysNissan Juke Rear Door Inside Handle Assembly, Left
Part Number: 80671-1KA0B$59.45 MSRP: $91.60You Save: $32.15 (36%)Ships in 1-3 Business DaysNissan Juke Outside Handle Grip, Passenger Side
Part Number: 80640-1FA6B$112.09 MSRP: $172.71You Save: $60.62 (36%)Ships in 1-3 Business DaysNissan Juke Outside Handle Grip, Passenger Side
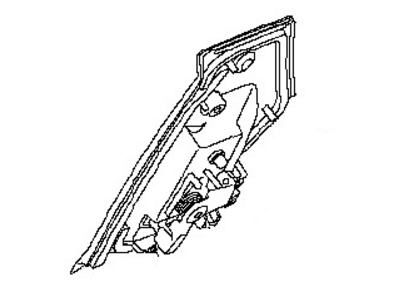
Part Number: 80640-1FC8A$30.36 MSRP: $45.62You Save: $15.26 (34%)Ships in 1-3 Business DaysNissan Juke Rear Door Outside Handle Assembly Right
Part Number: 82606-1KA0A$57.60 MSRP: $86.55You Save: $28.95 (34%)Ships in 1-3 Business DaysNissan Juke Rear Door Outside Handle Assembly Left
Part Number: 82607-1KA0A$57.60 MSRP: $86.55You Save: $28.95 (34%)Ships in 1-3 Business DaysNissan Juke Outside Handle Grip, Passenger Side
Part Number: 80640-1FA1B$122.11 MSRP: $183.49You Save: $61.38 (34%)Ships in 1-3 Business DaysNissan Juke Outside Handle Grip, Passenger Side
Part Number: 80640-1KA3B$132.95 MSRP: $199.78You Save: $66.83 (34%)Ships in 1-3 Business DaysNissan Juke Outside Handle Grip, Passenger Side
Part Number: 80640-1KA5B$139.14 MSRP: $209.07You Save: $69.93 (34%)Ships in 1-3 Business DaysNissan Juke Handle Outside
Part Number: 80640-1FU1A$28.22 MSRP: $42.40You Save: $14.18 (34%)Ships in 1-3 Business DaysNissan Juke Outside Handle Grip, Passenger Side
Part Number: 80640-1FU2B$111.26 MSRP: $167.18You Save: $55.92 (34%)Ships in 1-3 Business DaysNissan Juke Outside Handle Grip, Passenger Side
Part Number: 80640-1FC6A$29.61 MSRP: $45.62You Save: $16.01 (36%)Ships in 1-3 Business DaysNissan Juke Outside Handle Grip, Passenger Side
Part Number: 80640-1KA2A$32.69 MSRP: $50.36You Save: $17.67 (36%)Ships in 1-3 Business DaysNissan Juke Outside Handle Grip, Passenger Side
Part Number: 80640-1FE5A$21.25 MSRP: $31.93You Save: $10.68 (34%)Ships in 1-3 Business DaysNissan Juke Outside Handle Grip, Passenger Side
Part Number: 80640-3YL0A$28.01 MSRP: $42.09You Save: $14.08 (34%)Ships in 1-3 Business DaysNissan Juke Outside Handle Grip, Passenger Side
Part Number: 80640-3YL1A$28.01 MSRP: $42.09You Save: $14.08 (34%)Ships in 1-3 Business DaysNissan Juke Outside Handle Grip, Passenger Side
Part Number: 80640-1FU2A$29.06 MSRP: $43.67You Save: $14.61 (34%)Ships in 1-3 Business DaysNissan Juke Outside Handle Grip, Passenger Side
Part Number: 80640-1JU0A$30.02 MSRP: $45.11You Save: $15.09 (34%)Ships in 1-3 Business Days
| Page 1 of 2 |Next >
1-20 of 40 Results
Nissan Juke Door Handle
If you need any OEM Nissan Juke Door Handle, feel free to choose them out of our huge selection of genuine Nissan Juke Door Handle. All our parts are offered at unbeatable prices and are supported by the manufacturer's warranty. In addition, we offer quick shipping to have your parts delivered to your door step in a matter of days.
Nissan Juke Door Handle Parts Questions & Experts Answers
- Q: How do you replace the interior and exterior door handles and locks on Nissan Juke?A: In order to remove the interior door release handle, you have to open the door and take off the inner trim panel along with a sheet of plastic, to then unscrew a single bolt and pull the handle to the back in order to extract it from the door. Remove the operating cable outer sleeve from the release lever bracket and pull out the inner part of the operating cable. During refitting, ensure the release lever and the lock components are in the proper working condition and replace the door inner trim panel. At the exterior door handle on front doors, first, lay down the front door window glass, then, pull out the washers from the retaining bolt, take out the retaining clip for this bolt, and finally, unscrew the cover that secures handle and lock parts. To reveal the door handle retaining screw, take out the circular plastic disc, then, by pressing the retracting clip, disconnect the operating rod attached to the door lock lever if you are to work on the driver side. If the model comes with an intelligent key system, then the wiring connectors need to be disconnected which are usually found on the door panel. Unscrew the door handle retaining screw to a certain point and pull open the outside handle to free the push button, but ensure that the silver paint is not scratched off. Pull the entire handle back and disengage it from the slot, undo the rubber collars on the handle recess and pull the outer handle casing back towards the rear of the car and out of sight at the interior of the door. Pull the door lock operation cable out from the outside handle frame and take off the frame. When refitting or replacing the front doors, it is recommended to check the functionality of the exterior handle and the lock mechanism prior to reinstating the door inner trim, and the front door window glass. For rear doors, then removing of door inner trim panel and plastic sealing sheet is done, removing of three bolts fixing outside handle to door frame, withdrawing of outside handle, disconnecting of lock operating cable and final step is removal of the handle. Refitting, like every process in the repair, goes through a reversal where the exterior handle and the door inner trim panel are fixed in the right order. For the front door lock, the following parts have to be dismantled: the door inner trim panel, the interior door release handle, and the exterior car handle. Remove the three locking reinforcement screws on the backside of the door, remove the electrical connection of the lock and pull the lock through the door opening. During refitting make sure the lock operating cable and rods are properly positioned, also ensure that the release handle and the lock working properly, also refit the exterior and interior door handles and the door inner trim panel. The procedure for the rear door lock remains almost the same of the removal of the door inner trim panel, front door window glass, and exterior door handle and finally unbolt the interior release handle from the door. Remove the three lock securing screws, and unlatch the lock wiring connector, withdraw the lock assembly through the door aperture and, then pull the interior release handle towards you or backward, then finally remove the door lock. Refitting is done in reverse and when refitting the lock operating cables, the flow of the cables should be corrected, the working of the handle and the lock mechanism should be checked before replacing the door inner trim panel.
