×
- Live Chat
- 1-888-726-6993

My Garage
My Account
Cart
Genuine Nissan Pathfinder Oil Filter
Engine Oil filter- Select Vehicle by Model
- Select Vehicle by VIN
Select Vehicle by Model
orMake
Model
Year
Select Vehicle by VIN
For the most accurate results, select vehicle by your VIN (Vehicle Identification Number).
22 Oil Filters found
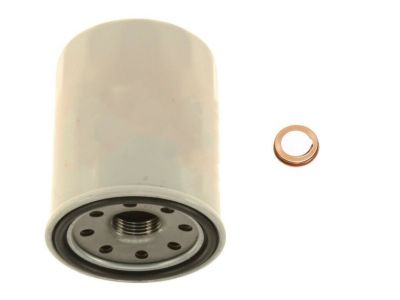
Nissan Pathfinder Oil Filter Full Case
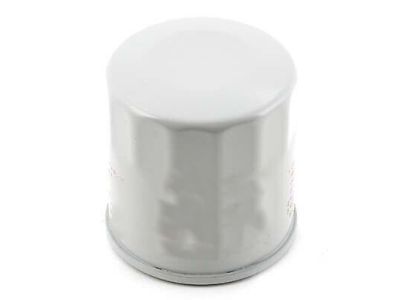
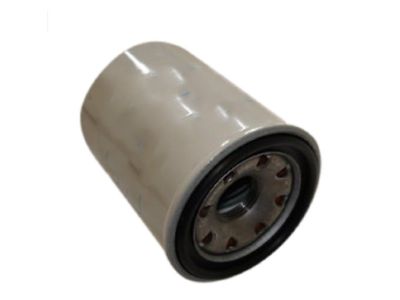
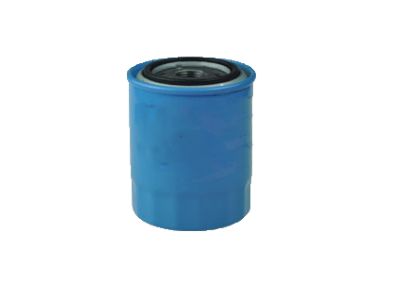
Part Number: 15208-65F0E$6.27 MSRP: $9.25You Save: $2.98 (33%)Ships in 1-2 Business DaysNissan Pathfinder Oil Filter Assembly
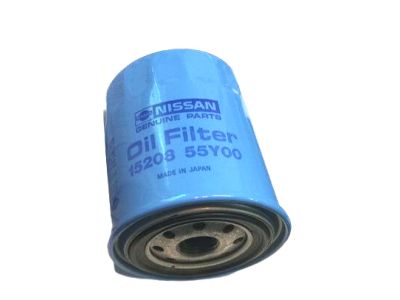
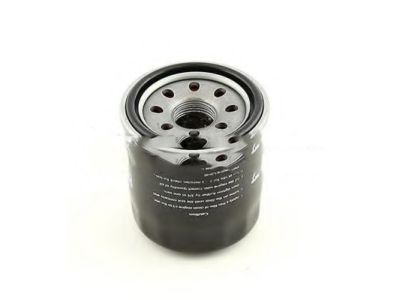
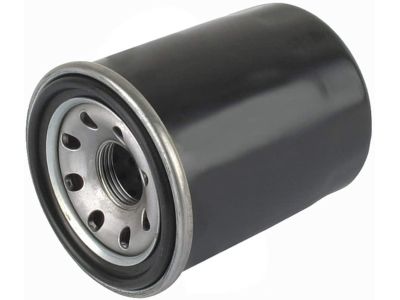
Part Number: 15208-55Y00$6.27 MSRP: $9.25You Save: $2.98 (33%)Ships in 1-2 Business DaysNissan Pathfinder Oil Filter Assembly
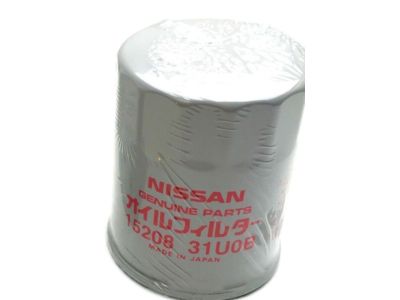
Part Number: 15208-31U0B$6.27 MSRP: $9.25You Save: $2.98 (33%)Ships in 1-3 Business DaysNissan Pathfinder Oil Filter Assembly
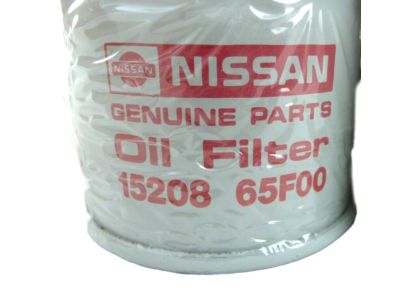
Part Number: 15208-65F00$6.27 MSRP: $9.25You Save: $2.98 (33%)Ships in 1-3 Business DaysNissan Pathfinder Oil Filter Assembly
Part Number: 15208-31U00$6.27 MSRP: $9.25You Save: $2.98 (33%)Ships in 1-3 Business DaysNissan Pathfinder Oil Filter Assembly
Part Number: 15208-65F0D$6.27 MSRP: $9.25You Save: $2.98 (33%)Ships in 1-2 Business DaysNissan Pathfinder Oil Filter Assembly
Part Number: 15200-AR000$27.04 MSRP: $37.25You Save: $10.21 (28%)Ships in 1-3 Business DaysNissan Pathfinder Oil Filter Assembly
Part Number: 15208-H8903$6.27 MSRP: $9.25You Save: $2.98 (33%)Ships in 1-3 Business DaysNissan Pathfinder Oil Filter Assembly
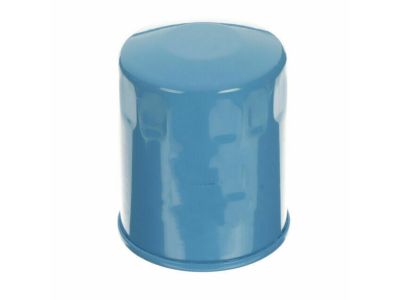
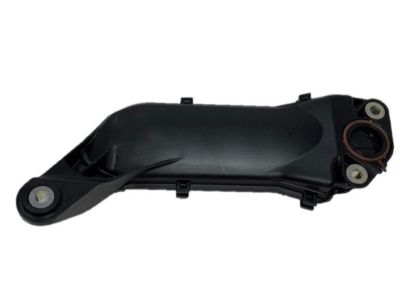
Part Number: 15200-3TA0A$11.46 MSRP: $15.78You Save: $4.32 (28%)Ships in 1-3 Business DaysNissan Pathfinder Engine Oil Filter
Part Number: 15208-31U0A$6.27 MSRP: $9.25You Save: $2.98 (33%)Ships in 1-2 Business DaysNissan Pathfinder Oil Filter Assembly
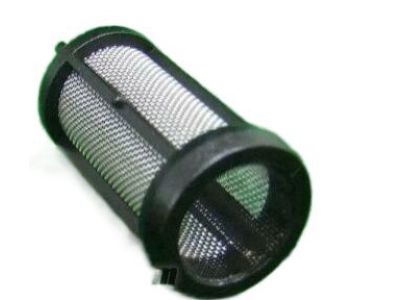
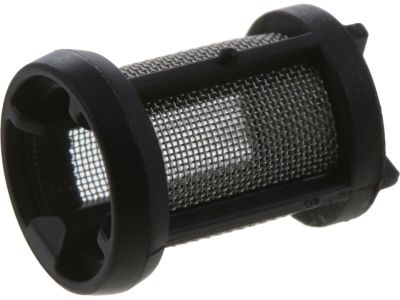
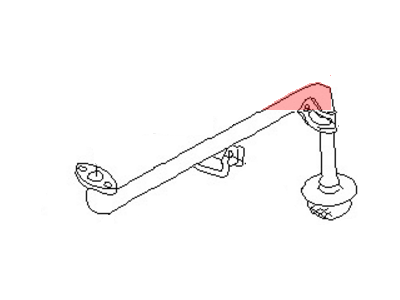
Part Number: 15208-31U01$6.27 MSRP: $9.25You Save: $2.98 (33%)Ships in 1-3 Business DaysNissan Pathfinder Oil Strainer Assembly
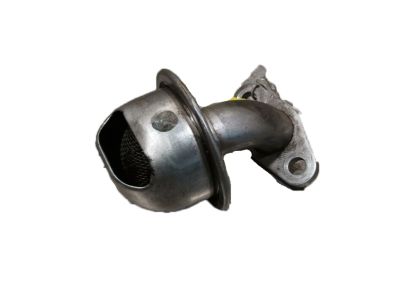
Part Number: 15050-3TA0A$59.46 MSRP: $81.90You Save: $22.44 (28%)Ships in 1-3 Business DaysNissan Pathfinder Oil Strainer Assembly
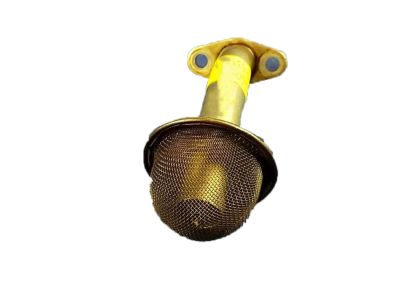
Part Number: 15050-EA200$38.74 MSRP: $53.37You Save: $14.63 (28%)Ships in 1-3 Business DaysNissan Pathfinder Oil Strainer Assembly
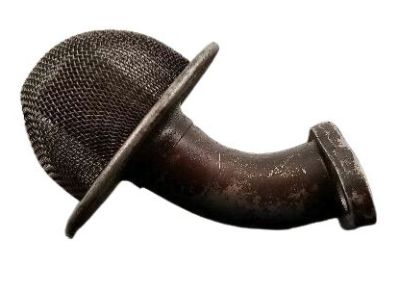
Part Number: 15050-JA10A$46.61 MSRP: $64.20You Save: $17.59 (28%)Ships in 1-3 Business DaysNissan Pathfinder Oil Filter Assembly
Part Number: 15208-W1103$6.79 MSRP: $10.02You Save: $3.23 (33%)Ships in 1-2 Business DaysNissan Pathfinder Oil Filter Assembly
Part Number: 15208-H8904$6.27 MSRP: $9.25You Save: $2.98 (33%)Ships in 1-3 Business DaysNissan Pathfinder Oil Strainer Assembly
Part Number: 15050-7S000$56.14 MSRP: $77.33You Save: $21.19 (28%)Ships in 1-3 Business DaysNissan Pathfinder Oil Strainer Assembly
Part Number: 15050-12G12$23.90 MSRP: $32.92You Save: $9.02 (28%)
| Page 1 of 2 |Next >
1-20 of 22 Results
Nissan Pathfinder Oil Filter
If you need any OEM Nissan Pathfinder Oil Filter, feel free to choose them out of our huge selection of genuine Nissan Pathfinder Oil Filter. All our parts are offered at unbeatable prices and are supported by the manufacturer's warranty. In addition, we offer quick shipping to have your parts delivered to your door step in a matter of days.
Nissan Pathfinder Oil Filter Parts Questions & Experts Answers
- Q: How to perform frequent oil and oil filter changes as preventive maintenance for home mechanics on Nissan Pathfinder?A: One of the most important preventative maintenance tasks for home mechanics is regular oil changes, which should be done because the oil in an aging engine tends to get diluted and contaminated, leading to premature wear of the engine. It is best to change the oil filter every time you change your oil just to give your engine added protection. Prior to starting, gather all required tools and supplies like drain pan, rubber gloves, breaker bar, socket and filter wrench. Ensure a big stack of clean rags and newspapers are handy for any spills. To improve access underneath the vehicle hoists, ramps or jack stands may be used. Locate the oil drain plug and oil filter; warm up the engine to normal operating temperature then check that you have the correct type of oil for your automobile. Raise and support vehicle with warm engine oil; position drain pan under drain plug/ Move carefully while taking away the drainage plug releasing free flow of all dirty oils into that bucket or bowl this will help prevent messy floors which would otherwise have been stained by such oils that are not only dirty but also greasy. After draining, wipe off any dirt on the drain plug, clean around its opening then secure it back again properly. Slide it towards one side then push it upwards ensuring that it doesn't fall over unintentionally since it contains old lubricants which could cause an unexpected accident if they were not handled properly during their replacement process so as to remove everything from inside that part with ease (usually by lifting off its top). Now put some rags on floor right below where filter will be attached; this is aimed at keeping them dry once new one starts leaking out; also remember do not touch anything else until after fitting into place unless under some specific circumstances as specified earlier like how much distance between bottom edge top flange where there ought not more than three-sixteenths inch space remaining available while being supported firmly against firm surface beneath without placing undue pressure behind connections either after was installed without any extra force required compared against those other areas considered weak parts around base due previous damages caused during its removal process under pressure within opening space left behind between these surfaces even though it may appear out of alignment sometimes. Tighten the filter as directed by manufacturer. If you are working on a four-cylinder model, reinstall the inner fender panel and lower the vehicle. The oil filler cap is in the engine compartment; use a funnel to pour in fresh oil. Wait for oil to drain into pan; check oil level on dipstick; start engine to circulate new oil. Shut off the engine after it has run briefly; inspect possible leaks around both the drain plug and the filter area. Check oil level again and add if necessary. Keep an eye on leaks that can develop during first several trips after changing oils along with maintaining correct amount inside tank throughout such travel periods like during short drives which result into little movement thus no enough distances covered by vehicles' engines hence they do not warm up adequately thereby leading insufficient levels needed circulate through all parts responsible generating enough power enable proper functioning normal operations including but not limited cooling system as well lubrication systems yet when going long journey it is important check dipstick before embarking upon drive home from work. After completing used motor lubricant changes, dispose them safely e.g. at recycling plants rather than pouring into soil or down drainage systems .
Related Nissan Pathfinder Parts
Browse by Year
2024 Oil Filter 2023 Oil Filter 2022 Oil Filter 2020 Oil Filter 2019 Oil Filter 2018 Oil Filter 2017 Oil Filter 2016 Oil Filter 2015 Oil Filter 2014 Oil Filter 2013 Oil Filter 2012 Oil Filter 2011 Oil Filter 2010 Oil Filter 2009 Oil Filter 2008 Oil Filter 2007 Oil Filter 2006 Oil Filter 2005 Oil Filter 2004 Oil Filter 2003 Oil Filter 2002 Oil Filter 2001 Oil Filter 2000 Oil Filter 1999 Oil Filter 1998 Oil Filter 1997 Oil Filter 1996 Oil Filter 1995 Oil Filter 1994 Oil Filter 1993 Oil Filter 1992 Oil Filter 1991 Oil Filter 1990 Oil Filter 1989 Oil Filter 1988 Oil Filter 1987 Oil Filter
