×
- Live Chat
- 1-888-726-6993

My Garage
My Account
Cart
Genuine Nissan Quest Brake Disc
Disc Rotor- Select Vehicle by Model
- Select Vehicle by VIN
Select Vehicle by Model
orMake
Model
Year
Select Vehicle by VIN
For the most accurate results, select vehicle by your VIN (Vehicle Identification Number).
9 Brake Discs found
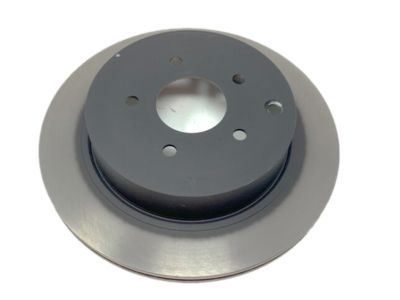
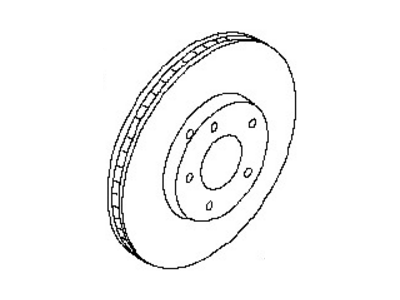
Nissan Quest Rotor-Disc Brake,Rear
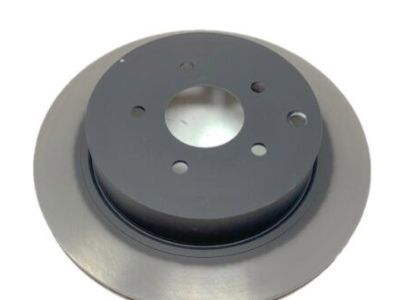
Part Number: 43206-CK000$82.18 MSRP: $125.00You Save: $42.82 (35%)Ships in 1-2 Business DaysNissan Quest Rotor-Disc Brake,Rear
Part Number: 43206-CA000$82.18 MSRP: $125.00You Save: $42.82 (35%)Ships in 1-3 Business DaysNissan Quest Rotor Disc Brake Front
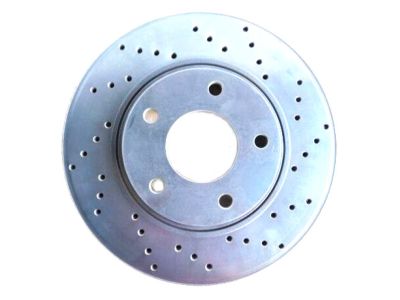
Part Number: 40206-3WS1B$78.89 MSRP: $120.00You Save: $41.11 (35%)Ships in 1-3 Business DaysNissan Quest Rotor-Disc Brake,Front
Part Number: 40206-CK000$82.94 MSRP: $120.00You Save: $37.06 (31%)Nissan Quest Rotor Disc Brake Front
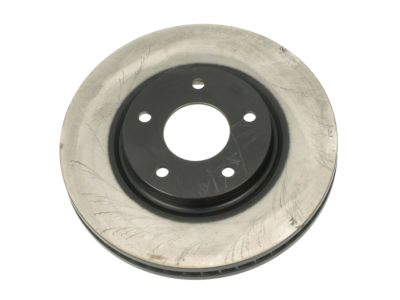
Part Number: 40206-1JR1A$78.89 MSRP: $120.00You Save: $41.11 (35%)Ships in 1-2 Business DaysNissan Quest RTR Dsc BRKF
Part Number: 40206-7B000$94.66 MSRP: $130.38You Save: $35.72 (28%)Ships in 1-2 Business DaysNissan Quest Rotor Disc Brake Front
Part Number: 40206-AR00A$78.89 MSRP: $120.00You Save: $41.11 (35%)Ships in 1-3 Business DaysNissan Quest Rotor Disc Brake Front
Part Number: 40206-ZM00A$78.89 MSRP: $120.00You Save: $41.11 (35%)Ships in 1-3 Business DaysNissan Quest Rotor-Disc (Brake, Front)
Part Number: 40206-0B000$94.66 MSRP: $130.38You Save: $35.72 (28%)
Nissan Quest Brake Disc
If you need any OEM Nissan Quest Brake Disc, feel free to choose them out of our huge selection of genuine Nissan Quest Brake Disc. All our parts are offered at unbeatable prices and are supported by the manufacturer's warranty. In addition, we offer quick shipping to have your parts delivered to your door step in a matter of days.
Nissan Quest Brake Disc Parts Questions & Experts Answers
- Q: How do you properly remove and install a brake disc while ensuring optimal brake performance on Nissan Quest?A: Loosen the wheel lug nuts, raise the vehicle, and support it securely on jackstands. Remove the wheel and install the lug nuts with 3 mm thick washers under them to hold the disc in place. Remove the Brake Caliper without disconnecting the brake hose, and suspend the caliper out of the way with a piece of wire while supporting it from the strut/coil spring assembly. Visually inspect the disc surface for scoring or damage; light scratches and shallow grooves are normal, but deep scoring over 0.015 inch requires refinishing by an automotive machine shop. Check both sides of the disc. If pulsation during braking is noted, suspect disc runout by placing a dial indicator about 1/2-inch from the outer edge of the disc, ensuring the lug nuts are tight, then rotating the disc to check the runout. The reading should not exceed the specified allowable runout limit; if it does, have the disc refinished. It is recommended to resurface the discs regardless of the dial indicator reading to ensure a smooth finish and flat surface, eliminating brake pedal pulsation. If not resurfacing, remove glazing from the surface with emery cloth or sandpaper using a swirling motion. Ensure the disc is not machined to a thickness less than the minimum allowable thickness, which is stamped on the disc, and check the thickness at several points with a micrometer. Remove the two caliper-to-steering knuckle bolts and the brake caliper. Remove the lug nuts that held the disc in place and take the disc off the hub. If the disc is stuck, thread two bolts into the holes provided and tighten them alternately until the disc is free. Place the disc in position over the threaded studs, then install the caliper and brake pads over the disc, tightening the caliper mounting bolts to the specified torque. Install the wheel, lower the vehicle to the ground, and depress the brake pedal a few times to bring the brake pads into contact with the disc. Bleeding of the system is only necessary if the fluid hose was disconnected from the caliper. Check the operation of the brakes carefully before placing the vehicle into normal service.
Related Nissan Quest Parts
Browse by Year
2017 Brake Disc 2016 Brake Disc 2015 Brake Disc 2014 Brake Disc 2013 Brake Disc 2012 Brake Disc 2011 Brake Disc 2010 Brake Disc 2009 Brake Disc 2008 Brake Disc 2007 Brake Disc 2006 Brake Disc 2005 Brake Disc 2004 Brake Disc 2003 Brake Disc 2002 Brake Disc 2001 Brake Disc 2000 Brake Disc 1999 Brake Disc 1998 Brake Disc 1997 Brake Disc 1996 Brake Disc 1995 Brake Disc 1994 Brake Disc 1993 Brake Disc
