×
- Hello
- Login or Register
- Quick Links
- Live Chat
- Track Order
- Parts Availability
- RMA
- Help Center
- Contact Us
- Shop for
- Nissan Parts
- Nissan Accessories

My Garage
My Account
Cart
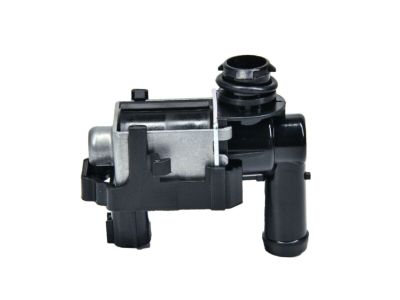
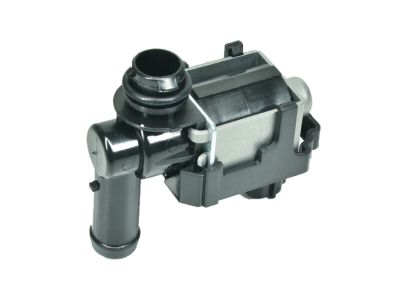
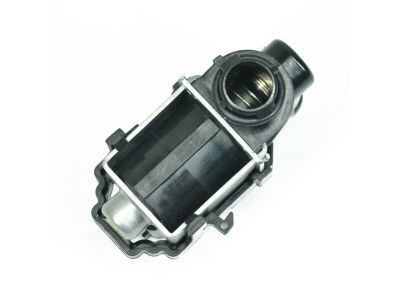
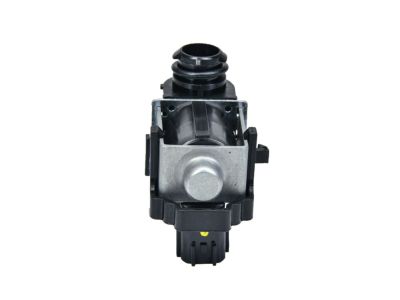
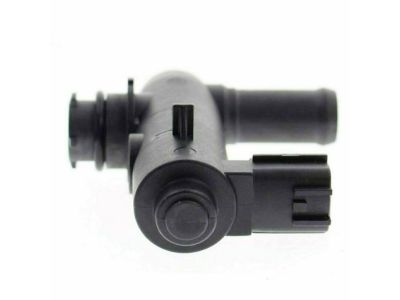
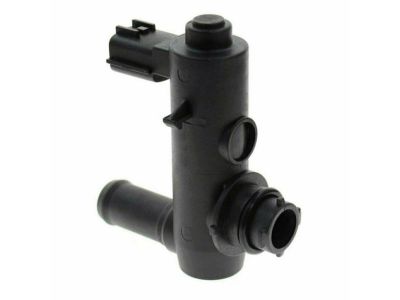
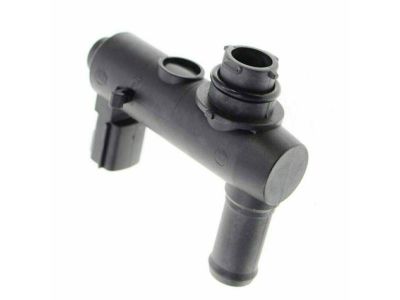
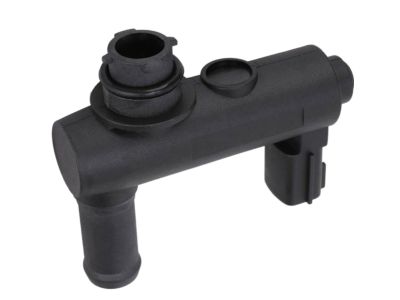
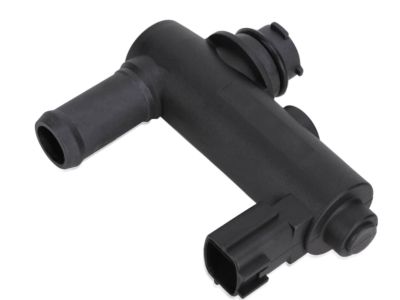
Genuine Nissan Rogue Canister Purge Valve
Vapor Canister Purge Valve EVAP- Select Vehicle by Model
- Select Vehicle by VIN
Select Vehicle by Model
orMake
Model
Year
Select Vehicle by VIN
For the most accurate results, select vehicle by your VIN (Vehicle Identification Number).
16 Canister Purge Valves found

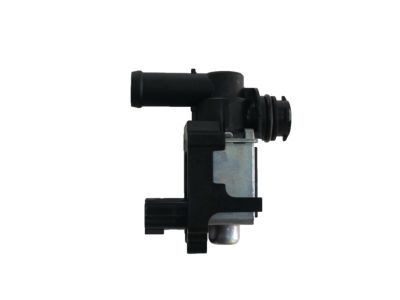
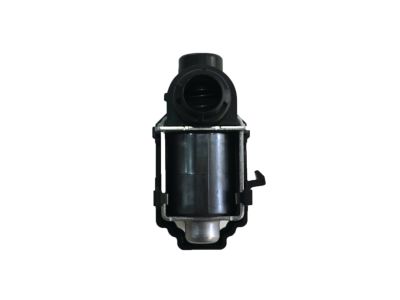
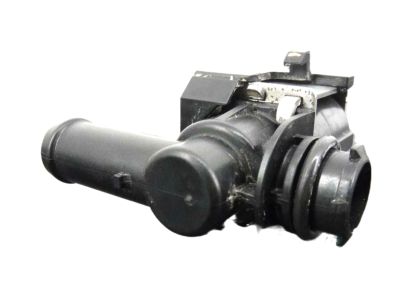
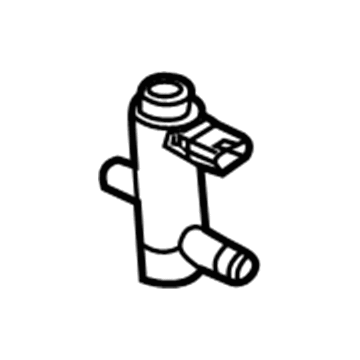
Nissan Rogue Valve Assembly - Control
Part Number: 14935-JF00B$57.65 MSRP: $79.47You Save: $21.82 (28%)Ships in 1-3 Business Days
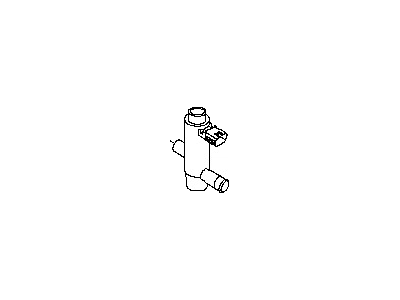
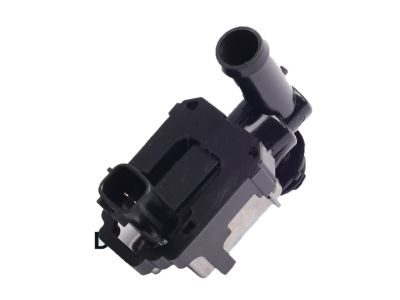
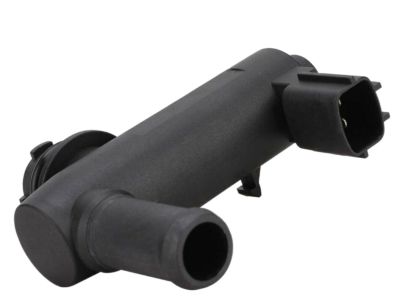
Nissan Rogue Valve Assembly - Control
Part Number: 14935-JF00E$57.65 MSRP: $79.47You Save: $21.82 (28%)Ships in 1-3 Business Days
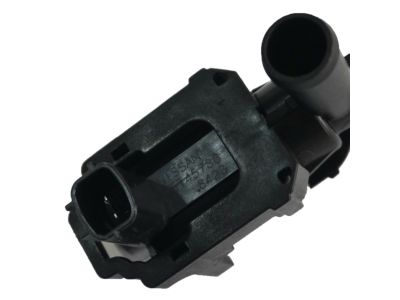
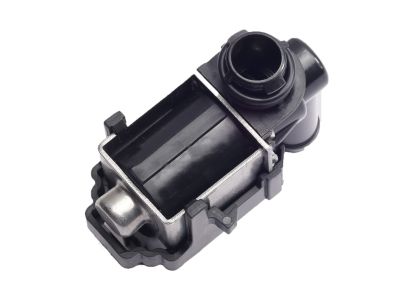
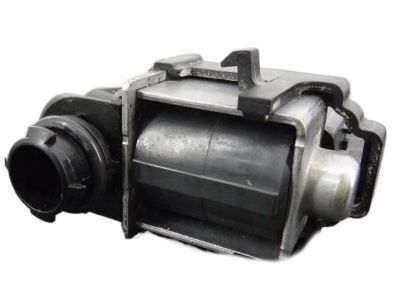
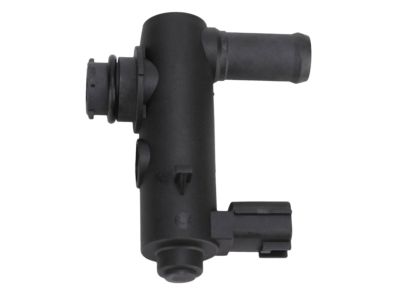
Nissan Rogue Vapor Canister Purge Solenoid
Part Number: 14930-JA10D$151.96 MSRP: $214.63You Save: $62.67 (30%)Ships in 1-2 Business Days
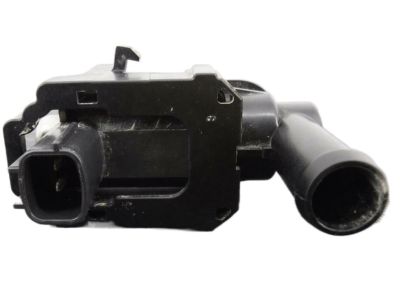
Nissan Rogue Valve Assembly - Control
Part Number: 14935-JF00A$57.65 MSRP: $79.47You Save: $21.82 (28%)Ships in 1-2 Business Days
Nissan Rogue Valve Assembly - Control
Part Number: 14930-JA10E$141.73 MSRP: $200.18You Save: $58.45 (30%)Ships in 1-3 Business Days
Nissan Rogue Valve Assy-Control
Part Number: 14935-JF00C$57.65 MSRP: $79.47You Save: $21.82 (28%)Ships in 1-2 Business Days
Nissan Rogue Valve Assy-Control
Part Number: 14930-JA10A$151.96 MSRP: $214.63You Save: $62.67 (30%)Ships in 1-2 Business DaysNissan Rogue Valve Assembly - Control
Part Number: 14935-JF00D$57.65 MSRP: $79.47You Save: $21.82 (28%)Ships in 1-3 Business DaysNissan Rogue Valve Assembly - Control
Part Number: 14930-JA10B$151.96 MSRP: $214.63You Save: $62.67 (30%)Ships in 1-2 Business DaysNissan Rogue Valve Assembly - Control
Part Number: 14930-JA10C$141.73 MSRP: $200.18You Save: $58.45 (30%)Ships in 1-3 Business DaysNissan Rogue Valve Assembly - Control
Part Number: 14930-1MC0A$142.39 MSRP: $201.12You Save: $58.73 (30%)Ships in 1-3 Business DaysNissan Rogue Valve Assembly - Control
Part Number: 14930-6CA0A$199.40 MSRP: $281.63You Save: $82.23 (30%)Ships in 1-3 Business DaysNissan Rogue Evap Canister Purge Valve
Part Number: 14930-6RC0A$202.94 MSRP: $286.63You Save: $83.69 (30%)Ships in 1-3 Business Days

Nissan Rogue Valve Assembly - Control
Part Number: 14935-AM60A$101.86 MSRP: $143.87You Save: $42.01 (30%)
Nissan Rogue Canister Purge Valve
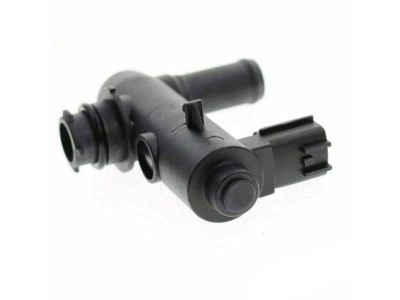
If you need any OEM Nissan Rogue Canister Purge Valve, feel free to choose them out of our huge selection of genuine Nissan Rogue Canister Purge Valve. All our parts are offered at unbeatable prices and are supported by the manufacturer's warranty. In addition, we offer quick shipping to have your parts delivered to your door step in a matter of days.
Nissan Rogue Canister Purge Valve Parts Questions & Experts Answers
- Q: How to remove and install the Vapor Pressure Sensor,EVAP canister and purge control solenoid valve on Nissan Rogue?A:From the valve, unhook the pipes that are connected to the electrical connector and the purge control solenoid. Covering a variety of mounting bolts, cut off the valve from intake manifold. Fitment is accomplished in reverse order of removal. The EVAP canister is found beneath the vehicle near right rear wheel. Raise car backside and secure it onto jackstands. Disconnect control pressure sensor and vent control valve electrical connectors. Separate canister purge hose from canister. Take out fuel tank EVAP breather hose and vent control valve pipe. Remove retainer bolt for canister as well as EVAP canister itself. Fitment is accomplished in reverse order of removal. There is no need to remove EVAP canister when removing its vent control valve or EVAP canister system pressure sensor. Remove the shield so as to gain access to the evaporative emission canister where it lies under splash guard on top of rear differential assembly. Pull up on pressure sensor until it disengages from its mounting position inside vacuum chamber below fuel tank, which will cause O-ring to pop off too if using excessive force during this operation; otherwise simply lift straight up slowly without any twisting motion applied so as not overstretch gasket material around edges (replace with new one after inspection). Rotate vent control valve anti-clockwise in order release it out of this charcoal filter container by turning handle counterclockwise until fully unscrewed out from cannister wall; then withdraw completely backwards making sure there are no obstructions left behind like dust bunnies along its path towards exit hole situated at bottommost part connecting route between gas tank vents (check if necessary replace). Fitment is accomplished in reverse order of removal.
Related Nissan Rogue Parts
Browse by Year
2023 Canister Purge Valve 2022 Canister Purge Valve 2021 Canister Purge Valve 2020 Canister Purge Valve 2019 Canister Purge Valve 2018 Canister Purge Valve 2017 Canister Purge Valve 2016 Canister Purge Valve 2015 Canister Purge Valve 2014 Canister Purge Valve 2013 Canister Purge Valve 2012 Canister Purge Valve 2011 Canister Purge Valve 2010 Canister Purge Valve 2009 Canister Purge Valve 2008 Canister Purge Valve
