×
- Live Chat
- 1-888-726-6993

My Garage
My Account
Cart
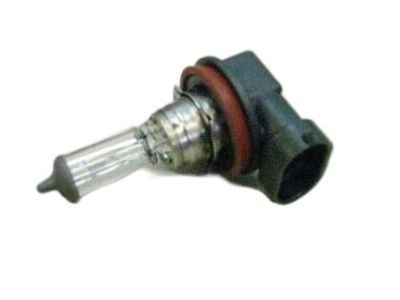
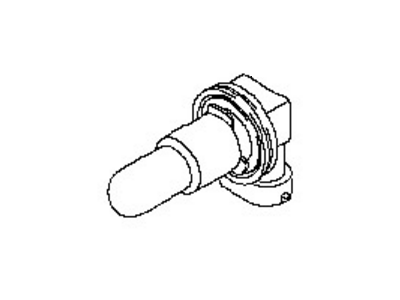
Genuine Nissan Sentra Fog Light Bulb
Fog Lamp Bulb- Select Vehicle by Model
- Select Vehicle by VIN
Select Vehicle by Model
orMake
Model
Year
Select Vehicle by VIN
For the most accurate results, select vehicle by your VIN (Vehicle Identification Number).
12 Fog Light Bulbs found
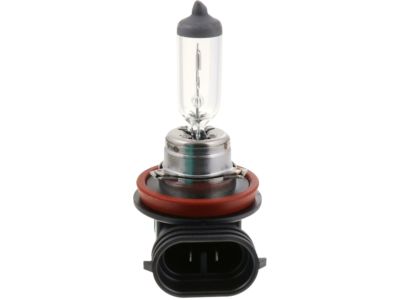
Nissan Sentra Bulb
Part Number: 26296-9B92B$23.47 MSRP: $32.33You Save: $8.86 (28%)Ships in 1-2 Business DaysNissan Sentra Bulb
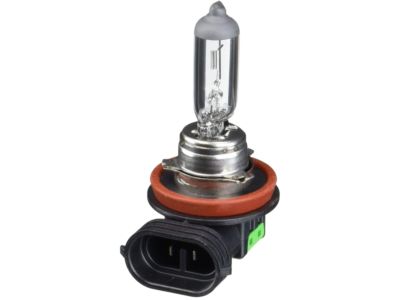
Part Number: 26296-89947$23.47 MSRP: $32.33You Save: $8.86 (28%)Ships in 1-2 Business DaysNissan Sentra Bulb
Part Number: 26296-8990D$23.47 MSRP: $32.33You Save: $8.86 (28%)Ships in 1-2 Business DaysNissan Sentra Bulb
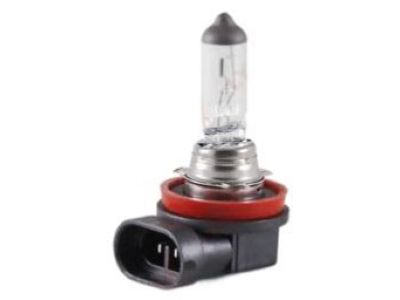
Part Number: 26296-89946$23.47 MSRP: $32.33You Save: $8.86 (28%)Ships in 1-2 Business DaysNissan Sentra Bulb
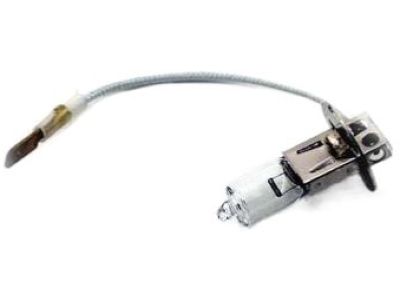
Part Number: 26293-C9912$31.15 MSRP: $42.90You Save: $11.75 (28%)Ships in 1-2 Business DaysNissan Sentra Bulb
Part Number: B6296-89947$23.47 MSRP: $32.33You Save: $8.86 (28%)Ships in 1-3 Business DaysNissan Sentra Bulb
Part Number: 26296-9B92A$23.47 MSRP: $32.33You Save: $8.86 (28%)Ships in 1-3 Business DaysNissan Sentra Bulb
Part Number: 26296-8991A$39.83 MSRP: $54.87You Save: $15.04 (28%)Ships in 1-3 Business DaysNissan Sentra Bulb
Part Number: 26293-C9904$31.15 MSRP: $42.90You Save: $11.75 (28%)Ships in 1-3 Business DaysNissan Sentra Bulb
Part Number: 26296-89945$23.47 MSRP: $32.33You Save: $8.86 (28%)Ships in 1-3 Business DaysNissan Sentra Bulb
Part Number: 26293-C9907$28.23 MSRP: $38.88You Save: $10.65 (28%)Ships in 1-3 Business Days
Nissan Sentra Fog Light Bulb
If you need any OEM Nissan Sentra Fog Light Bulb, feel free to choose them out of our huge selection of genuine Nissan Sentra Fog Light Bulb. All our parts are offered at unbeatable prices and are supported by the manufacturer's warranty. In addition, we offer quick shipping to have your parts delivered to your door step in a matter of days.
Nissan Sentra Fog Light Bulb Parts Questions & Experts Answers
- Q: How to access, replace, and aim Fog Light Bulb,various exterior and interior lights on Nissan Sentra?A: To access the exterior lights, locate the bulb sockets in the headlight housing from the engine compartment, removing the air filter resonator for SE-R models to reach the left side bulbs. Turn the bulb sockets counterclockwise to remove them, then take out the bulb from the holder, with installation being the reverse of removal. For rear turn signal, brake, tail, side marker, and back-up lights, remove the trunk inner trim, detach the harness clips, and take off the taillight housing assembly nuts. Pull the housing towards the rear, disconnect the electrical connector, and remove the housing. Turn the bulb holder counterclockwise to remove it and then replace it in reverse order. Fog lights are controlled by the lighting switch inputs to the Body Control Module (BCM), which must be in the correct position for the Intelligent Power Distribution Module (IPDM) to activate them. For bulb replacement, remove the fasteners at the front of the inner fender splash shield to access the bulb, disconnect the fog light electrical connector, and turn the bulb holder counterclockwise to remove it, with installation being the reverse. To aim the fog lights, ensure tires are properly inflated and the vehicle is level, then adjust the aiming screw accessed from a small hole on the bumper, ensuring the beam's highest intensity falls 4 inches below a horizontal tape line level with the top of the fog lights. For the license plate light, remove the inner trunk lid trim, take out the retaining nuts, disconnect the trunk opener switch connector if equipped, and remove the light trim to access the bulb, replacing it in reverse order. The high-mounted brake light assembly can be uncliped from the rear parcel shelf trim, with the electrical connector disconnected and the bulb socket turned counterclockwise for removal, again reversing the process for installation. For spoiler-mounted assemblies, if the LED fails, the entire assembly must be replaced. Open the trunk to remove the trunk trim panel, disconnect the electrical connector, and remove the screws securing the assembly to the spoiler. Interior light bulbs are replaced by prying off the lens with a small screwdriver or trim tool, pushing the metal tabs to remove the bulb, and reinstalling in reverse order. Instrument Cluster illumination issues require replacing the entire cluster if any individual components fail.
Related Nissan Sentra Parts
Browse by Year
2023 Fog Light Bulb 2022 Fog Light Bulb 2021 Fog Light Bulb 2020 Fog Light Bulb 2019 Fog Light Bulb 2018 Fog Light Bulb 2017 Fog Light Bulb 2016 Fog Light Bulb 2015 Fog Light Bulb 2014 Fog Light Bulb 2013 Fog Light Bulb 2012 Fog Light Bulb 2011 Fog Light Bulb 2010 Fog Light Bulb 2009 Fog Light Bulb 2008 Fog Light Bulb 2007 Fog Light Bulb 2006 Fog Light Bulb 2005 Fog Light Bulb 2004 Fog Light Bulb 2003 Fog Light Bulb 2002 Fog Light Bulb 2001 Fog Light Bulb 2000 Fog Light Bulb 1999 Fog Light Bulb 1998 Fog Light Bulb 1997 Fog Light Bulb 1996 Fog Light Bulb 1995 Fog Light Bulb 1994 Fog Light Bulb 1993 Fog Light Bulb 1992 Fog Light Bulb 1991 Fog Light Bulb
