×
- Live Chat
- 1-888-726-6993

My Garage
My Account
Cart
Genuine Nissan Titan Fog Light Bulb
Fog Lamp Bulb- Select Vehicle by Model
- Select Vehicle by VIN
Select Vehicle by Model
orMake
Model
Year
Select Vehicle by VIN
For the most accurate results, select vehicle by your VIN (Vehicle Identification Number).
4 Fog Light Bulbs found
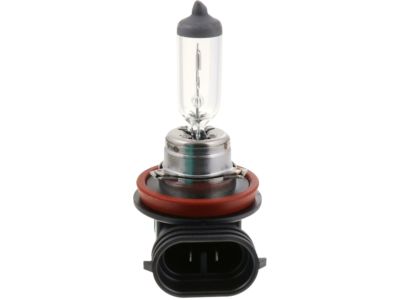
Nissan Titan Bulb
Part Number: 26296-9B92B$23.47 MSRP: $32.33You Save: $8.86 (28%)Ships in 1-2 Business DaysNissan Titan Bulb
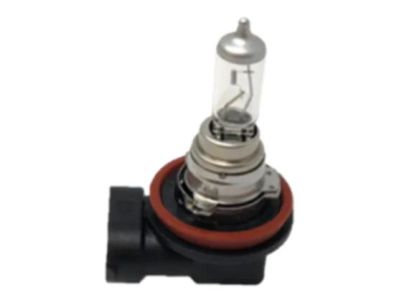
Part Number: 26296-9B912$26.23 MSRP: $36.13You Save: $9.90 (28%)Ships in 1-3 Business DaysNissan Titan Bulb
Part Number: 26296-9B91C$34.16 MSRP: $47.05You Save: $12.89 (28%)Ships in 1-3 Business DaysNissan Titan Bulb
Part Number: 26296-9B92A$23.47 MSRP: $32.33You Save: $8.86 (28%)Ships in 1-3 Business Days
Nissan Titan Fog Light Bulb
If you need any OEM Nissan Titan Fog Light Bulb, feel free to choose them out of our huge selection of genuine Nissan Titan Fog Light Bulb. All our parts are offered at unbeatable prices and are supported by the manufacturer's warranty. In addition, we offer quick shipping to have your parts delivered to your door step in a matter of days.
Nissan Titan Fog Light Bulb Parts Questions & Experts Answers
- Q: How do you access and replace the various lights in the headlight housing, tail and back-up lights, license plate light, high-mounted brake light, instrument cluster lights, interior lights, and fog lights on Nissan Titan?A: The front turn signal, park light and side marker light are actually installed in the head light assembly where the round shaped bulb is the combined turn/park bulb while the smaller bulb is the side marker bulb. To access these, depower the front corner inner fender well liner mounting fasteners, and pull the liner backward. The side marker or turn signal is located behind the headlight housing, you must twist the holder counter clockwise to un-lock it before pulling the light bulb straight out of the socket and vise versa when putting in the bulb. For tail and back-up lights on those models of Titan which are equipped with such options, open the tailgate, and then unscrew the mounting fasteners and pulling the taillight housing from the specified side of the bed. Location of the liftgate in Armada models and then unbolt the two maintaining screws and take out the taillight housing while the installing, do remember to fit the projected pin with the holes in the body. Twist the bulb holder anti clock wise and this will release the bulb socket from the housing for you to replace the bulb. Replacing the license plate light is little complex and for Titan models the housing has to be pulled from the bumper and for the Armada the housing has to be unsnapped and the bulb holder needs to be replaced. The brake light is situated at the rear of the interior roof headliner on the Titan models, and to change the bulb holders one has to pry out two plastic covers, then come in and pull out the assembly to twist out the holders. Armada styles are also modelled in the same way. The lights on it are I think part of the circuit board and cannot be replaced. Replace the bulb for interior lights by pulling off the lens for the map lights or dome light using a screwdriver. For the fog lights, locate the electrical connecter at the rear of the front bumper behind the fog light housing, unscrew the bulb in a counter clockwise direction and in replacing, do not touch the surface of the new bulb with fingers as this causes overheating; if done, clean with rubbing alcohol. Installation is the process of putting some fixtures and making them function in the ideal state; this is the opposite of removal.
Related Nissan Titan Parts
Browse by Year
2024 Fog Light Bulb 2023 Fog Light Bulb 2022 Fog Light Bulb 2021 Fog Light Bulb 2020 Fog Light Bulb 2019 Fog Light Bulb 2018 Fog Light Bulb 2017 Fog Light Bulb 2016 Fog Light Bulb 2015 Fog Light Bulb 2014 Fog Light Bulb 2013 Fog Light Bulb 2012 Fog Light Bulb 2011 Fog Light Bulb 2010 Fog Light Bulb 2009 Fog Light Bulb 2008 Fog Light Bulb 2007 Fog Light Bulb 2006 Fog Light Bulb 2005 Fog Light Bulb 2004 Fog Light Bulb


