×
- Live Chat
- 1-888-726-6993

My Garage
My Account
Cart
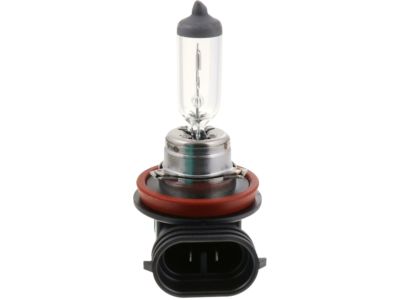
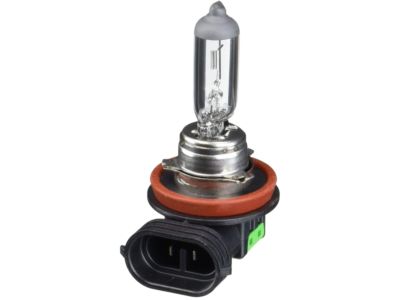
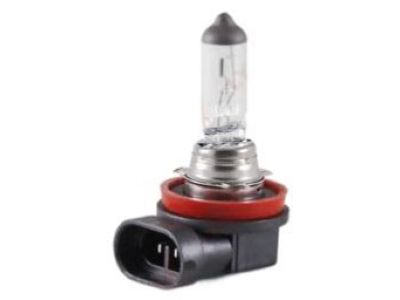
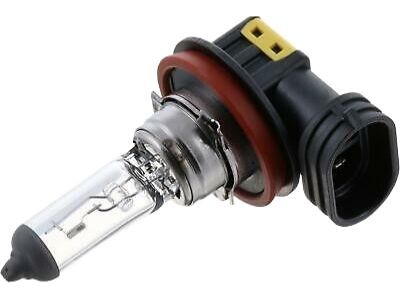
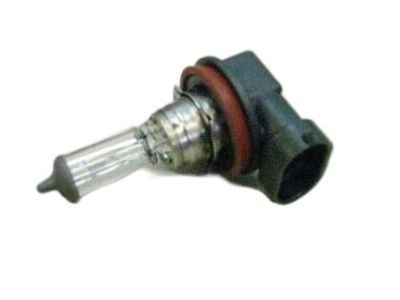
Genuine Nissan Versa Fog Light Bulb
Fog Lamp Bulb- Select Vehicle by Model
- Select Vehicle by VIN
Select Vehicle by Model
orNissan
Versa
Year
Select Vehicle by VIN
For the most accurate results, select vehicle by your VIN (Vehicle Identification Number).
7 Fog Light Bulbs found
Nissan Versa Bulb
Part Number: 26296-9B92B$23.47 MSRP: $32.33You Save: $8.86 (28%)Ships in 1-2 Business DaysNissan Versa Bulb
Part Number: 26296-89947$23.47 MSRP: $32.33You Save: $8.86 (28%)Ships in 1-2 Business DaysNissan Versa Bulb
Part Number: B6296-4A001$39.51 MSRP: $54.42You Save: $14.91 (28%)Ships in 1-3 Business DaysNissan Versa Bulb
Part Number: 26296-89946$23.47 MSRP: $32.33You Save: $8.86 (28%)Ships in 1-2 Business DaysNissan Versa Bulb
Part Number: 26296-89941$39.51 MSRP: $54.42You Save: $14.91 (28%)Ships in 1-2 Business DaysNissan Versa Bulb
Part Number: B6296-89947$23.47 MSRP: $32.33You Save: $8.86 (28%)Ships in 1-3 Business DaysNissan Versa Bulb
Part Number: 26296-89942$39.51 MSRP: $54.42You Save: $14.91 (28%)Ships in 1-3 Business Days
Nissan Versa Fog Light Bulb
If you need any OEM Nissan Versa Fog Light Bulb, feel free to choose them out of our huge selection of genuine Nissan Versa Fog Light Bulb. All our parts are offered at unbeatable prices and are supported by the manufacturer's warranty. In addition, we offer quick shipping to have your parts delivered to your door step in a matter of days.
Nissan Versa Fog Light Bulb Parts Questions & Experts Answers
- Q: How do you replace exterior lights and Fog Light Bulb on Nissan Versa?A: To replace exterior lights begin with the front parking and turn signal lights removes the head light housing, rotate the bulb socket anti clock wise to pull it, remove bulb from the holder, and the procedure of installation is reversed. For rear turn signal, brake, tail, side marker, and back-up lights on hatchback models, the rear access panels must be removed having two nuts at the studs, which must be unscrewed and after that the assembly must be pulled straight back; the bulb holder must be twisted in anticlockewise direction in order to unlock it from its place and then the bulb has to be removed, also in reverse order. For models of sedans, first, take out the trunk inner trim, then by twisting it clockwise the bulb can be detached, and then reinstall it in a reverse manner. To replace the fog light bulb you will have to remove the inner fender splash shield partially to have access to it, then you have to unscrew the electrical connector, rotate the bulb holder anti-clockwise in order to pull it out, and finally reuse in the reverse method. For assembly removal and installation of fenders, partly remove the inner fender splash shield and lower cover, disconnect the electrical connector, unlock the pawl, unscrew the mounting bolt of fender finish panel and secure back in a reversed manner. On license plate lights on the hatches, compression has to be done on the latching pawl to unlock it, then the fixture can be pulled down and bulb removed, followed by an installation process in the reverse manner. For sedan models, first, to remove the nuts, homeowners have to eliminate the trunk lid trim finisher, to follow, get rid of the license plate fixture, next twist the bulb socket in the counter clockwise direction to pull it out and finally, to get rid of the bulb and reinstall everything in the opposite manner. The high-mounted brake light assembly on hatchback models involved the removal of the lift gate trim panel and this makes it easy to access the electrical connector that has to be disconnected, to get at the retaining nuts which also have to be removed and for the replacement of the high-mounted brake light assembly the above sequences have to be followed in reverse, sedan models with a rear air spoiler, requires the removal of the spoiler then the high-mounted brake light trim followed For those sedans that do not have the feature of rear air spoiler, then you can proceed to lose the rear parcel shelf, the mounting screws and the assembly, but install them in the reverse order. If you want to replace the bulb and the fixture is located inside the trunk, the steps are simply as follows; unscrew the fixture anti-clockwise, take out the bulb and replace in a similar manner. Interior light bulbs are removed by popping off the lens with a flat head screwdriver or trim stick and gently pulling the bulb out with fingers and then inserting in the reverse way. For illumination of instruments like the speedometer, odometer, and other gadgets, if there is an issue with any of the gadgets, change the whole cluster as it forms a single unit.
Related Nissan Versa Parts
Browse by Year
2024 Fog Light Bulb 2023 Fog Light Bulb 2022 Fog Light Bulb 2021 Fog Light Bulb 2020 Fog Light Bulb 2019 Fog Light Bulb 2018 Fog Light Bulb 2017 Fog Light Bulb 2016 Fog Light Bulb 2015 Fog Light Bulb 2014 Fog Light Bulb 2013 Fog Light Bulb 2012 Fog Light Bulb 2011 Fog Light Bulb 2010 Fog Light Bulb 2009 Fog Light Bulb 2008 Fog Light Bulb 2007 Fog Light Bulb
