×
- Live Chat
- 1-888-726-6993
My Garage
My Account
Cart
Genuine Nissan Versa Wheel Hub
Wheel Axle Hub- Select Vehicle by Model
- Select Vehicle by VIN
Select Vehicle by Model
orMake
Model
Year
Select Vehicle by VIN
For the most accurate results, select vehicle by your VIN (Vehicle Identification Number).
7 Wheel Hubs found

Nissan Versa Hub Assembly-Road Wheel,Front
Part Number: 40202-AX000$193.69 MSRP: $294.63You Save: $100.94 (35%)Ships in 1-3 Business Days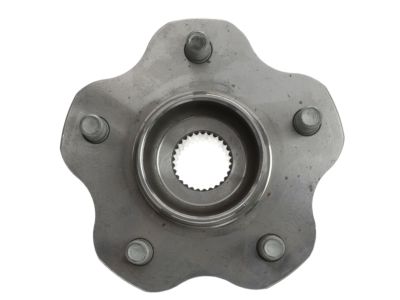
Nissan Versa Hub Assembly-Road Wheel,Front
Part Number: 40202-EM30A$190.02 MSRP: $289.05You Save: $99.03 (35%)Ships in 1-3 Business Days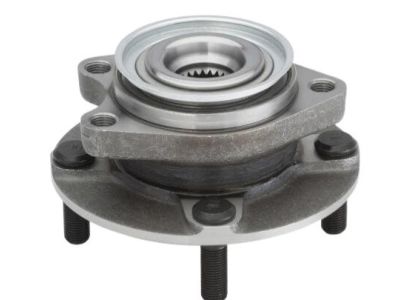
Nissan Versa Hub Assembly Road Wheel
Part Number: 40202-EM31A$189.76 MSRP: $290.68You Save: $100.92 (35%)Ships in 1 Business Day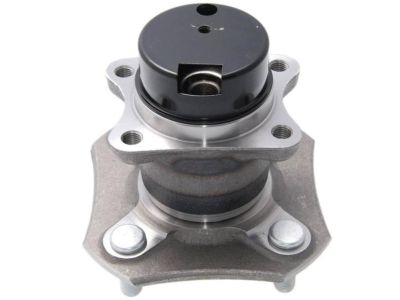

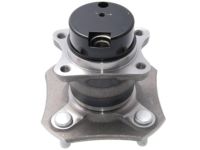
Nissan Versa Hub Assy-Rear
Part Number: 43202-EM30A$185.58 MSRP: $268.48You Save: $82.90 (31%)Ships in 1-3 Business Days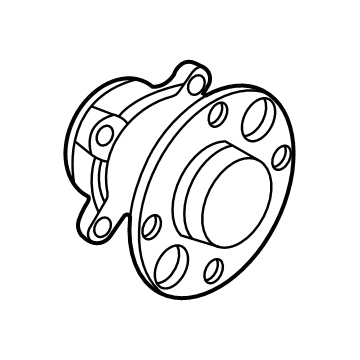
Nissan Versa Hub Assembly-Rear Axle
Part Number: 43202-5EE1A$163.12 MSRP: $249.88You Save: $86.76 (35%)Ships in 1-3 Business Days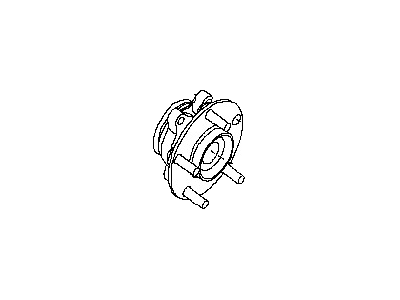
Nissan Versa Hub Assembly-Road Wheel,Front
Part Number: 40202-EM30C$190.02 MSRP: $289.05You Save: $99.03 (35%)Ships in 1-3 Business Days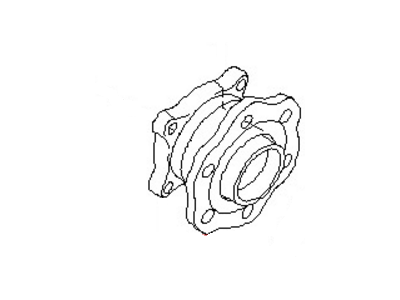
Nissan Versa Hub Assy-Rear
Part Number: 43202-EM30B$187.17 MSRP: $257.82You Save: $70.65 (28%)Ships in 1-3 Business Days
Nissan Versa Wheel Hub
If you need any OEM Nissan Versa Wheel Hub, feel free to choose them out of our huge selection of genuine Nissan Versa Wheel Hub. All our parts are offered at unbeatable prices and are supported by the manufacturer's warranty. In addition, we offer quick shipping to have your parts delivered to your door step in a matter of days.
Nissan Versa Wheel Hub Parts Questions & Experts Answers
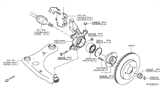
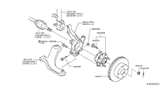
- Q: How to remove and install the driveaxle hub and bearing assembly on Nissan Versa?A: Loosen the driveaxle hub nut, then loosen the wheel lug nuts, raise the front of the vehicle, and support it securely on jackstands before removing the wheel. Next, remove the brake disc and the driveaxle/hub nut, followed by the hub/bearing assembly mounting bolts from the rear of the Steering Knuckle. Remove the hub/bearing assembly from the steering knuckle, ensuring to support the driveaxle with a length of wire to prevent over-extension of the inner CV joint. If the driveaxle splines stick in the hub, use a two-jaw puller to push the driveaxle out. For installation, reverse the removal steps and tighten all fasteners to the proper torque values. For the rear, loosen the wheel lug nuts, raise the rear of the vehicle, and support it securely on jackstands before removing the wheel. If equipped, remove the wheel speed sensor and the drum brake assembly. If the drum brake backing plate needs removal, disconnect the parking brake cable and the brake tube from the rear wheel brake cylinder. For models except 2012 and later Sedan and Note, remove the hub and bearing assembly mounting bolts, then the hub and bearing assembly, followed by reversing the removal steps for installation and tightening all fasteners to the proper torque values. For 2012 and later Sedan and Note models, use a hydraulic press and special adapters to remove the ABS wheel speed sensor rotor, then the snap-ring from the hub portion of the drum. Set the drum on a hydraulic press with the wheel studs facing up, press the bearing out of the hub portion, clean the hub area, and insert the new wheel bearing into the drum before pressing it fully into place without applying any lubricant. Install the snap-ring ensuring it seats completely, then press the ABS sensor ring onto the hub of the drum, completing the installation by reversing the removal steps.