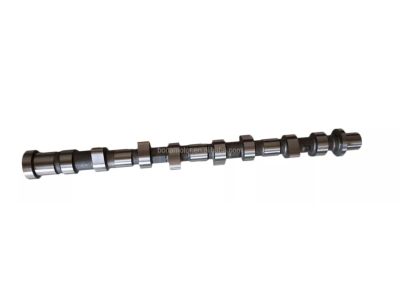
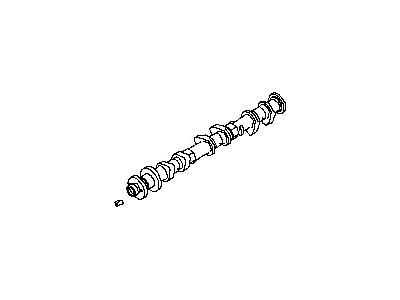
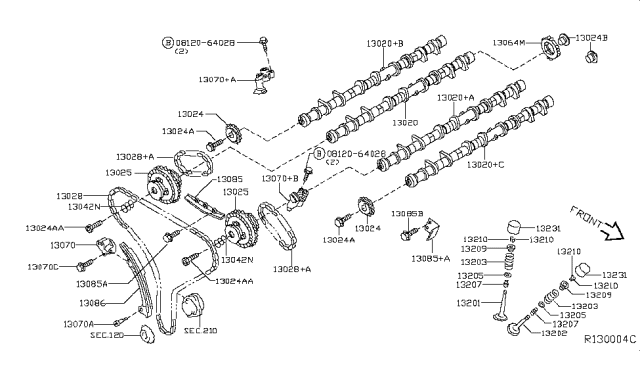
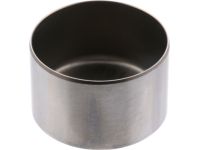
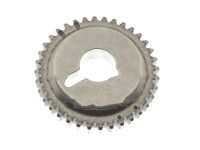
Camshafts and Lash Adjusters should be examined before being used and the endplay of the camshafts should be measured before removing the cams. Start with the removal of the timing chains and the camshaft sprockets; afterward, remove the camshaft position sensor brackets from the drivers' ends of the cylinder heads. Identify each camshaft so that they can be reinstalled in their proper location; on the camshaft bearing caps, place the number 1, 2, 3, and 4, also note whether it is an intake or exhaust cam with an "I" or "E," and arrows facing forward. Unfasten the camshaft bearing caps vice versa, yet make sure that they are properly arranged to be refastened back. Bearing caps and camshafts should be removed at this time and the marks made at this time noted for replacement. The intake camshaft will have a drill spot, having to do with the side of the sprocket mounting flange. Thoroughly pull out all the Lash Adjusters from the cylinder head, and make sure that they are properly arranged. Check the camshaft for wear or damage on the lobe, journals, bearing caps, and Lash Adjusters. Camshaft journal diameter may also be checked with a micrometer and also the lobe height, and if they do not tally with the standard ones, then they are replaced. Verify the run out and end play of the camshaft and replace the camshaft or the cylinder head if there is a need for that. For each Lash Adjuster, look for scuffing and the presence of score marks, and check the Plastigage oil clearance for each camshaft journal to replace the component if it exceeds the specs. Scrub the bearing caps and journals with clean, warm buffer and reposition the Lash Adjusters in their initial positions after applying clean engine oil on them. Spread the moly-based engine assembly lubricant on the camshaft lobes and journals and pitch the exhaust camshafts featuring the dowel pins up. Next, spread RTV sealant on the sealing surfaces of the No. 1 bearing cap(s); also, it is crucial to fit new O-rings onto the second generation of the tensioning of the timing chain. Bolt in the bearing caps and tighten them by hand and then fix the bearing cap bolts, in accordance with the following torque pattern; step one, two, three. Verify the position of the front bearing caps and, depending on the cylinders, should come out to slightly less than 0.0055 inch behind the front face of the cylinder head. I was putting the camshaft sprockets and the timing chain on the car, and while tightening the bolts on the sprockets, I used a wrench to hold the camshaft in place. Reassemble the engine in the reverse order to the disassembly; ensure that if any of the valve train parts were replaced, to set valve clearances; the battery should be connected to perform several relearn procedures.
Posted by NissanPartsDeal Specialist 
