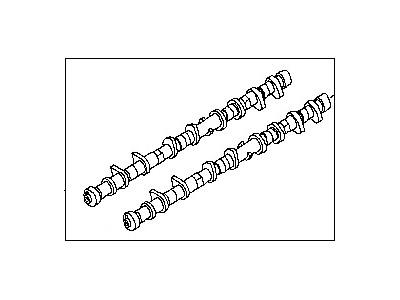
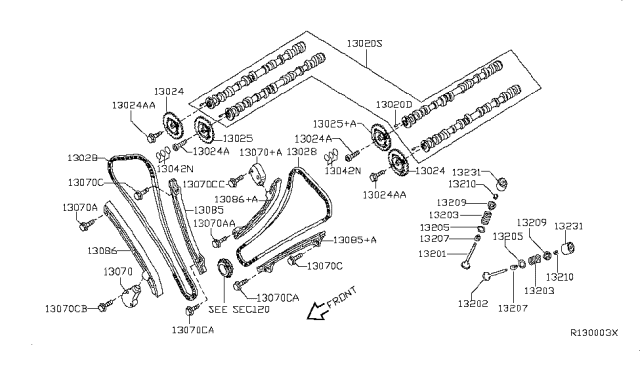
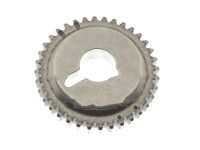
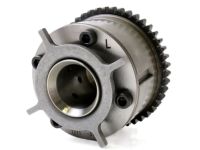
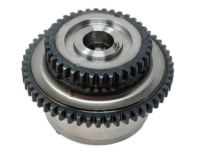
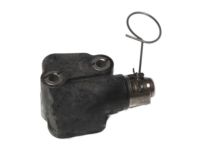
To remove the components, start by disconnecting the cable from the negative terminal of the battery, then remove the valve covers. Position the number 1 piston at TDC on the compression stroke and take off the upper timing chain covers. Mark the relationship of the timing chains to the camshaft sprocket marks, then retract and remove the left timing chain tensioner. At the lower right of the main timing cover, remove the bolts and cover to access the right chain tensioner, which may need to be unbolted and angled out due to limited space. Unbolt the camshaft sprockets from the camshafts, ensuring not to let them rotate, and mark each sprocket before removal to avoid mixing them up. Disengage the camshaft sprockets from the timing chains and support them with wire to prevent falling into the timing chain cover. Mark the positions of the camshaft bearing caps with an "I" or "E" for intake or exhaust, and indicate the front of the engine. Loosen the camshaft bearing caps in the reverse order of the tightening sequence, keeping them in order for reinstallation. Remove the timing chain cover-to-front camshaft bearing cap bolts and the front camshaft bearing cap-to-cylinder head bolts, using a plastic hammer if necessary to break the RTV sealant. Remove the camshafts, marking or storing them separately for their original locations, and take out the Lash Adjusters from the cylinder head, keeping track of their installation positions. Visually inspect the camshaft bearing surfaces for damage, measure the outside diameter of each camshaft bearing journal, and compare it to the specified limits. Measure the height of each camshaft lobe and check for runout using a dial indicator. While the camshaft is in the cylinder head, check the endplay with a dial indicator and replace components if measurements exceed specified limits. Inspect each Lash Adjuster for scuffing, measure their diameters, and determine oil clearance. For installation, lubricate the Lash Adjusters with clean engine oil and place them back in their original locations. Apply camshaft installation lubricant to the camshaft lobes and journals, then install the camshafts with dowel pins facing up. Apply RTV sealant to the sealing surfaces of the front camshaft bearing caps, install the bearing caps and bolts, and tighten them hand tight before following the proper tightening sequence. Engage the timing chains with the camshaft sprockets, aligning the previously made marks, and install the camshaft sprocket bolts while preventing the camshafts from turning. Finally, complete the installation in reverse order of removal, checking and adjusting valve clearance if any part of the valve train was replaced.
Posted by NissanPartsDeal Specialist 
