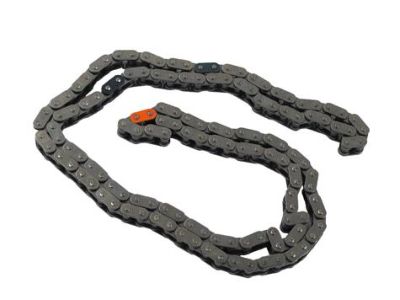
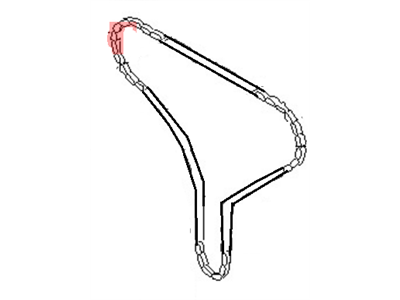
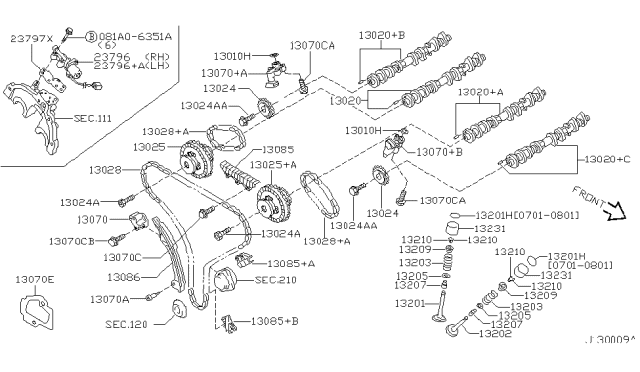
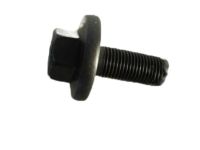
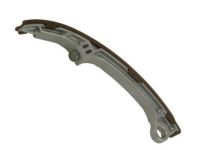
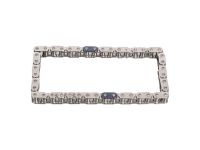
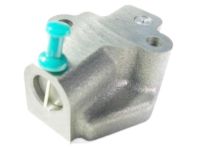
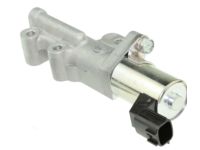
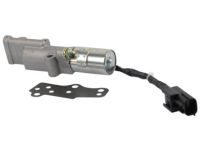
This task should be performed on the engine when it is cold to the touch and without the key in the ignition. First you need to remove the negative terminal of the battery, turn the rear wheels choose a direction and lock them, pull the parking break. Pop the lugs on the right front wheel, lift the car, and put it on jack stands after which remove the right-front wheel. Disconnect the lower splash cover and the right side inner fenderwell splash shield and then releases the system fuel pressure and disembarks the cooling system. Next, the upper intake plenum and valve covers have to be unbolted and for the project of a 2002 model and later, the intake valve timing control solenoid must be unbolted and discarded and new ones used when reassembling. , take out the spark plugs and make turn the number one piston at TDC on the compression stroke; then unbolt the drivebelts and the idler pulley bracket. Move to undo the power steering pump and bracket, the air conditioning compressor and the crankshaft pulley such that the crankshaft doesn't rotate. Remove the connections to the oxygen sensor, and unscrew the front exhaust pipe from the exhaust manifolds and the catalytic converter. Lift up on the engine/transaxle, remove the front and rear engine mount through bolts and as a single unit the crossmember and both engine mounts can be removed. Next step then is to slide the air conditioning compressor bracket and the upper and lower oil pan out of the way and then first the right side mount of the engine from above. Remove CMP sensor from the timing chain cover, if in working on a 2004 model then remove cowl panel and wiper linkage, disconnect engine compartment power distribution module and lift it out of the way. pull the clips that hold the wiring harness at the top of the timing chain cover, undo the bolts on the front timing chain cover and ensure the number one piston is at TDC on the compression stroke by aligning the marks. Unloading stress from the main timing chain requires the removal of the timing chain tensioner together with the tensioner arm/chain guide. On the old models up to 2001, the upper timing chain guides and the camshaft sprocket bolts need to be taken out from the main timing chain, followed by dismantling of the main intake camshaft sprockets and the main timing chain where the main camshafts have to be marked to facilitate their re-assembly in the same position. Lower the secondary timing chain tensioners, then use the nut/a to lock the secondary timing chain tensioners, next, torque the bolts securing the secondary exhaust camshaft sprockets while ensuring that the timing marks are aligned before removing the secondary timing chain and sprocket assemblies. On the 2002 and later models, also, it is necessary to reinstall the crankshaft sprocket and the lower timing chain guide: make sure that the timing marks on the chain as well as on the sprockets are visible and the paint alignment marks, if there are any, are seen as well. Take the main timing chain with the crankshaft sprocket, make loose the secondary chain and lift it from the tensioner's groove. Tighten the camshafts with a wrench and unscrew the sprockets of the camshafts of the exhaust cams; paint indexes of the secondary timing camshafts and sprockets before turning off the camshafts of the intake and exhaust Camshafts, for each of the cylinder blocks, as a single unit. The wear of the camshaft, the water pump and crankshaft sprockets should be inspected and the chains should be checked for cracks and their general wear. Before turning on the vehicle and before cranking the starter, rotate the crankshaft via the flywheel another two full turns with your hand, and there should be no grinding or stiff feeling when doing this. Align the crankshaft sprocket / and timing chain guide installed with the top notch aligned, confirm the correct number of links of timing chains, and replace the secondary tensioners if taken off. Position the second timing chains and sprocket together that has the matching marks, torque up the exhaust camshaft bolts to their appropriate torque and remove the stopper pins which are in the second chain tensioners. Main Camshaft Timing Chain is ready to be fitted to the vehicle's engine; ensure that the main intake camshaft sprocket marks are identical to colored links that are black on the chain and fix the main intake camshaft sprockets into the timing chain. For cars manufactured after 2002, install the second stringers and front pins of the crankshaft bearings, crush the tensioner international weights and fix them with stopper pins. Make particularly sure No. 1 piston is back at TDC, then match up the timing marks on the secondary chains and associated sprockets and fit to the camshafts. Intensify nut thread of all the sprockets as per the set standard, recheck the orientation of the timing marks, then fit on the crankshaft sprocket on the motors. Center the primary chain onto the sprockets, where the timing marks are appropriately lining up. Last, confirm whether the number one piston is at TDC and align all the timing chain / sprockets marks, fasten the lower and upper timing chain guides, the main tensioner arm/chain guide, and the timing chain tensioner assembly. Scrape off the original gasket from the front timing chain cover plus the cover bolts; put the RTV sealant to the gasket mating surfaces of the timing cover; position the front timing cover properly and; fasten its bolts to their original positions and tighten to the recommended torque. The rest of the installation is just the reversal of the removal process, specifying the use of new O-rings and tightening the solenoid bolts of the intake valve timing control covers for 2002 and later models.
Posted by NissanPartsDeal Specialist 
