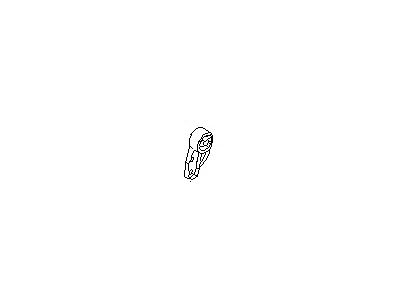
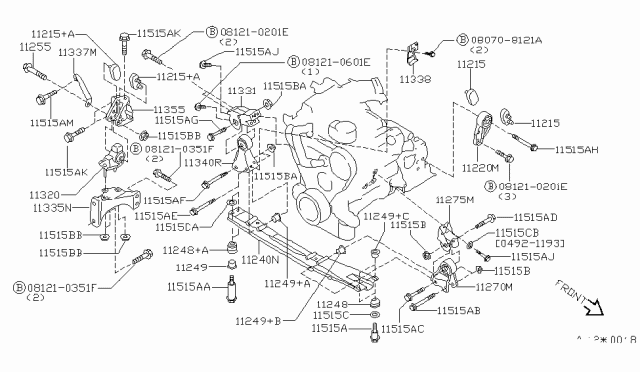
There are four engine mounts,front and rear mounts on the right side attached to the crossmember, and front and rear mounts on the left side attached to the transaxle. During the check, the engine must be raised slightly to remove the weight from the mounts. Raise the vehicle and support it securely on jackstands, positioning two jacks-one under the crankshaft pulley and the other under the transaxle bellhousing-with a block of wood between the jack head and the crankshaft pulley or bellhousing, then carefully raise the engine/transaxle just enough to take the weight off the mounts, ensuring no part of your body is under the engine when it's supported only by a jack. Inspect the mounts for cracked, hardened, or separated rubber, noting that sometimes the rubber will split down the center. Check for relative movement between the mount plates and the engine or frame using a large screwdriver or prybar; if movement is noted, lower the engine and tighten the mount fasteners. Apply rubber preservative to the mounts to slow deterioration. Disconnect the negative battery cable, set the parking brake, block the rear wheels, raise the front of the vehicle, and support it securely on jackstands before removing the splash shields. Position a floorjack under the crankshaft pulley, using a wood block to support the engine's weight. Remove the through-bolts from the right front and right rear mounts where they attach to the crossmember, then remove the bolt retaining the bracket over the auxiliary heating/air conditioning pipes. After removing the lower bolts of both engine mounts, take out the crossmember-to-chassis bolts and the crossmember itself, followed by the mount-to-engine bracket through-bolts and the mounts. Installation is the reverse of removal, ensuring to tighten the bolts to specifications only after the engine weight is back onto the mounts and the jack is removed. For the transaxle, there are two mounts: one at the radiator side (left-front) and one at the top (left-rear). Support the transaxle with a jack, remove the through-bolt at the chassis, and the bolts holding the left-front mount to the transaxle, then remove the mount. For the left-rear mount, remove the nuts at the mount bracket from below and the through-bolt at the chassis bracket from above, then lower the transaxle enough to clear the transaxle bracket and remove the mount. Installation is the reverse of removal, with bolts tightened to specifications only after the powertrain weight is back onto the mounts and the jack is removed. To ensure maximum bushing life and prevent excessive noise and vibration, the vehicle should be level and the engine weight should be on the mounts during the final tightening stage, using thread-locking compound on the nuts/bolts and ensuring the bushings are not twisted or offset. If more than one mount has been replaced or when installing the engine, tighten the mounts in the order of crossmember bolts, right-rear mount, left-front mount, right-front mount, and left-rear mount.
Posted by NissanPartsDeal Specialist 
