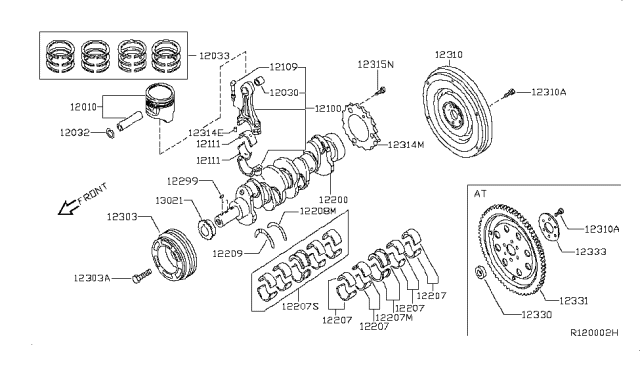
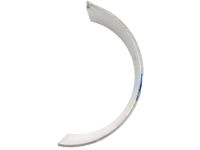
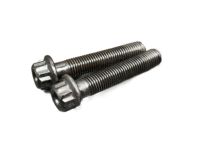
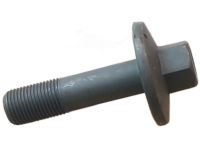
However, before you disassemble the piston and connecting rod assemblies you have to firstly, you have to remove the cylinder head and oil pan. Run your finger nail up to feel any ridge at the top end of the ring travel, which should be about a ¼ inch below the top of every cylinder; these ridges resulting from carbons, or from wear, have to be trimmed with a reamer to avoid piston breakage. When ridges are removed , orientate the side of the engine where the crankshaft is at the upper side. Measure the amount of play in the connecting rod using feeler gauges and the play should range from 0.005 to 0.015 in; if it is out of range then new rods may be needed. Locate the connecting rods and their caps or heads obviously to avoid confusion so that the same parts are not mixed and the connecting rod cap bolts are loosened but not to the point where they can be removed with fingers. First of all, address the first connecting rod cap and the bearing insert without dropping the latter; then, carefully push the connecting rod/piston assembly through the top of the engine if needed, employing a wooden or plastic hammer handle. Do the same for the other cylinders, and then remove them; replace the connecting rod caps and bearing inserts with those taken out, but leave the old ones in their respective rods in order to avoid damaging them. Now, the pistons and connecting rods can be checked and, if worn or damaged, repaired or replaced. Piston rings should be checked for the end gaps prior to the installation of the new piston rings side clearance of the piston ring. Position the piston/connecting rod assemblies, and the new rings to be set side by side for ease of installation. Place the first top ring in the first cylinder align it with the cylinder walls and after that, check the end gap with the feeler gauges and make the necessary adjustments. Do this until all rings and cylinders are matched according to the ends of cables and wires. After the end gaps have been inspected and regulated, the rings need to be fit on to the pistons, beginning with the oil control ring then the second and third rings in their respective correct positions. Evaluating the best pre-assembly instructions the installers could possibly follow before setting the piston/connecting rod assemblies, they would probably check that: the cylinder walls are clean, edge chamfered, and that the crankshaft is installed. Scrape the surfaces of the connecting rod and cap to remove all dirt, oil and debris then using a shaft mandrel, tap in the new upper bearing insert with an interference fit but without the use of oil. Ensure the gap of the piston ring is in the proper position; apply oil on the piston and the rings and use a piston ring compressor for the pistons. Push the piston/connecting rod assembly into the cylinder bore with the front mark of the piston aligned towards the front of the engine and lightly tapping the assembly to seat it correctly. Following installation, and before tightening the cap nut, withdraw the connecting rod and measure the bearing oil clearance with Plastigage, always cleaning the surfaces of oil. Checking the oil clearance involves comparing; the cylinder bore's width of the crushed Plastigage to the scale while prior to arriving at a decision to replace the bearing inserts, they need to check and see whether there is dirt or oil interference. Afterwards, clean any residue of Plastigage, lubricate each bearing face with fresh grease or assembly lube, and bolt the connecting rod and cap back on and tightening to the right number of ft-lbs. Do the same for the other assemblies while being keen on cleanliness and orientation of the pieces to be assembled. After all the assemblies are installed, turn the crankshaft to see whether there is any binding and then again check for connecting-rod endplay and correct any deficiencies.
Posted by NissanPartsDeal Specialist 

