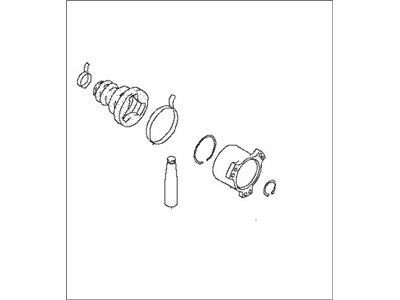
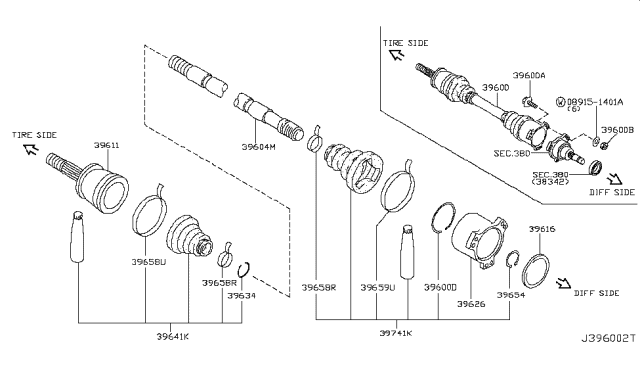
To perform maintenance on the drive axles, follow these steps. If the CV joints are worn due to torn boots, it is recommended to explore other options before proceeding with the job, as complete rebuilt drive axles are available on an exchange basis, saving time and effort. Some auto parts stores offer split-type replacement boots that can be installed without removing the drive axle from the vehicle; however, it is advisable to remove the drive axle, disassemble the CV joint, and clean it to ensure it is free from contaminants like moisture and dirt, which can accelerate CV joint wear. To begin, remove the drive axle from the vehicle, and mount it securely in a vise with wood or rag-lined jaws to prevent damage. For the rear drive axle, disassemble it as follows: pry open the locking tabs on the boot clamps, remove the clamps, and discard them; slide the boot back on the axle shaft and remove the wire ring ball retainer from the outer race; pull the outer race off the inner bearing assembly, wiping off excess grease; remove the snap-ring from the axle shaft; slide the inner bearing assembly off the axle shaft, making index marks for reassembly; pry the balls from the cage, being careful not to damage them; rotate the inner race 90-degrees and remove it from the cage. Next, inspect the components by cleaning them with solvent and checking for wear, pitting, score marks, cracks, or other signs of damage. Shiny, polished spots are generally normal and do not affect CV joint performance. For reassembly, insert the inner race into the cage, ensuring that matchmarks align; press the balls into the cage windows with your thumbs; wrap the axle shaft splines with tape to protect the boot, then slide the small boot clamp and boot onto the axle shaft, removing the tape; install the inner race and cage assembly on the axle shaft with the large diameter side facing the axle shaft end; install the snap-ring; fill the boot with CV joint grease; pack the inner race and cage assembly with grease by hand; slide the outer race onto the inner race and install the wire ring retainer; wipe excess grease from the boot groove on the outer race; seat the small end of the boot on the axle shaft and install the clamp; position the CV joint midway through its travel and equalize the pressure in the boot with a screwdriver; install the boot clamps using the appropriate tool. For front drive axles on AWD models, remove the boot clamps and pull the boot back from the inner CV joint; slide the joint housing off, marking the relationship between the tripod and the outer race; mark the tripod and axle shaft for proper reassembly; remove the bearing retainer clip from the end of the axle shaft; use a hammer and brass punch to drive the tripod joint from the drive axle; remove the ring from the axle shaft, discarding it if it's not a tight fit. For inspection, clean the old grease from the outer race and the tripod bearing assembly; disassemble the tripod assembly carefully, cleaning the needle bearings with solvent; inspect the rollers, tripod, bearings, and outer race for wear, scoring, or other signs of abnormal wear that warrant replacement. To reassemble, slide the clamps and boot onto the axle shaft, wrapping tape around the splines for boot protection; install a new stop-ring; place the tripod on the shaft, aligning the marks, and install a new circlip; apply grease to the tripod assembly, the inside of the joint housing, and inside the boot; slide the boot into place; position the CV joint midway through its travel and equalize the pressure in the boot; tighten the boot clamps. For outer CV joint maintenance, mount the drive axle in a vise with wood-lined jaws; inspect the outer CV joint housing for excessive play and smooth operation; remove the inner CV joint and boot as previously described; cut the outer CV joint boot clamps and slide off the boot. For inspection, rotate the outer CV joint housing to expose the bearings, inner race, and cage; inspect the bearing surfaces; for reassembly, slide the new outer boot onto the axle shaft, protecting the boot with tape; fill the outer joint with CV joint grease; slide the boot into place and install new clamps, ensuring proper seating without dimples in the folds. Finally, install the drive axle assembly.
Posted by NissanPartsDeal Specialist 


