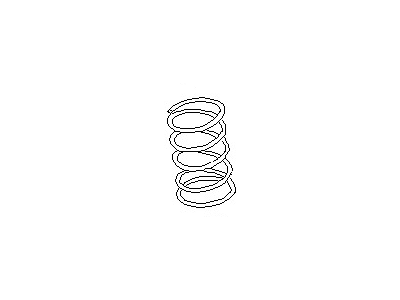
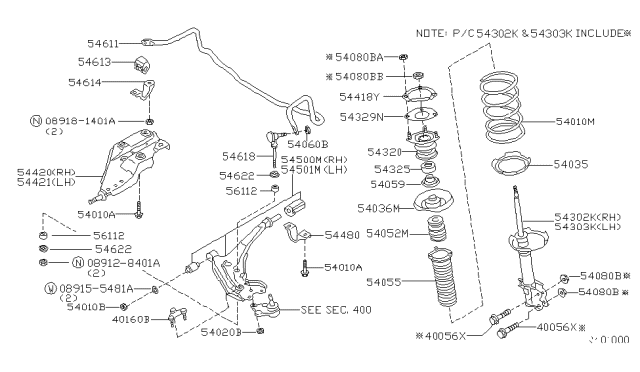
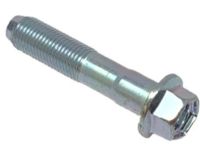
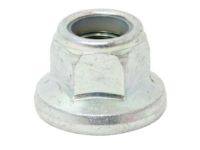
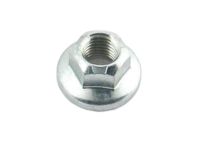
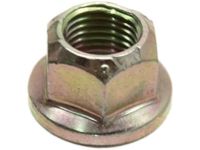
Loosen the front wheel lug nuts, raise the front of the vehicle, and support it securely on jackstands before removing the wheels. Unclip the brake hose from the strut bracket by removing the retaining clip with pliers and detach it from the bracket. If equipped with ABS, detach the speed sensor wiring harness from the strut by removing the clamp bracket bolt, then remove the wheel speed sensor harness bracket bolt, followed by the two nuts, and drive out the strut-to-knuckle bolts with a hammer and punch. Remove the strut-to-knuckle nuts and knock the bolts out with a hammer and punch, then separate the strut from the steering knuckle, taking care not to overextend the inner CV joint or let the knuckle fall outward to avoid damaging the brake hose. Make a reference mark on one of the strut mounting studs and the strut tower, support the strut and spring assembly with one hand, and remove the three strut upper mounting nuts before taking the assembly out from the fenderwell. Check the strut body for leaking fluid, dents, cracks, and other obvious damage that would warrant repair or replacement, and inspect the coil spring for chips or cracks in the coating, as well as the spring seat for cuts, hardness, and general deterioration. If any undesirable conditions exist, proceed to the strut disassembly procedure. Guide the strut assembly up into the fenderwell and insert the upper mounting studs through the holes in the shock tower, ensuring the stud marked earlier goes into the designated hole in the strut tower. Once the studs protrude from the strut tower, install the nuts to prevent the strut from falling back through, which is easier with assistance due to the strut's weight and awkwardness. Slide the steering knuckle into the strut flange, insert the bolts, and install nuts, tightening them to the specified torque. Guide the brake hose through its bracket in the strut and install the retaining clip, then install the wheel and lug nuts, lower the vehicle, and tighten the lug nuts to the specified torque before tightening the upper mounting nuts to the specified torque.
Posted by NissanPartsDeal Specialist 
