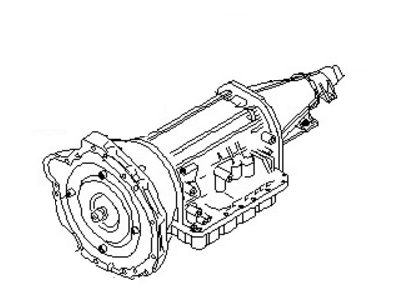
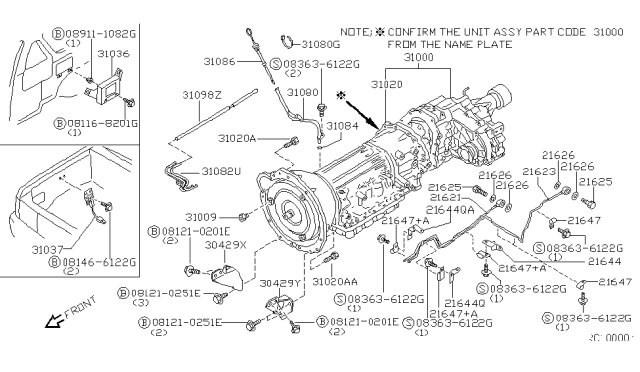
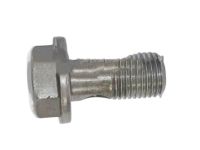
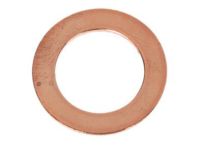
The transmission and torque converter must be removed as a single assembly. If you try to leave the torque converter attached to the drive plate, it will cause damage. The drive plate is not designed to bear weight. First, disconnect the cable from the negative terminal of the battery. Raise the vehicle and support it on jack stands, removing the skid plate and skid plate crossmember if equipped. Drain the transmission fluid. On a four-cylinder Frontier model, detach the Throttle Valve cable from the transmission and temporarily reinstall the transmission fluid pan. Detach the shift cable from the manual lever and bracket. Mark the yokes and remove the driveshaft; on 4WD models, remove both driveshafts. Remove obstructive exhaust components, the Crankshaft Position sensor, and the starter motor. Trace the wiring harnesses from the transmission and disconnect them. Remove the inspection cover and mark the relationship of the torque converter to the drive plate. Extract the torque converter-to-drive plate bolts, turning the crankshaft for access. Extract the fill/dipstick tube and its bracket. Detach the fluid cooler lines from the transmission, discarding sealing washers. On 4WD models, remove the transfer case, though if the main aim isn't transmission replacement, one might keep the transfer case attached. Just disconnect the shift rod and the electrical connectors from the speed sensors, and detach the vent tube. Support both the engine and transmission using appropriate jacks. Remove the bolt holding the transmission mount to the cross member. Lower both slightly, then unbolt the transmission from the engine. Slide the transmission back to disengage it from the engine block dowel pins, ensuring the torque converter is detached. Clamp locking pliers on the bell housing to prevent the converter from falling. For installation, confirm the torque converter's engagement in the pump. If you've detached it, lubricate the converter rear hub and install it onto the front input shaft. Raise the transmission into position and align the holes of the torque converter with those in the drive plate. Carefully push the transmission forward, ensuring dowel pins engage with the bell housing. Mate the transmission with the engine without gaps. Install and tighten all bolts while verifying a complete mate between the engine and transmission. Raise the transmission's rear end, reattaching the cross member. Remove supporting jacks. Reconnect the torque converter-to-drive plate bolts and reinstall the dipstick tube. Reattach the starter motor and torque converter inspection cover. With new sealing washers, reconnect the transmission fluid cooler lines and the transmission's electrical connectors. Reconnect the shift cable, and on 4WD models, reinstall the transfer case. Reattach the driveshaft(s) and adjust the shift cable. On four-cylinder Frontier models, reconnect the Throttle Valve cable, install the fluid pan with a fresh gasket, and tighten its bolts. Reattach any removed exhaust components, lower the vehicle, and refill the transmission with the specified fluid. Finally, run the engine and check for any fluid leaks.
Posted by NissanPartsDeal Specialist 
