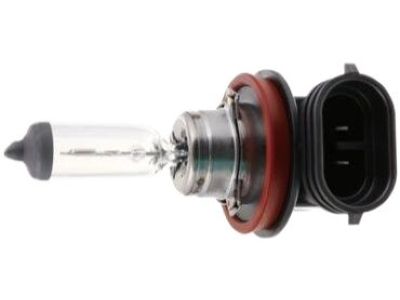
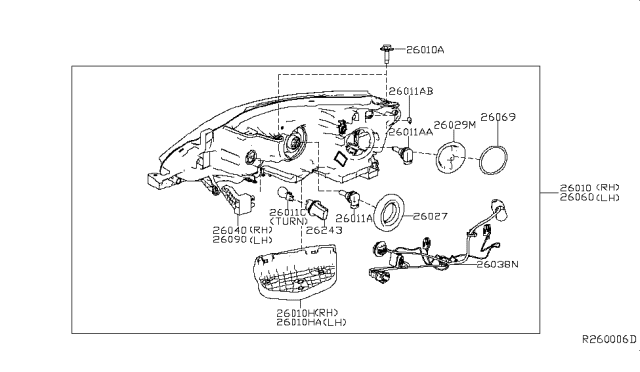
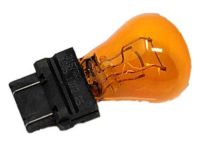
When renewing a bulb, disconnect the battery negative terminal, be cautious of hot bulbs, and ensure clean metal-to-metal contact between the bulb and its holder, cleaning off any corrosion or dirt. For bayonet-type bulbs, ensure the live contacts are secure against the bulb. Always use a bulb of the correct rating and handle it with a tissue or clean cloth to avoid skin contact, which can cause rapid failure; if touched, clean with methylated spirit. For headlight bulbs, disconnect the wiring connector, remove the protective cover, and pivot the retaining spring clip to withdraw the bulb. Install the new bulb correctly, secure it with the spring clip, and replace the cover. For the dipped beam, remove the protective cover, rotate the bulbholder anti-clockwise, disconnect the wiring, and install the new bulb by turning it clockwise. For the main beam, follow a similar process but rotate the bulbholder clockwise to remove and anti-clockwise to install. For sidelights, disconnect the wiring, twist the bulbholder to remove, and fit the new bulb. For front indicators, twist the bulbholder anti-clockwise, remove the bulb, and fit the new one. For the front foglight, remove the inner wheel arch liner, disconnect the wiring, and turn the bulbholder anti-clockwise to remove the bulb. For rear lights, open the tailgate, undo the retaining bolts, withdraw the light unit, and turn the bulbholder anti-clockwise to remove the bulbs. For the rear fog light, extract the plastic rivet, pull down the bumper, and turn the bulbholder anti-clockwise to remove the bulb. For the number plate light, unclip the light unit, turn the bulbholder anti-clockwise, and pull the bulb to remove it, then fit the new bulb.
Posted by NissanPartsDeal Specialist 

