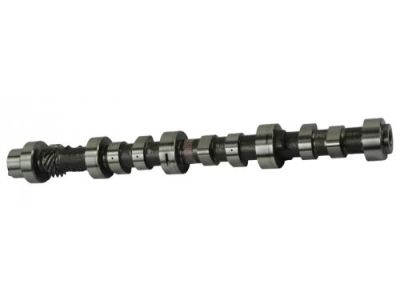
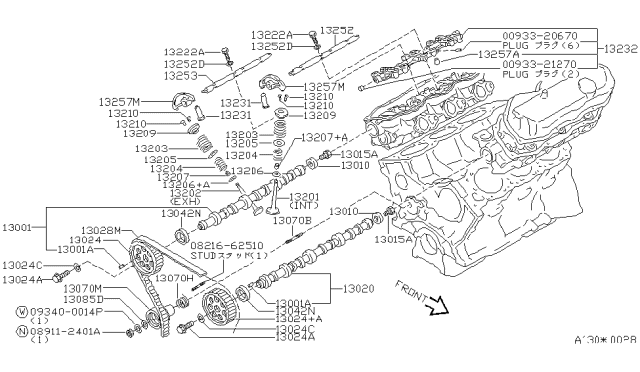
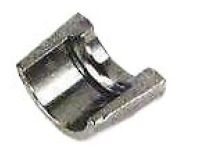
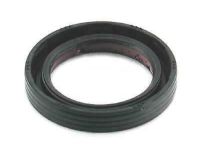
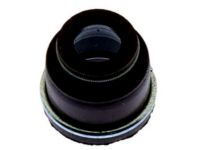
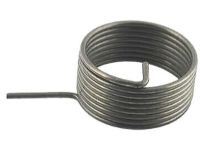
To have the Lash Adjusters out of the way initial steps to maneuver include the removal of the valve cover and also the rocker arm shaft. Safeguard the Lash Adjusters by lifting a few inches off the guides and fasten it to avoid anymore dropping off the guides; In case of any Lash Adjuster drops off the guide, replace it quickly. After that, it is required to make the Lash Adjuster guide assembly removal with the help of the rubber bands and then to extract the Lash Adjusters from the corresponding bores, while pulling them out one by one and putting them into a correspondence with their number for the further putting-in. Some of the points that should not be done includes- Laying the Lash Adjusters on their side or upside down since this will trap air in them, they can only be placed on their sides if they are submerged in clean engine oil. According to Iles, if a Lash Adjuster moves more than 0.040-inch when it is pushed down in the bore, one should check if there is ingress of air. If you think there is trapped air, replace the rocker arm shaft assemblies and the valve cover then relieve the air by starting the engine and bringing the engine to 1,000 rpm under no load for roughly ten minutes. Subsequently, pull out the valve cover and the rocker arm shafts, carry out the push-down test again. If air is present replace the Lash Adjuster. When the Lash Adjusters are removed, check them for wear and then, apply clean engine oil to each of them; to reinstall the Lash Adjusters, it is as simple as how they were removed. During the camshaft removal procedure, one must first take off the cylinder heads, secondly, to loose the cover plate bolts and thirdly, and gently tilt the camshaft cover plate off. While this is being done on the corresponding end, turning is done to loosen the retaining bolt so that the camshaft holding lugs retain the thrust plate while it is being removed. Very gently, turn the camshaft oil seal counterclockwise and also gently twist the camshaft upward using the wrench lest you mar the bearing surfaces. For installation, coat the camshaft bearing journals and lobes with moly-based engine assembly lube and then, slowly 'Thread in' into the cylinder head. Screw in the camshaft thrust plate and its bolt and torque this to the required setting. Bolt another dial indicator in contact with the end play, shift the camshaft backward and set down the dial indicator then shift the camshaft to the front and take another reading. If the endplay is of the order of say 0.020 to 0.030 inches, progressively measure the old plate and if it is beyond this limit, then get a new plate to ensure that the end play does not exceed this range. The rest of the cylinder head assembly is done is reverse of the above procedure. When jumping a camshaft, take out the old seal and using and after placing the camshaft in, use the seal installation tool to force the new seal into place until it engages the cylinder head.
Posted by NissanPartsDeal Specialist 
