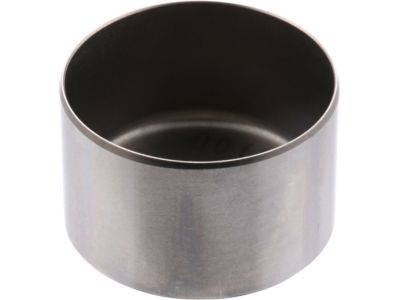
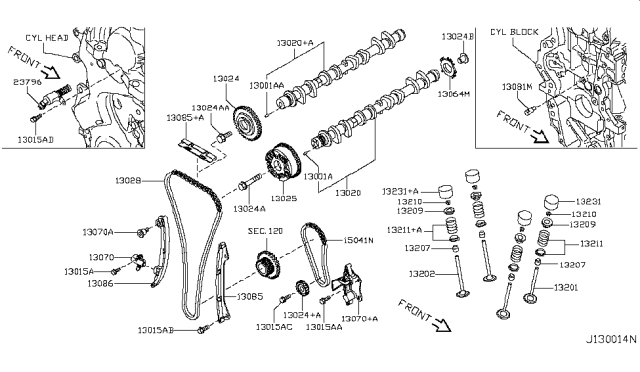
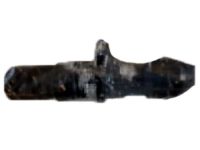
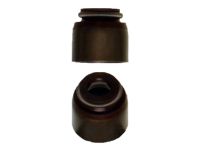
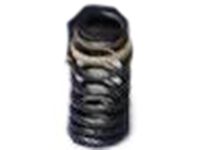
Before removing the inlet camshaft variable valve timing sprocket from the camshaft, apply a minimum of 3.0 bars air pressure to the sprocket and use a 3 mm diameter locking pin to hold it in position. Position No 1 cylinder at TDC on its compression stroke, then remove the cylinder head cover. Ensure the markings on the camshaft sprockets are aligned and apply paint marks to the timing chain link. If misaligned, turn the crankshaft one turn clockwise. Working inside the right-hand front wheel arch, remove the blanking plug from the timing chain cover and use a thin screwdriver to hold the tensioner lever downwards, allowing the tensioner plunger to retract. With assistance, turn the crankshaft sprocket anti-clockwise slightly while turning the exhaust camshaft sprocket clockwise to pull the timing chain taut. Lock the tensioner in position with a small-diameter rod and insert a locking pin. Turn the crankshaft sprocket clockwise slightly to slacken the chain around the camshaft sprockets, then loosen the exhaust camshaft sprocket retaining bolt while counter-holding the camshaft. Remove the bolt and disengage the sprocket from the camshaft, then release it from the timing chain. Undo the three retaining bolts of the bearing cap housing and remove it from the cylinder head. Apply air pressure to the oil passage leading to the inlet camshaft variable valve timing sprocket and turn the camshaft sprocket while maintaining pressure until a click is heard, indicating the locking pin has disengaged. After hearing the click, turn the inlet camshaft anti-clockwise to the most advanced position, align the groove and pinhole, and insert a 2.5 mm Allen key to hold it in place. Mark the camshaft bearing caps for correct orientation during refitting, then gradually and evenly slacken the remaining camshaft bearing cap retaining bolts to relieve valve spring pressure before fully unscrewing them. Lift off the exhaust camshaft, noting its fitted position, and to remove the inlet camshaft, lift it slightly to access the retaining bolt, then slacken and remove the bolt, disengaging the sprocket from the camshaft. Place each Lash Adjuster in numbered containers to avoid interchanging them. If necessary, remove the inlet and exhaust camshaft variable valve timing control solenoids. Clean or renew the oil filter for the variable valve timing system and inspect the cam bearing surfaces and camshaft lobes for damage. Check camshaft run-out and measure the height of each lobe with a micrometer, comparing results to specifications. Refit the bearing caps using identification markings, tightening the bolts to the specified torque in sequence. Refit the exhaust camshaft and align the variable valve timing sprocket onto the inlet camshaft, tightening the securing bolt while retaining the camshaft. Ensure the bearing cap and head mating surfaces are clean before refitting the bearing caps in their original locations. Gradually tighten the camshaft bearing cap bolts until they touch the cylinder head, then tighten to the specified torque. Refit the exhaust camshaft sprocket, ensuring correct location and alignment of timing marks. With all timing marks aligned for TDC, remove the locking pin from the timing chain tensioner and turn the crankshaft slightly to release tension. Apply sealant to the blanking plug and refit it to the timing chain cover. Withdraw the locking pin from the inlet camshaft variable valve timing sprocket, turn the crankshaft clockwise to allow the sprocket to reach its most retarded position, and check that all timing marks are aligned. If the cylinder head or camshafts have been overhauled, check and adjust the valve clearances before refitting the cylinder head cover.
Posted by NissanPartsDeal Specialist 
