Contact Us: Live Chat or 1-888-726-6993
My Garage
My Account
My Cart
Make sure this part fits your vehicle

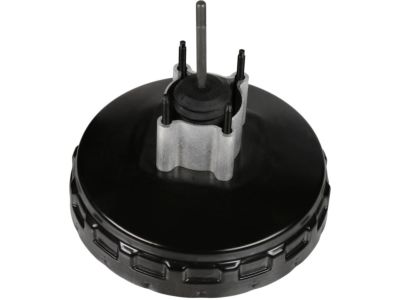
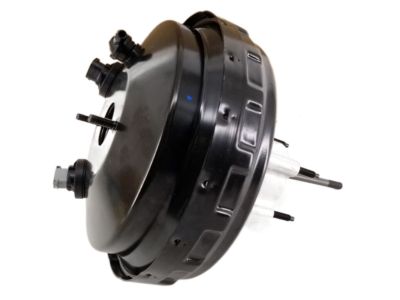
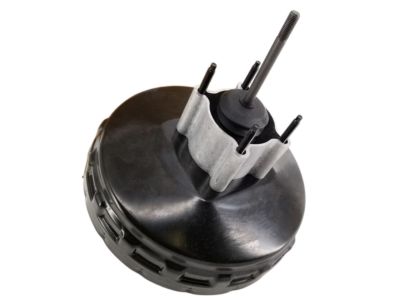
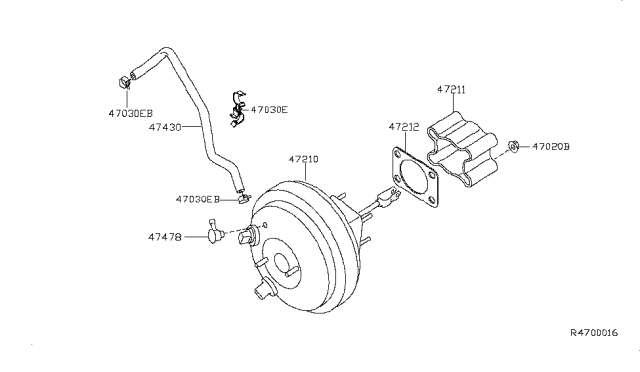
Nissan 47210-ZC010 Master Vacuum Assembly

2004-2006 Nissan 47210ZC010

Nissan 47210-ZC010 Master Vacuum Assembly
  • Part Description
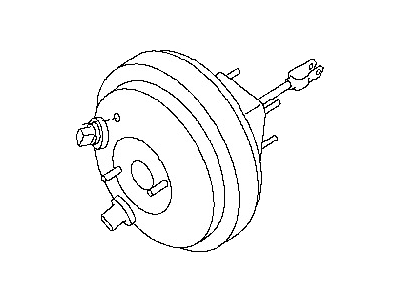
    Booster Assy-Brake
  • Lookup Code
    47210
  • Replaced By
    47210-ZC01C
  • Manufacturer
    Nissan
Customer Questions & Answers
$531.25 MSRP: $814.47
You Save: $283.22 (35%)
1
ADD TO CART
Ships in 1-3 Business Days
  • Product Specifications

    BrandGenuine Nissan
    Lookup Code47210
    Manufacturer Part Number47210-ZC010
    Part DescriptionBooster Assy-Brake
    Item Dimensions18.4 x 12.5 x 12.4 inches
    Item Weight15.80 Pounds
    ConditionNew
    Fitment TypeDirect Replacement
    ManufacturerNissan
    SKU47210-ZC010
    WarrantyThis genuine Nissan part is guaranteed by Nissan's factory warranty.
    Shipping & ReturnShipping Policy Return Policy
    Warning: California’s Proposition 65
  • Vehicle Fitment

    Year Make Model Trim & Engine Important vehicle option details
    2004-2006 Nissan ArmadaLE, SE|8 Cyl 5.6LVK56DE
    2004-2006 Nissan TitanLE, SE|8 Cyl 5.6LVK56DE

Customer Questions & Answers

Q:
I would like to verify that part given Posted by NissanPartsDeal Specialist
A:
You can Select Your Vehicle to check if 47210-ZC010 fits your vehicle.
Posted by NissanPartsDeal Specialist
Q:
How to operate, check, replace, and adjust a power brake booster on Nissan Armada? Posted by Customer
A:
Several times, push the brake pedal and ensure that there are no changes in the free travel of the pedal. After that, hold the pedal down and then start the engine. If it moves slightly downward, it is a normal operating procedure. Airtightness check: Start the engine and let it run for one or two minutes. Then, push the brake pedal slowly four or five times. If after each depression of the pedal its downward movement is reduced, this means that there is no leakage in the booster. Also, press on brakes while keeping an engine running then stop the engine with brakes pressed. If you have held this position for 30 seconds without any change in what you have observed about another test, then it is obvious that air has not leaked through brake booster. Replacement: Note that power brake booster units should not be disassembled. If there is a problem with the booster, it should be replaced with new one or rebuilt one. Before replacing a booster, you have to take off a master cylinder if this step was not performed earlier. Then remove vacuum hose (with electrical connectors if equipped) from above carefully so as not to damage them as well as disconnecting them from below along with vacuum hose (if equipped). Unpin pushrod clevis connected between booster and brake pedal by removing its retaining clip and pin fastening that clevis to brake pedal. Unscrew four nuts securing brake booster to firewall; pull straight out until studs clear holes in firewall (and tilt slightly during removal if necessary). The reverse of removal procedure makes an installation; however certain dimensions must be measured before putting on power brake booster assembly which consists of seals gaskets and checking height of brake pedal adjusting if needed to do so or not as may be required too at times anyway for replacing ones on your vehicle will be done by removing all remaining nuts which still hold it against wall near where steering column passes through dash panel and slide assembly out far enough towards you in order to gain access brake pedal from below before pushing it back into position next above your head so that they could be visible after reinstalling everything once again where they belong before tightening up any bolts holding them tight against wall near which steering column passes through dash panel other side without putting too much pressure at once although each bolt must be equally taut until all bolts are secured properly by their nuts against retaining brackets previously attached onto those walls being careful not over-tighten because it could cause damage while preventing further tightening loosen enough just make sure they remain snugly enough against brackets previously fixed on both sides of firewall then go ahead replacing gaskets thereby adjusting heights accordingly as required before even considering removing some other parts associated with this process Adjustment: Measure the distance between the power brake booster spacer block and the hole in the clevis and compare it to the specified dimension. If it is not, then relieve nut fastened and adjust clevis's length to one that has been indicated in specifications along with release lock after which tighten again. Using a vacuum pump, apply 20 in-Hg to the booster and measure the distance between the end of the output rod and the master cylinder flange mounting surface of the booster. Compare this measurement to a specified one; therefore this value may require changing when adjusting screw is rotated while holding serrated part using pliers of rod's.
Posted by NissanPartsDeal Specialist
Q:
How should disc brakes be inspected for the 2014 Nissan Titan? Posted by Customer
A:
When inspecting disc brakes, ensure that there are two pads (an outer and an inner) in each caliper and check their thickness through the inspection window. If the lining material is below the specified thickness, the pads should be replaced. For a more precise measurement or if concerns persist, the pads can be removed, cleaned, and re-measured. The disc thickness should also be checked with a micrometer.
Posted by NissanPartsDeal Specialist
See expert answers on similar Brake Booster
Q:
How should the brake booster be replaced for the 2010 Nissan Titan? Posted by Customer
A:
First, remove the brake master cylinder if it hasn't been done already. Then, carefully disconnect the vacuum hose and electrical connectors (if equipped) from the booster. Locate the pushrod clevis connecting the booster to the brake pedal and remove the retaining clip and pin to detach the clevis from the pedal. Remove the four nuts holding the brake booster to the firewall and slide the booster straight out until the studs clear the holes. It may be necessary to tilt the booster slightly during removal. Installation is the reverse of removal, but make sure to measure certain dimensions before installing the power brake booster assembly. Replace the sealing gaskets and check the brake pedal height, adjusting if necessary.
Posted by NissanPartsDeal Specialist
Q:
How can the effectiveness of the parking brake be assessed for the 2013 Nissan Armada? Posted by Customer
A:
The effectiveness of the parking brake can be assessed by testing it on a steep hill.
Posted by NissanPartsDeal Specialist
If you have any questions about this product, please don't hesitate to ask us. We will be happy to help you!

Genuine Nissan Part 47210-ZC010, the Right Choice

To ensure reliability, purchase Nissan part # 47210-ZC010 Master Vacuum Assembly. It is sometimes referred to as Nissan Brake Booster. OEM parts are the #1 choice in terms of quality. Crafted by Nissan, they follow rigorous factory specs and go through the demanding quality control processes during manufacturing. This part fits 2004-2006 Nissan Armada, 2004-2006 Nissan Titan.

NissanPartsDeal.com is a leading supplier of genuine Nissan parts and accessories such as Nissan 47210ZC010 Master Vacuum Assembly. Welcome to our vast selection of competitively-priced genuine Nissan parts available online. Each OEM Nissan part we provide is backed by a manufacturer's warranty and is subject to a stress-free return policy. Place your order now and receive your parts quickly, shipped directly to your doorstep.

Why choose Nissan Parts Deal

  • Dedicated Service

    Your complete satisfaction is our #1 goal

  • Lowest Prices

    Best deals on genuine OE parts from dealerships

  • Fast Delivery

    Orders are processed and delivered promptly