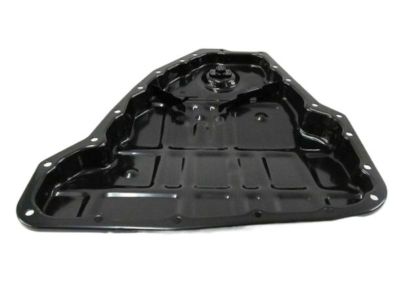
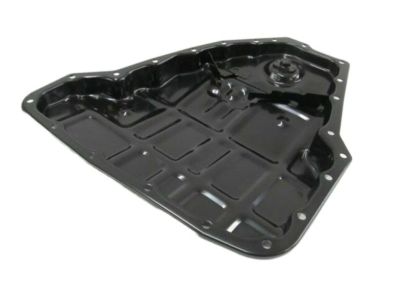
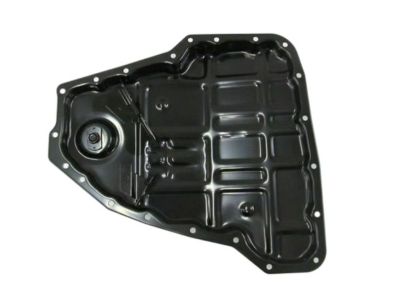
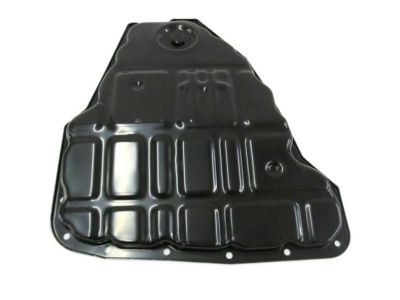
Before removing the oil pan, it is recommended to disconnect the cable of the negative terminal of the battery, pull the parking brake and put into action the rear wheels block. Lift the front of the Nerpa and put it on the supports with the help of the special jackstands. If your TSX is 2005 or newer, you will need to also pull the right front wheel and the engine oil dipstick before draining the coolant. Discard the accessory belts and then, for the 2005 and later models, remove the right inner fender splash shield and the air conditioning compressor drive belt. Back off the nuts on the front exhaust pipe and remove the spark plug leads. Drain the engine oil and spin the engine over until dry. The later model, through the end of the 2004 production year, uses an under steel pan and an upper aluminum section that is attached by bolts to the actual engine block; when removing the lower steel pan, never try to pry between the two; if you do so, they will be harmed. Disconnect the refrigeration lines, then unbolt the air conditioning compressor from its mounts and properly support the engine/transaxle. Remove bolts and separate the engine mount, crossmember with its engine mount assembly to be removed and also the oil filter. From the year 2002 to the year 2004 models, the oil filter fitting bolt needs to be unscrewed for detachment of the oil cooler. Unbolt the rear cover plate and the transaxle mounting bolts to access and unfasten the upper aluminum section of the oil pan and then unbolt the other sections that are attached to the block in the reverse order as to the sequence of the tightening pattern. To remove the aluminum section, they need to loosen it, for this purpose get a flat head screw driver or a pry bar and insert into the notch on the front side. On the models made after 2005, leave the air conditioning compressor and disconnect and plug the lines from the engine oil cooler, and remove the oil filter as well as the oil cooler, CLP but you have to discard the gasket. Take off the engine oil pressure sensor and the Crankshaft Position sensor; also take off the front driveshafts and front suspension crossmember. Unplug the oxygen and air flow ratio sensors, loosen and take off the catalytic converters and finally remove the rear cover plate of the upper pan. Loosen the lower oil pan bolts in a sequence which is the reversal of the tightening sequence, and then using a particular tool, a lower pan can be removed. Loosen and then, take off the front upper pan bolts as well as the pan to transaxle bolts After that, remove the upper oil pan bolts in a sequence starting from the tightening sequence. Employ a tabbed tool in order to ease off the upper oil pan which is usually fastened with bolts and nuts and remove the engine oil strainer for checking whether it is worn out or blocked. For installation clear the pans and engine block by scraper, there should be no presence of gasket materials and sealants. Cohesively spread the RTV sealant to the gaskets and subsequently install it, ensuring the exercise is done in the next fifteen minutes. Replace new O-rings to the engine block and the oil pump body, place the upper oil pan with the bolts tread tightly with valued sequence. For the vehicles produced before 2004, the rear cover plate and transaxle mounting bolts are used to fasten the pan while for the models produced starting from 2005, the bolts that fasten the pan to the transaxle and the front upper pan bolts come in handy. Inspect the bolts for elongation and re-flatten the lower oil pan flange, after which, RTV should be applied round the lower oil pan flange before fixing it into place using the specified bolt torque sequence. To complete the procedure perform the removal actions in reverse, then reinstall the oil cooler and a new oil filter before starting the engine; it is recommended to wait for at least thirty minutes before adding the oil. Last but not the least, it is now time to turn the engine on, and check whether it leaks or not, subsequently setting the oil level.
Posted by NissanPartsDeal Specialist 
