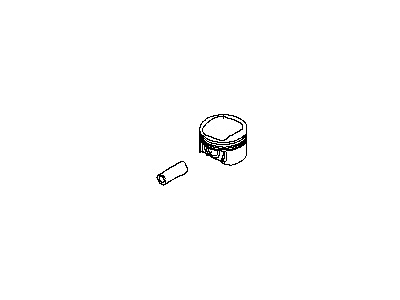
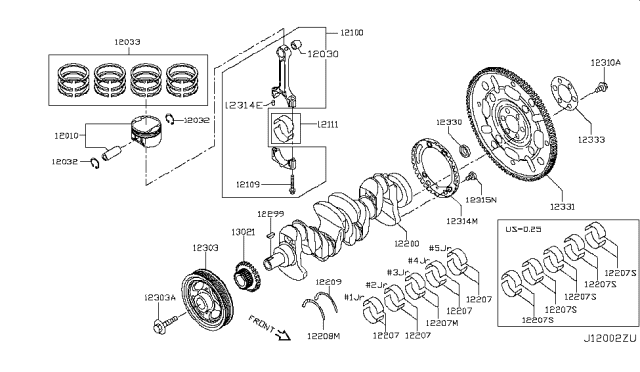
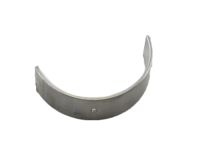
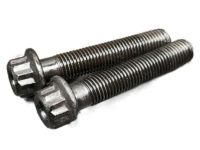
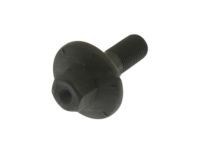
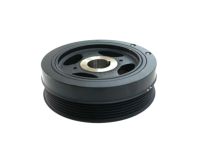
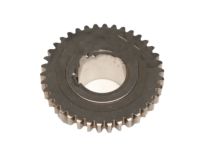
Prior to removing the piston and connecting rod assemblies, the cylinder head, oil pans, and oil pump must be taken off. First, check for any ridge formation at the upper limit of ring travel in each cylinder, which should be removed with a ridge reamer if present to prevent piston breakage. After removing the ridges, position the engine with the crankshaft facing up and check the connecting rod endplay using feeler gauges, ensuring it falls within the specified limits; if it exceeds these limits, new connecting rods may be necessary. Identify the connecting rods and caps clearly to avoid mixing them up, and loosen the connecting rod cap bolts gradually until they can be removed by hand, ensuring new bolts are used. Remove the first connecting rod cap and bearing insert carefully, then push the connecting rod and piston assembly out through the top of the engine, repeating this for the remaining cylinders. After removal, reassemble the connecting rod caps and bearing inserts to prevent damage during inspection. Before installing new piston rings, check the ring end gaps and ensure the piston ring side clearance is correct. Install the piston rings in the correct order, ensuring the identification marks are facing the right direction, and lubricate the piston and rings before attaching a piston ring compressor. Insert the piston/connecting rod assembly into the cylinder bore, ensuring the piston is oriented correctly, and gently tap it into place while guiding the connecting rod onto the crankshaft journal. Check the connecting rod bearing oil clearance using Plastigage, ensuring the surfaces are clean and free of oil before installation. If the clearance is not within specifications, different bearing inserts may be required. Finally, clean off any Plastigage material, apply a uniform layer of grease to the bearing faces, and install the rod cap with new bolts, tightening them to the specified torque, repeating the process for the remaining assemblies while ensuring cleanliness and proper orientation throughout.
Posted by NissanPartsDeal Specialist 
