Contact Us: Live Chat or 1-888-726-6993
My Garage
My Account
My Cart
Make sure this part fits your vehicle

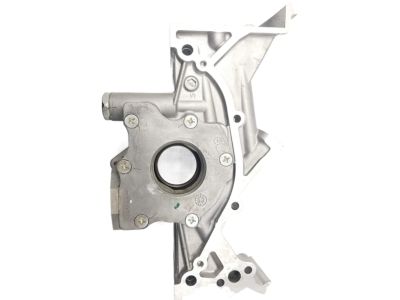
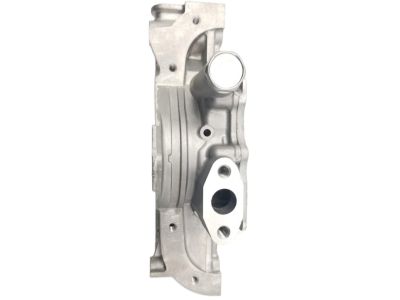
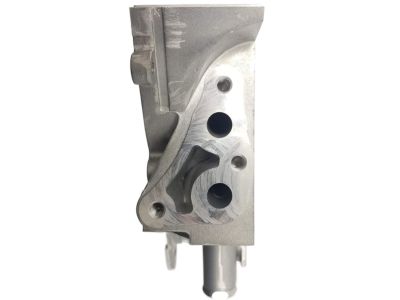
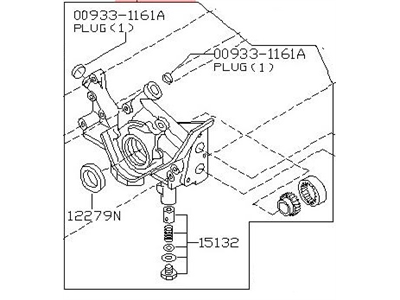
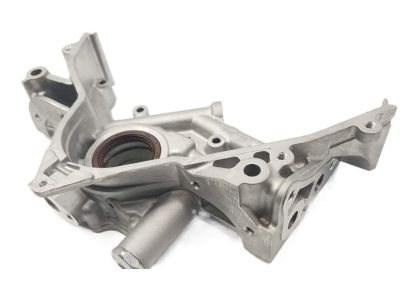
Nissan 15010-4S100 Pump-Oil

1998-2004 Nissan 150104S100

Nissan 15010-4S100 Pump-Oil
  • Part Description
    Oil Pump Assy
  • Lookup Code
    15010
  • Replaced By
    15010-1W900
  • Manufacturer
    Nissan
Customer Questions & Answers
$378.95 MSRP: $505.27
You Save: $126.32 (26%)
1
ADD TO CART
Ships in 1-3 Business Days
  • Product Specifications

    BrandGenuine Nissan
    Lookup Code15010
    Manufacturer Part Number15010-4S100
    Part DescriptionOil Pump Assy
    Item Dimensions12.1 x 9.1 x 4.3 inches
    Item Weight3.80 Pounds
    ConditionNew
    Fitment TypeDirect Replacement
    ManufacturerNissan
    SKU15010-4S100
    WarrantyThis genuine Nissan part is guaranteed by Nissan's factory warranty.
    Shipping & ReturnShipping Policy Return Policy
    Warning: California’s Proposition 65
  • Vehicle Fitment

    Year Make Model Trim & Engine Important vehicle option details
    1998-2004 Nissan FrontierSC, SE, XE|6 Cyl 3.3LVG33E
    2000-2004 Nissan XterraSE, XE|6 Cyl 3.3LVG33E, VG33ER

Customer Questions & Answers

Q:
Will this part fit my car? Posted by NissanPartsDeal Specialist
A:
You can Select Your Vehicle to check if 15010-4S100 fits your vehicle.
Posted by NissanPartsDeal Specialist
Q:
How to remove and install the oil pump on 3.5L V6 Nissan Xterra? Posted by Customer
A:
Remove the primary timing chain and the crankshaft sprocket. It is not necessary to remove the camshaft sprockets, the camshaft sprocket bolts, the secondary timing chains or the primary timing chain tensioner pivot arm/chain guide during this procedure. Simply pivot the tensioner arm/chain guide over to the left side to allow removal of the oil pump housing. Remove the oil pans. Remove the oil pump pick-up tube. Remove the oil pump-to-engine block bolts from the front of the engine. Gently pry the oil pump housing outward enough to clear the dowel pins on the engine block and remove it from the engine. Use a large Phillips screwdriver to remove the screws holding the front cover on the oil pump housing. Clean all components with solvent, then inspect them for wear and damage. Remove the oil pressure regulator cap, washer, spring(s) and valve. Check the oil pressure regulator valve sliding surface and valve spring. If either the spring or the valve is damaged, they must be replaced as a set. Check the clearance of the following oil pump components with a feeler gauge and compare the measurements to the specific clearances: Rotor tooth tip clearance, Outer rotor-to-body clearance, Cover-to-inner rotor clearance, Cover-to-outer rotor clearance, Inner rotor ridge clearance. If any clearance is excessive, replace the entire oil pump assembly. Pack the pump with petroleum jelly to prime it. Assemble the oil pump and tighten the screws securely. Install the oil pressure regulator valve. spring and washer, then tighten the oil pressure regulator valve cap. Use new gaskets on all disassembled parts and reverse the removal procedure for installation. Align the flats on the crankshaft with the flats on the oil pump gear. Tighten all fasteners to the specific torque. Before installing the oil pan, be sure to replace the O-rings on the oil pump housing and engine block.
Posted by NissanPartsDeal Specialist
Q:
How do you remove the oil pump on 3.3L V6 Nissan Frontier? Posted by Customer
A:
To remove the oil pump, you must first disconnect the timing belt and crankshaft sprocket. Then, take out the oil pan. Then, the alternator and its supports can be removed. Unbolt power steering pump and set aside without removing hoses. Remove power steering pump bracket. Detach the support bracket for oil pick-up tube and then unscrew bolts holding it on an oil pump. Take out all front bolts of an engine block that hold oil pump to it . Pry the oil pump outwards to break the gasket seal and detach it from dowels in engine block . Use a scraper to remove old gasket material and sealer from both surfaces where oil pumps contact engine blocks . Lacquer thinner or acetone should be used to clean these mating surfaces. If you want to check an oil pump, get off screws in rear cover and wash all parts with solvent . Check wear and damage . Remove cap of the oil pressure regulator along with washer , spring as well as valve . Inspect the sliding surface of this valve for wear as well as deformation and also check spring for free length . Regulator valve should be replaced if any of those parts are damaged Every other part including valves must have clearances checked to see if they meet specific criteria that require such test whereafter measurements are made forcefully tightened into given areas with means of tightening tools These figures are compared against hard copy measurements usually saved for future reference during any breakdown because even slightest differences mean lots more work ahead somewhere down line so this prevents need further trips back Each time one opens up his/her machine one needs start again by assembling new set including complete special wrenches Care should be used when installing nuts on both ends since some of them may already have been removed earlier during disassembly process Since each end is equipped with unique type fasteners made specifically for equipment being repaired do not mix these two types up Reinstall lower timing belt rear seals between rubber end cap of oil pump and the rearmost timing cover Finally, install the oil pick-up tube with a new O-ring on its flange.
Posted by NissanPartsDeal Specialist
Q:
What is the first step in this process for the 2004 Nissan Xterra? Posted by Customer
A:
Position the engine at TDC (Top Dead Center) for number one cylinder. Remove the distributor cap and mark the position of the rotor to the distributor body.
Posted by NissanPartsDeal Specialist
Q:
How is the oil pump removed from the engine block for the 2000 Nissan Xterra? Posted by Customer
A:
To remove the oil pump, first, remove the oil pump-to-engine block bolts from the front of the engine. Then, pry the oil pump outward to break the gasket seal and remove it from the dowels on the engine block.
Posted by NissanPartsDeal Specialist
Q:
How can the oil pump housing be removed for the 2003 Nissan Frontier? Posted by Customer
A:
To remove the oil pump housing, pivot the tensioner arm/chain guide over to the left side, remove the oil pans, remove the oil pump pick-up tube, and then gently pry the oil pump housing outward enough to clear the dowel pins on the engine block.
Posted by NissanPartsDeal Specialist
Q:
What are the steps for disassembling and inspecting the oil pump components for the 1999 Nissan Frontier? Posted by Customer
A:
Remove the bolt(s) retaining the oil pump cover to the oil pump body, then lift out the inner and outer rotors. Clean all the components and inspect for wear and damage. Disassemble the relief valve and check for any damage. Check the oil pump component clearance with a feeler gauge and compare the results.
Posted by NissanPartsDeal Specialist
If you have any questions about this product, please don't hesitate to ask us. We will be happy to help you!

Genuine Nissan Part 15010-4S100, the Right Choice

To ensure reliability, purchase Nissan part # 15010-4S100 Pump-Oil. It is sometimes referred to as Nissan Oil Pump. OEM parts are the #1 choice in terms of quality. Crafted by Nissan, they follow rigorous factory specs and go through the demanding quality control processes during manufacturing. This part fits 1998-2004 Nissan Frontier, 2000-2004 Nissan Xterra.

NissanPartsDeal.com is a leading supplier of genuine Nissan parts and accessories such as Nissan 150104S100 Pump-Oil. Welcome to our vast selection of competitively-priced genuine Nissan parts available online. Each OEM Nissan part we provide is backed by a manufacturer's warranty and is subject to a stress-free return policy. Place your order now and receive your parts quickly, shipped directly to your doorstep.

Why choose Nissan Parts Deal

  • Dedicated Service

    Your complete satisfaction is our #1 goal

  • Lowest Prices

    Best deals on genuine OE parts from dealerships

  • Fast Delivery

    Orders are processed and delivered promptly