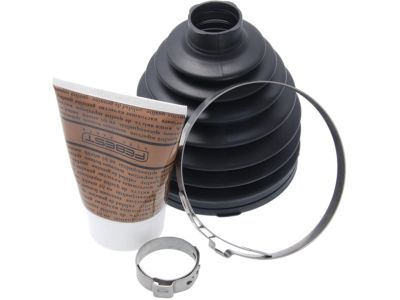
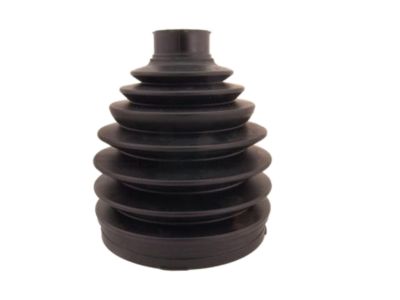
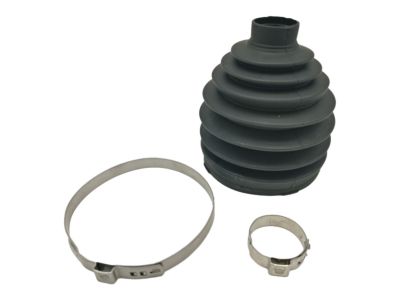
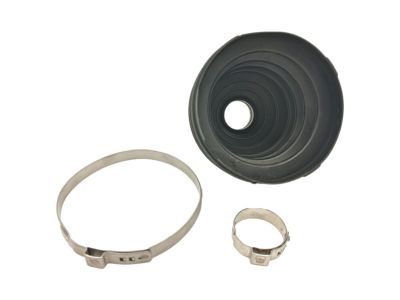
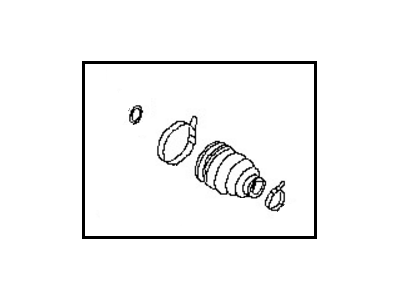
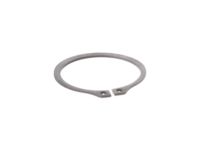
Complete rebuilt drive axles are available on an exchange basis, which eliminates much time and work. Remove the drive axle. For the inner CV joint disassembly, remove both CV Boot clamps and discard them. Slide the boot down the shaft and out of the way by prying up the retaining tabs on the boot clamps. Mark the relationship of the inner joint housing to the shaft, mount the drive axle shaft in a vise with padded jaws, then tap the inner joint housing to dislodge the cover on the end of the joint. Remove the snap-ring from the end of the shaft, then mark the relationship of the shaft and spider for reassembly. Using a hammer and a brass punch, drive the spider assembly off the shaft. Slide the housing and boot off the axle shaft. Clean the components with solvent to remove grease. Inspect for pitting, score marks, cracks, and wear. Shiny spots are normal. Check the splines on the shaft and spider for wear. If any undesirable conditions exist, replace the entire joint or drive axle assembly.For reassembly, wrap the axleshaft splines with tape to avoid damaging the boot. Slide the small boot clamp and boot onto the axleshaft, then remove the tape. Slide the large boot clamp over the boot. Slide the housing onto the shaft. Install the spider assembly, aligning the marks. Install a new snap-ring. Lubricate the spider assembly and housing with CV joint grease. Move the housing up onto the spider, aligning the marks. Apply a bead of RTV sealant to a new cover, then tap the cover into place. Fill the housing with approximately 3-1/2 ounces (100of CV joint grease. Adjust the CV joint to the desired length. Equalize the pressure in the boot and install the boot clamps.For the outer CV joint disassembly, on specific models, the outer boot may either be rubber or plastic. On models with a plastic boot, replace the entire drive axle assembly if damaged. On other models, remove the boot clamps and separate the boot from the outer CV joint. Clamp the axleshaft in a bench vise and drive off the outer CV joint with a brass hammer. Remove the retainer ring for the inner race and slide off the old boot. Wash the outer CV joint in clean solvent, then rinse it with brake system cleaner.Inspect the outer CV joint by rotating it to expose the bearings, inner race, and cage. Inspect the bearing surfaces for signs of wear. If worn, replace it. For reassembly, slide the new outer boot and small clamp onto the drive axle. Wrap vinyl tape around the shaft splines to prevent damage to the boot. Remove the tape. Install a new inner race retainer ring on the shaft. Pack the CV joint with approximately 5-ounces (140of CV joint grease. Force the grease into the joint with a wooden dowel. If the specified quantity of grease can't be packed into the joint, place the remainder in the CV joint boot. Tap the outer CV joint into place with a hammer and woodblock. Slide the boot into position, add the remaining grease to the CV joint boot, adjust the boot's length, equalize the pressure inside the boot, and install the new clamps. Install the drive axle.
Posted by NissanPartsDeal Specialist