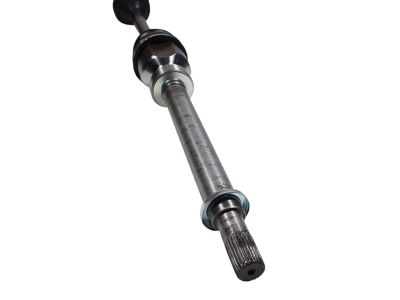
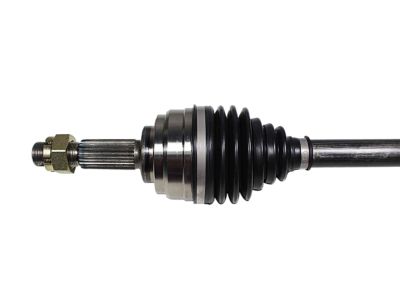
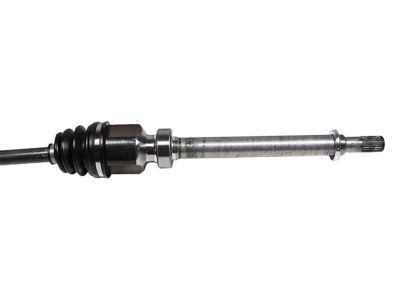
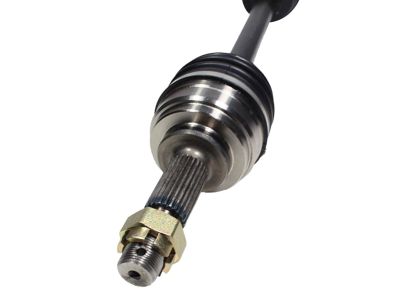
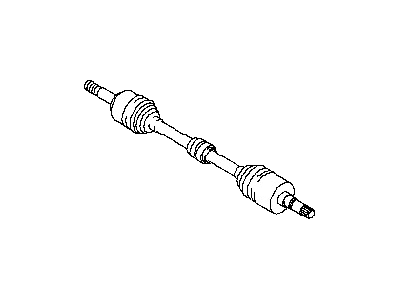
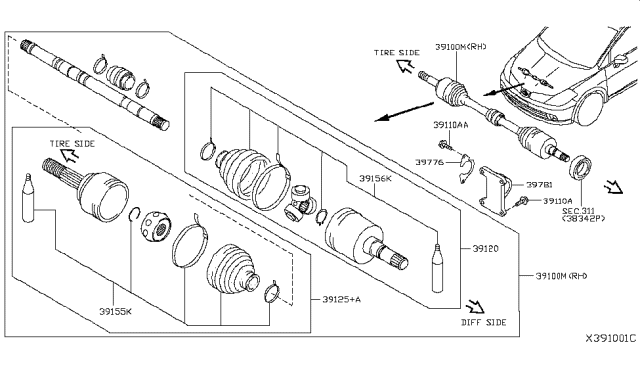
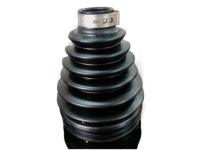
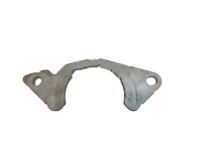
To remove the axle shaft, first loosen the front wheel lug nuts, raise the vehicle, and support it securely on jackstands before removing the wheel. Next, take out the cotter pin and the axle shaft/hub nut, using a prybar between two wheel studs to assist in loosening it. Alternatively, the vehicle can remain on the ground while the hubcap or center cap is removed, followed by the cotter pin and loosening the axle shaft/hub nut. Then, detach the wheel speed sensor from the steering knuckle. For 2011 and earlier models, remove the control arm ball joint-to-steering knuckle pinch bolt, pry downward on the lower control arm to separate the lower balljoint from the steering knuckle, and push the axle shaft out of the hub while pulling outward on the steering knuckle and hub assembly. If the axle shaft splines are frozen, tap the end of the axle shaft with a soft-faced hammer or use a puller. Place a drain pan underneath the transaxle to catch any lubricant that may spill out during removal. For the left axle shaft, carefully pry the inner CV joint out of the transaxle. For the right axle shaft, detach it from the support bracket by removing the retainer-to-bracket bolts and marking the relationship of the bearing to the support bracket before pulling out the assembly. For 2012 and later models, disconnect the brake hose bracket from the strut, remove the brake caliper and disc without disconnecting the brake hose, and suspend the caliper to prevent damage. Break free the axle shaft from the hub, remove the strut-to-steering knuckle fasteners, and push the axle shaft out of the hub while pulling outward on the steering knuckle and hub assembly. Use a prybar or slide hammer with an axle shaft removal tool to remove the inner CV joint from the transaxle. Install a new axle shaft oil seal on the transaxle case if necessary. For installation, place a new retaining clip on the axle end before installation if reusing the old axle, and follow the reverse order of removal while ensuring to push the left axle shaft in sharply to seat the retaining ring. Tighten all fasteners to the proper torque specifications, ensuring the brake caliper mounting bolts are also tightened on 2012 and later models. Finally, install a new cotter pin, the wheel and lug nuts, lower the vehicle, tighten the lug nuts, and check the transaxle lubricant level, adding if necessary.
Posted by NissanPartsDeal Specialist 
