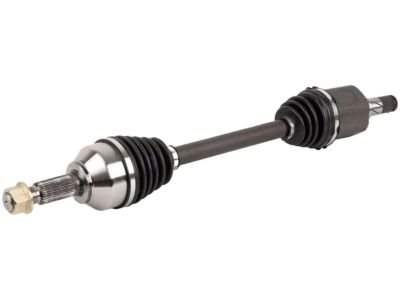
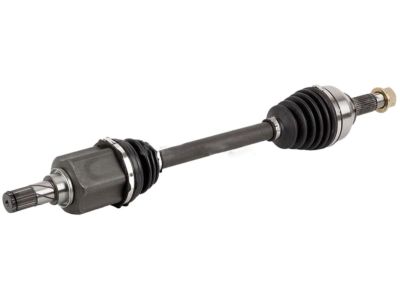
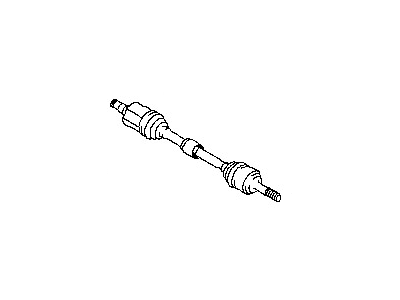
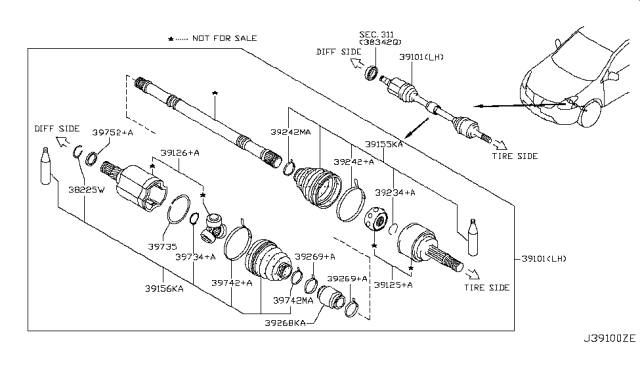
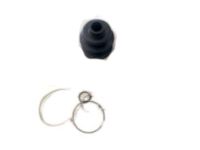
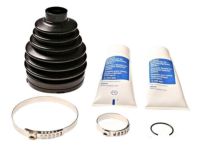
Prior to relocating the front axle shaft, first, loosen the front wheel lug nuts, then lift the vehicle and support it on a jackstand before unscrewing the wheel. Or it elevates in a position other than the lift while the hubcap or center cap is detached, the cotter pin is removed and the axle shaft nut slackened. Next, unlock the cotter pin and the nut lock if any, and after that, unscrew the axle shaft/hub nut where depending on your requirements and if unable to turn the nut with your hand then use a prybar and place between two studs of the wheel. Subsequently remove the lock nut and washer at the end of the axle shaft and extract the ABS wheel speed sensor from the steering knuckle. Go on, take off the control arm balljoint-to-steering knuckle pinch bolt, next apply down force on the control arm in order to disengage the balljoint from the steering knuckle. Force the axle shaft out of the hub while pulling the steering knuckle and hub assembly outward with your hands skillfully using a soft metal hammer or puller, if the splines of the axle shaft are stuck. As you unstow the transaxle, there will be spilling of lubricant, thus, position a drain pan beneath it to help collect the excess. In the case of the left axle shaft, it is necessary to gently liberate the inner CV joint from the transaxle housing while for the right axle shaft it is required to detach the inner CV joint from the support bracket with help of the retainer-to-bracket bolts, also it is necessary to mark the relation of the bearing to the support bracket and then withdraw the axle shaft assembly keeping the bearing and inner CV joint connected till Replace the axle shaft oil seal with a new one on the transaxle case. To reinstall the new axle, do the process in the reverse order used to remove it and if using the old axle make sure to fit a new retaining clip on the axle end. When replacing the right axle shaft, tighten the retainer plate-to-bracket bolts in two stages, to the specified torque. Regarding the left axle shaft, it should be pushed in sharply to ensure that the retaining ring on the inner CV joint fits into a groove positioned on the differential side gear; the gap in this ring should be upward to ease the entire process. Further, increasing the torque of control arm ball joint bolt to the steering knuckle, and the axle shaft and the hub nut, afterwards using a new cotter pin should be fixed. Lastly, bolt on the wheel and the lug nuts, lower the car and then tighten the lug nuts as recommended then check the transaxle lubricant level and add if it is low. Procedures for the rear axle shaft will require loosening of the rear wheel lug nuts and lifting of the vehicle and ensuring it's well supported by jackstands usually by the removal of the rear wheel(s). Or it can still be on the ground and the removal of the hubcap or center cap takes place next then the cotter pin and then loosening of the axle shaft nut. Taking off the cotter pin and then placing a prybar between two of the wheel studs and turning it in a way such that the axle shaft nut Scotches and screws back until it can no longer be seen. To wrench the axle shaft off the hub splines, put a wooden piece between the nut and the end of the axle shaft and hit it; or hit the end of the axle shaft with a hammer and a brass punch. In case of seizing of the axle shaft, it may be necessary to use some kind of puller. After that, take off the nut from the end of the axle shaft, then disconnect the wheel speed sensor from the trailing arm as well as the rear brake disc, also, the rear stabilizer bar link has to be unbolted from the lower suspension arm also. jack up the coil spring pocket of the trailing arm and lift it a little bit, remove the shock absorber bolted on low end of the trailing arm and then the upper and the lower control arms. Extend the axle shaft with the rearward force, while turning the nuts of the trailing arm assembly in the upward direction which could be controlled with the height adjustment screw of the jack. Since there is always the option of a spillage during the removal process, it is advised that a drain pan is placed beneath the rear differential where applicable; insert the prybar and push it against the inner CV joint and pull to remove the axle shaft from the rear differential. Insert a new axle shaft oil seal if needed to the rear differential housing. In other words, in installation, it is just done in reverse to the removal techniques but where the old axle is to be reused, a new retaining clip should be fitted on the axle end. To fit the axle shaft, it is inserted sharply and this forces the retaining ring on the inner CV joint to fit into the groove in the differential side gear with the gap facing down as it is being inserted. Loosen or remove the control arms bolt, and then tighten the bolts to the recommended torque specification; also tighten the axle shaft/hub nut to the correct torque and fit a new cotter pin. Last of all put the wheel and lug nuts back, bring down the car and tighten the lug nuts to the recommended torque. When doing this always check the differential lubricant level and add if it is low.
Posted by NissanPartsDeal Specialist 

