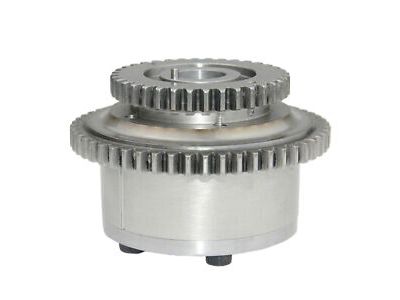
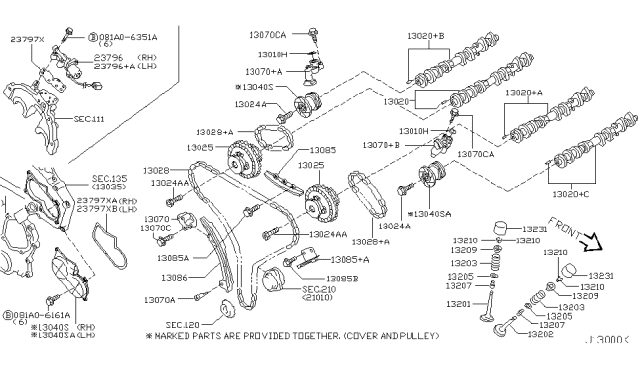
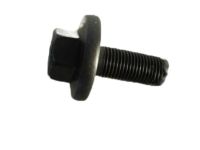
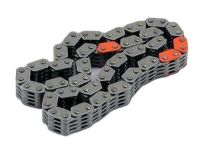
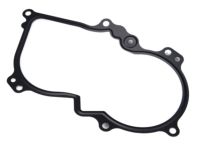
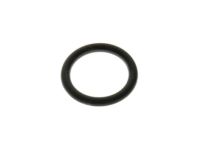
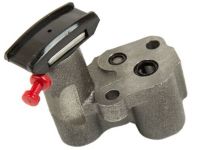
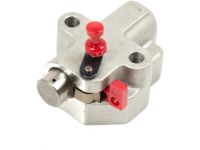
The timing system is complex, and severe engine damage will occur if mistakes are made; do not attempt this procedure unless highly experienced with this type of repair, and consult an expert if unsure of abilities. Double-check all work and ensure everything is correct before attempting to start the engine. Begin by having a qualified air conditioning shop recover the refrigerant from the air conditioning system, then relieve the fuel system pressure and disconnect the cable from the negative terminal of the battery. Block the rear wheels, set the parking brake, raise the front of the vehicle, and support it securely on jackstands. Drain the cooling system, power steering fluid, and engine oil, then remove the power steering fluid reservoir, top and bottom engine covers, right inner fender splash shield, and front air inlet duct. Remove the upper intake manifold, valve covers, and dipstick, and position the number one piston at TDC on the compression stroke. Remove the drivebelt, upper radiator hose, lower radiator hose, coolant reservoir, cooling fan assembly, starter, power steering pump, air conditioning compressor, alternator and its bracket, and crankshaft pulley, ensuring the crankshaft does not rotate during removal. Remove the bolts from the engine oil cooler tube and its bracket, disconnect wiring from the oil pressure switch and valve timing control wiring harness, and label any other interfering wiring and hoses. Remove the bolts from the IVT covers in reverse of the tightening sequence, pull the covers straight off, and remove the drivebelt tensioner, air conditioning idler pulley, and its bracket. Remove the bolts of the front timing chain cover in reverse of the tightening sequence, pry the cover off, and remove the O-ring below each intake camshaft sprocket. Confirm that the number one piston is still at TDC on the compression stroke by verifying the intake and exhaust camshaft lobes on the number one cylinder are pointing upward. Relieve tension on the primary timing chain, lock the primary tensioner in place, and remove the primary timing chain tensioner, tensioner pivot arm/chain guide, and upper timing chain guides. Lock the secondary timing chain tensioners in place, remove the camshaft sprocket bolts, disengage the primary timing chain from the teeth on the chain sprockets, and mark the camshaft sprockets with either an R or L before removing them and the secondary timing chains. Remove the crankshaft sprocket and lower timing chain guide, and if necessary, remove the rear timing chain cover. Inspect the camshaft, water pump, and crankshaft sprockets for wear, and check the chains for cracks or excessive wear. Before starting the engine, carefully rotate the crankshaft by hand through at least two full revolutions; if any resistance is felt, stop and find the problem. If the rear timing chain cover was removed, install it now, then install the crankshaft sprocket and lower timing chain guide with the mark facing up. Verify the correct timing chains by counting the number of links and comparing the new chains with the old ones. Position the camshafts with the dowels in the correct position, install the secondary timing chains and sprocket assemblies, and hand-tighten the camshaft sprocket bolts. Reconfirm the alignment of the secondary camshaft sprocket timing marks, remove the stopper pins from the secondary chain tensioners, and install the primary timing chain onto the engine, ensuring the colored links align with the marks on the sprockets. Install the upper timing chain guides, primary tensioner arm/chain guide, and timing chain tensioner assembly, then reconfirm the number one piston is still at TDC and the timing marks are aligned before removing the stopper pin from the primary timing chain tensioner. Tighten the camshaft sprocket bolts to the specified torque, remove old sealant from the timing chain cover, and install new O-rings in the variable valve timing oil control orifice of the rear timing cover. Apply RTV sealant to the timing chain cover sealing surfaces, place the cover in position, and install the bolts in their original locations, tightening them to the specified torque. Install new O-rings in the IVT orifices of the front timing chain cover and on the IVT actuator covers, apply RTV sealant to the sealing surface of the variable valve timing actuator covers, and install the IVT covers. The remainder of the installation is the reverse of removal, ensuring to follow sealant manufacturer's recommendations for assembly and curing times. Fill the crankcase with oil, install a new filter, refill the cooling system, reconnect the battery, and perform the necessary re-learn procedures. Timing chain noise may be apparent after this procedure, which is normal and should subside as air bleeds out of the primary timing chain tensioner; if the noise persists, run the engine at 3,000 rpm with the transmission in Neutral or Park until it subsides.
Posted by NissanPartsDeal Specialist 
