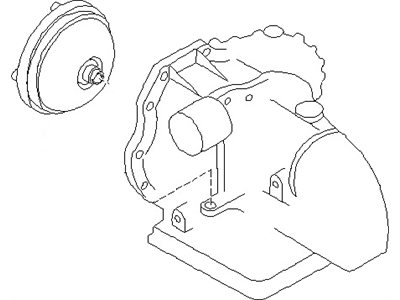
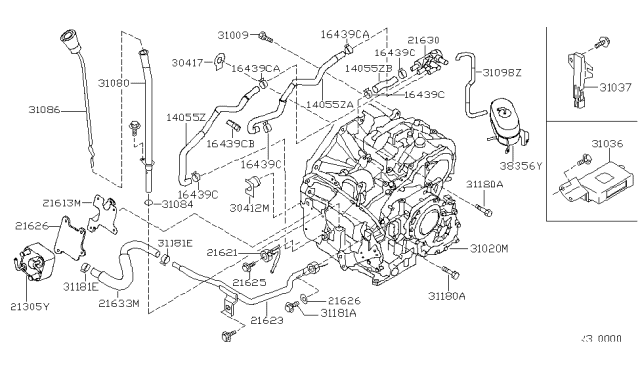
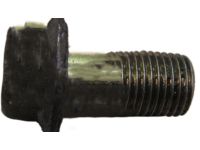
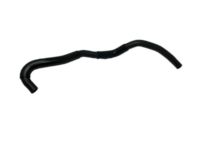
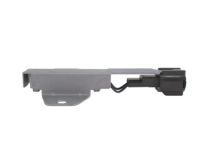
When removing the transaxle mounting bolts, record the position and length of each bolt for reinstallation. Begin by removing the battery and battery tray, followed by the air cleaner and resonator/air duct. Unplug the electrical connectors for the automatic transaxle solenoid, revolution sensor, neutral start/back-up light switch, and the crankshaft position sensor on 1995 and later models, as well as the vehicle speed sensor. Disconnect the vent hose and remove the left transaxle mount, then take out the upper transaxle-to-engine bolts and the starter motor. Loosen the wheel lug nuts, raise the vehicle securely on jackstands, and remove the wheels. Drain the transaxle/differential fluid, and if working on a 2004 model, drain the engine coolant. Remove the dipstick tube and disconnect the oil cooler lines, plugging the fittings to keep out dirt and moisture. Disconnect the ground wire next to the left cooler line fitting, then disconnect the shift cable from the transaxle and remove the driveaxles. Remove the torque converter access cover, marking the relationship of the torque converter to the driveplate before removing the torque converter-to-driveplate bolts. Remove the torque converter mounting bolts, support the engine using a hoist or jack, and support the transaxle with a jack. Remove the center member and the oil pan-to-transaxle bolts, as well as the front transaxle-to-engine bolt and the rear engine-to-transaxle bolt. Lower the transaxle slightly to check for any remaining connections, then move it to disengage from the engine block dowel pins and ensure the torque converter is detached from the driveplate. Secure the torque converter to the transaxle to prevent it from falling out during removal. For installation, ensure the torque converter is securely engaged in the transaxle, measuring the distance from a converter bolt hole to the mating surface of the transaxle according to the model year specifications. With the transaxle secured to the jack, raise it into position while keeping it level. Carefully move the transaxle into place until the dowel pins are engaged and the torque converter is properly positioned. Align the torque converter bolt holes with the driveplate, install and tighten the transaxle mounting bolts, followed by the torque converter-to-driveplate bolts and the torque converter cover. Install the center member and left transaxle mount, tightening all bolts and nuts securely. Remove the jacks supporting the transaxle and engine, then install the dipstick tube and starter motor. Connect the shift cable and plug in the electrical connectors for the automatic transaxle solenoid, revolution sensor, vehicle speed sensor, neutral start/back-up light switch, and crankshaft position sensor for 1995 and later models. Connect the driveaxles to the transaxle, remove the jackstands, lower the vehicle, and fill the transaxle with the appropriate type and amount of fluid, then run the vehicle to check for fluid leaks.
Posted by NissanPartsDeal Specialist 
