×
- Live Chat
- 1-888-726-6993
My Garage
My Account
Cart
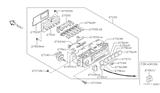
Genuine Nissan 240SX A/C Switch
Air Conditioning Switch- Select Vehicle by Model
- Select Vehicle by VIN
Select Vehicle by Model
orMake
Model
Year
Select Vehicle by VIN
For the most accurate results, select vehicle by your VIN (Vehicle Identification Number).
14 A/C Switches found
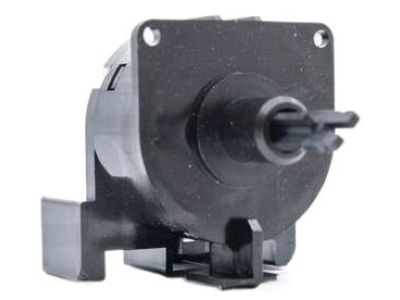

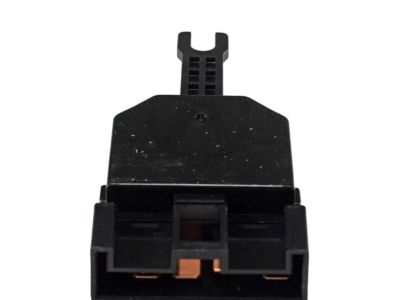

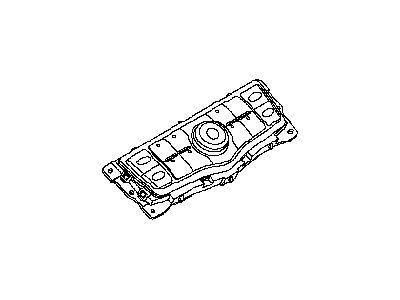
Nissan 240SX A/C Switch
If you need any OEM Nissan 240SX A/C Switch, feel free to choose them out of our huge selection of genuine Nissan 240SX A/C Switch. All our parts are offered at unbeatable prices and are supported by the manufacturer's warranty. In addition, we offer quick shipping to have your parts delivered to your door step in a matter of days.
Nissan 240SX A/C Switch Parts Questions & Experts Answers
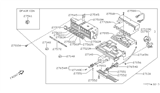
- Q: How do you remove and install the heater control assembly for the Nissan 240sx?A: In order to gain access to the heater control assembly, you need to start removing the negative terminals of the battery, followed by the heater control trim and the instrument lower trims also in the 200SX and 240SX models. Then, remove the control cables from the heater unit assembly and the electrical connectors, together with the ground wire. Give the attached bolts that mount the heater control assembly the necessary attention by pulling them out. For installation, the reverse of the removal steps should be followed while seeing that the ground wire makes an excellent connection. Correct the heater control cables by clipping them at the same time pulling the outer case and lever in the specified forward position to provide the full range of turn and check the system for efficiency. Using the Stanza model, if the A/C Switch cannot be accessed from the control head assembly, then start off by disconnecting the battery's negative cable and eliminating the cluster cover, as well as the instrument lower trims. Lower the control cables to free the control levers and turn the clamps to undo control cable bolts. Take out the electrical connector. Remove the mounting bolts of the heater control head assembly in addition to the ground wire from the intake box. To reinstall the heater control head assembly, insert it in the reverse manner to the steps mentioned above, connect the ground wire tightly, adjust the cables of the heater control to the manner described above, and test the system.

Related Nissan 240SX Parts
 Nissan 240SX Blend Door Actuator
 Nissan 240SX Blower Motor
 Nissan 240SX Blower Motor Resistor
 Nissan 240SX A/C Condenser Fan
 Nissan 240SX A/C Idler Pulley
 Nissan 240SX A/C Compressor
 Nissan 240SX A/C Hose
 Nissan 240SX Evaporator
 Nissan 240SX A/C Expansion Valve
 Nissan 240SX A/C Clutch
 Nissan 240SX A/C Accumulator