×
- Hello
- Login or Register
- Quick Links
- Live Chat
- Track Order
- Parts Availability
- RMA
- Help Center
- Contact Us
- Shop for
- Nissan Parts
- Nissan Accessories

My Garage
My Account
Cart
Genuine Nissan 240SX Brake Pad Set
Disc Brake Pad Set- Select Vehicle by Model
- Select Vehicle by VIN
Select Vehicle by Model
orMake
Model
Year
Select Vehicle by VIN
For the most accurate results, select vehicle by your VIN (Vehicle Identification Number).
11 Brake Pad Sets found
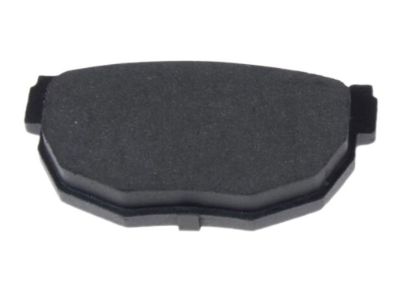
Nissan 240SX Disc Brake Pad Kit
Part Number: 44060-53F92$77.93 MSRP: $112.75You Save: $34.82 (31%)Ships in 1-3 Business DaysNissan 240SX Front Disc Brake Pad Kit
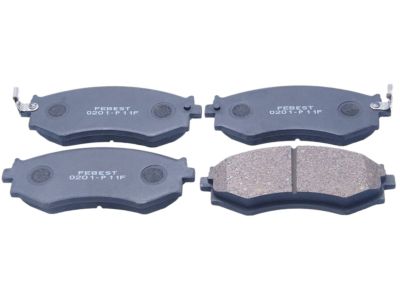
Part Number: 41060-G8190$85.56 MSRP: $123.78You Save: $38.22 (31%)Nissan 240SX Front Disc Brake Pad Kit
Part Number: 41060-3J190$85.56 MSRP: $123.78You Save: $38.22 (31%)Nissan 240SX Disc Brake Pad Kit
Part Number: 41060-40F90$80.69 MSRP: $111.15Limited AvailabilityYou Save: $30.46 (28%)Nissan 240SX Disc Brake Pad Kit
Part Number: 41060-40F91$80.69 MSRP: $111.15Limited AvailabilityYou Save: $30.46 (28%)Nissan 240SX Disc Brake Pads Kit
Part Number: D1060-40F90$108.49 MSRP: $149.43Limited AvailabilityYou Save: $40.94 (28%)
Nissan 240SX Brake Pad Set
If you need any OEM Nissan 240SX Brake Pad Set, feel free to choose them out of our huge selection of genuine Nissan 240SX Brake Pad Set. All our parts are offered at unbeatable prices and are supported by the manufacturer's warranty. In addition, we offer quick shipping to have your parts delivered to your door step in a matter of days.
Nissan 240SX Brake Pad Set Parts Questions & Experts Answers
- Q: How can you check the pad lining thickness and replace front brake pads for Nissan 240sx?A: To check the pad lining thickness, it is possible to do so without removing the pads, and the Brake Specifications chart provides the manufacturer's pad wear limit, although this may differ from state inspection laws. When replacing pads, inspect the rotor surfaces for scoring or wear, and remove them for resurfacing if they are badly scored. All four front brake pads must be replaced as a complete set, and bleeding the brake system should only be done if necessary. For the Type N22 Series, raise the front of the vehicle, remove the wheels, and take out the retaining clip and pad pins before removing the pads. To install, open the bleeder screw slightly, push the outer piston in, install the inner pad, and then the outer pad, applying grease to contact areas while avoiding the friction surfaces. For the Type CL22V Series, raise the front, remove the lower pin bolt, swing the cylinder body upward, and remove the pad retainer and pads without depressing the brake pedal. Clean the piston end, install the inner and outer pads, and tighten the pin bolt. For the Type AD22V Series, remove the road wheel, lower caliper guide pin, and rotate the caliper body upward to remove the pads. Clean the piston end, install the new pads, and tighten the guide pin bolt. For Types CL28VB, CL22VB, and CL25VB, raise the vehicle, remove the front wheel and lower pin bolt, swing the caliper body upward, and remove the pad retainers and shims. Check the fluid level in the master cylinder, use a C-clamp to press the caliper piston back, install new pads with new shims, torque the lower retaining bolt, and ensure the brakes are bled and adjusted as necessary before driving.


