×
- Live Chat
- 1-888-726-6993

My Garage
My Account
Cart
Genuine Nissan 350Z Lash Adjuster
Lash Adjuster Lifter- Select Vehicle by Model
- Select Vehicle by VIN
Select Vehicle by Model
orMake
Model
Year
Select Vehicle by VIN
For the most accurate results, select vehicle by your VIN (Vehicle Identification Number).
108 Lash Adjusters found
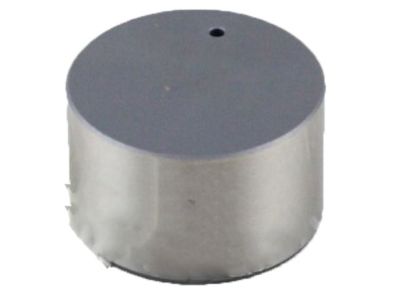
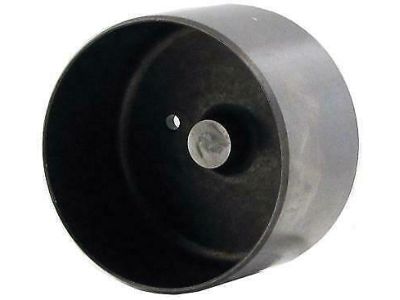
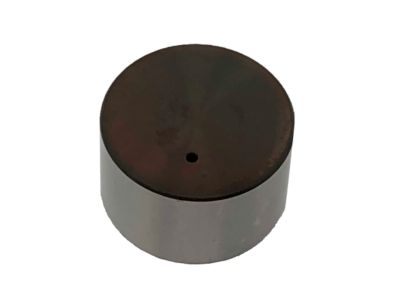
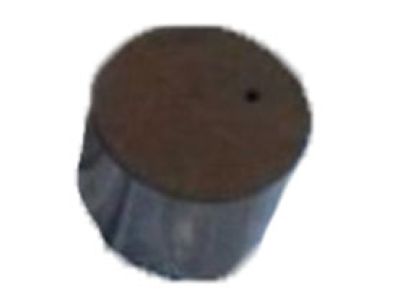
Nissan 350Z Lifter-Valve
Part Number: 13231-2Y800$27.61 MSRP: $38.03You Save: $10.42 (28%)Ships in 1-3 Business DaysNissan 350Z Lifter-Valve
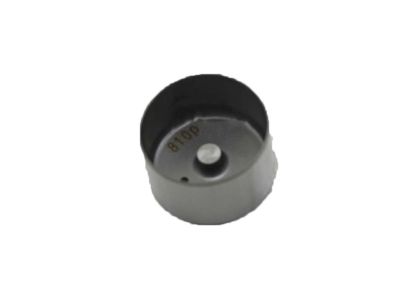
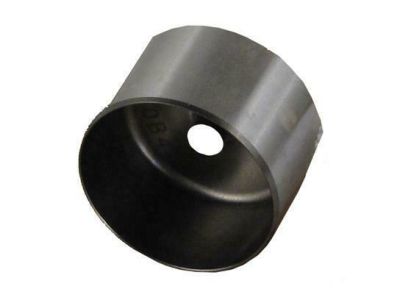
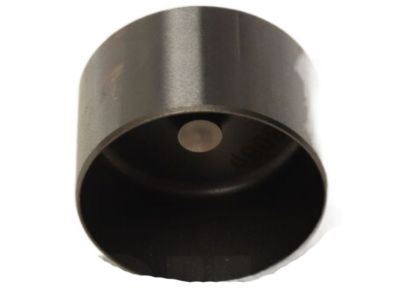
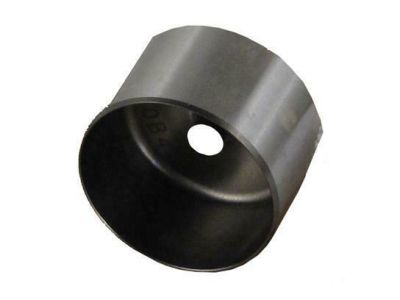
Part Number: 13231-EY02B$53.80 MSRP: $74.10You Save: $20.30 (28%)Ships in 1-2 Business DaysNissan 350Z Lifter-Valve
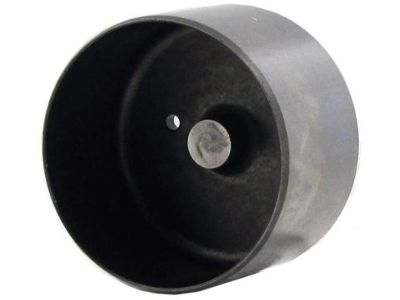
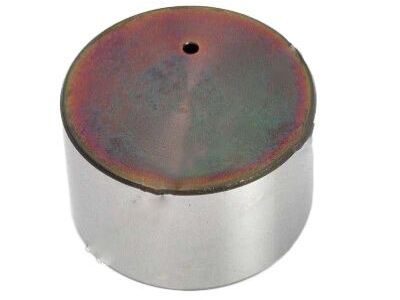
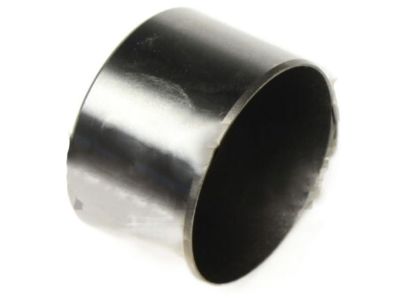
Part Number: 13231-EY02E$53.60 MSRP: $73.83You Save: $20.23 (28%)Ships in 1-3 Business DaysNissan 350Z Lifter-Valve
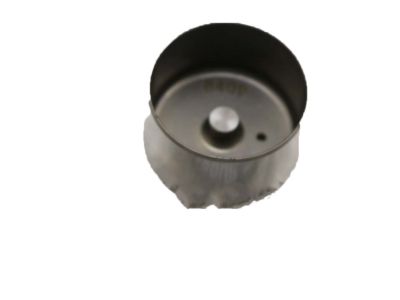
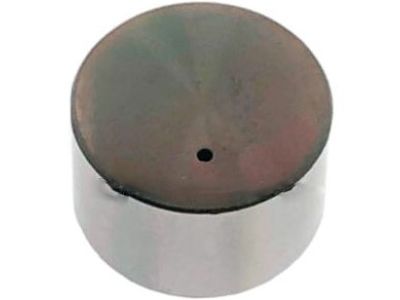
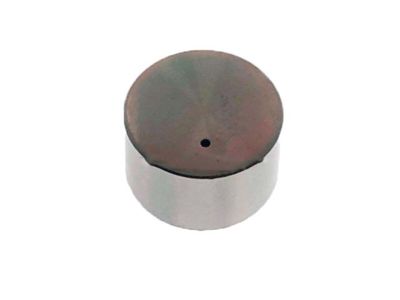
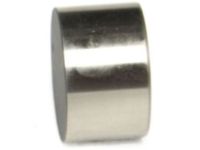
Part Number: 13231-EY00A$27.61 MSRP: $38.03You Save: $10.42 (28%)Ships in 1-2 Business DaysNissan 350Z Lifter-Valve
Part Number: 13231-EY05B$52.82 MSRP: $72.75You Save: $19.93 (28%)Ships in 1-3 Business DaysNissan 350Z Lifter-Valve
Part Number: 13231-EY02D$52.78 MSRP: $72.70You Save: $19.92 (28%)Ships in 1-3 Business DaysNissan 350Z Lifter-Valve
Part Number: 13231-EY02A$52.82 MSRP: $72.75You Save: $19.93 (28%)Ships in 1-3 Business DaysNissan 350Z Lifter-Valve
Part Number: 13231-EY02C$52.82 MSRP: $72.75You Save: $19.93 (28%)Ships in 1-3 Business DaysNissan 350Z Lifter-Valve
Part Number: 13231-EY04A$52.82 MSRP: $72.75You Save: $19.93 (28%)Ships in 1-3 Business DaysNissan 350Z Lifter-Valve
Part Number: 13231-EY04D$52.01 MSRP: $71.63You Save: $19.62 (28%)Ships in 1-3 Business DaysNissan 350Z Lifter-Valve
Part Number: 13231-EY01E$53.80 MSRP: $74.10You Save: $20.30 (28%)Ships in 1-3 Business DaysNissan 350Z Lifter-Valve
Part Number: 13231-EY03B$54.63 MSRP: $75.25You Save: $20.62 (28%)Ships in 1-3 Business DaysNissan 350Z Lifter-Valve
Part Number: 13231-EY03D$53.80 MSRP: $74.10You Save: $20.30 (28%)Ships in 1-3 Business DaysNissan 350Z Lifter-Valve
Part Number: 13231-EY04C$54.63 MSRP: $75.25You Save: $20.62 (28%)Ships in 1-3 Business DaysNissan 350Z Lifter-Valve
Part Number: 13231-2Y820$52.82 MSRP: $72.75You Save: $19.93 (28%)Ships in 1-2 Business DaysNissan 350Z Lifter-Valve
Part Number: 13231-EY04E$52.01 MSRP: $71.63You Save: $19.62 (28%)Ships in 1-3 Business DaysNissan 350Z Lifter-Valve
Part Number: 13231-EY05A$49.82 MSRP: $68.62You Save: $18.80 (28%)Ships in 1-2 Business DaysNissan 350Z Lifter-Valve
Part Number: 13231-EY03A$52.01 MSRP: $71.63You Save: $19.62 (28%)Ships in 1-3 Business DaysNissan 350Z Lifter-Valve
Part Number: 13231-2Y802$51.15 MSRP: $70.45You Save: $19.30 (28%)Ships in 1-3 Business DaysNissan 350Z Lifter-Valve
Part Number: 13231-2Y806$52.01 MSRP: $71.63You Save: $19.62 (28%)Ships in 1-3 Business Days
| Page 1 of 6 |Next >
1-20 of 108 Results
Nissan 350Z Lash Adjuster
If you need any OEM Nissan 350Z Lash Adjuster, feel free to choose them out of our huge selection of genuine Nissan 350Z Lash Adjuster. All our parts are offered at unbeatable prices and are supported by the manufacturer's warranty. In addition, we offer quick shipping to have your parts delivered to your door step in a matter of days.
Nissan 350Z Lash Adjuster Parts Questions & Experts Answers
- Q: How to remove and install the camshaft and Lash Adjuster on Nissan 350Z?A: To remove the components, first disconnect the cable from the negative terminal of the battery. Next, remove the intake plenum and the valve covers, then disconnect the electrical connectors at the camshaft position sensors and remove the sensors. Proceed to remove the Timing Chains and camshaft sprockets, and for models without exhaust timing control, remove the variable intake valve timing valves from the top of the number one camshaft journals. Mark the camshaft bearing caps from 1 to 4, indicating intake or exhaust, and ensure arrows point to the front of the engine. Loosen the camshaft bearing caps in reverse order of tightening, keeping them in order for reinstallation. Remove the bearing caps and camshafts, noting the markings for correct installation. Remove the Lash Adjusters from the Cylinder Head, keeping track of their original positions, and measure each journal diameter with a micrometer, replacing the camshaft if any journal is below the specified limit. Visually inspect the camshaft lobes, journals, bearing caps, and Lash Adjusters for wear or damage, and measure camshaft journal diameter and lobe height, replacing the camshaft if any measurements are below specifications. Check camshaft runout and endplay, replacing the camshaft or cylinder head if limits are exceeded. Inspect each Lash Adjuster for scuffing and check oil clearance for each camshaft journal using Plastigage, replacing components if clearance is greater than specified. For installation, remove old RTV sealant, set the number one piston at TDC, lubricate and install the Lash Adjusters, apply assembly lubricant to the camshaft lobes and journals, and install the exhaust camshafts with dowel pins facing up. Apply RTV sealant to the sealing surfaces and install new O-rings on the secondary timing chain tensioners. Install the bearing caps and bolts, tightening them in sequence, and check the protrusion of the front bearing caps. Install the camshaft sprockets and timing chain, holding the camshafts with a wrench while tightening the sprocket bolts. Complete the installation in reverse order of removal, checking and adjusting valve clearance if any part of the valve train was replaced, and finally reconnect the battery and perform necessary relearn procedures, especially for specific models if the Exhaust Valve Timing components were disconnected or removed.
