×
- Live Chat
- 1-888-726-6993

My Garage
My Account
Cart
Genuine Nissan Altima Crankshaft
Crank Shaft- Select Vehicle by Model
- Select Vehicle by VIN
Select Vehicle by Model
orMake
Model
Year
Select Vehicle by VIN
For the most accurate results, select vehicle by your VIN (Vehicle Identification Number).
11 Crankshafts found
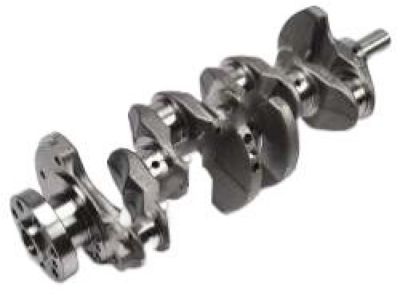
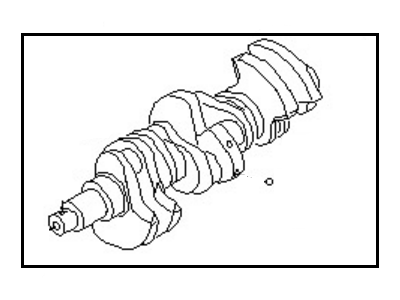
Nissan Altima CANKSHAFT Assembly
Part Number: 12201-JA02A$1292.64 MSRP: $1538.86You Save: $246.22 (16%)Ships in 1-3 Business DaysNissan Altima CRANKSHAFT Assembly
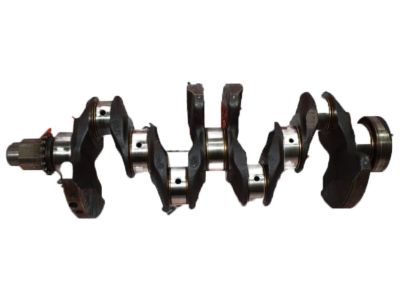
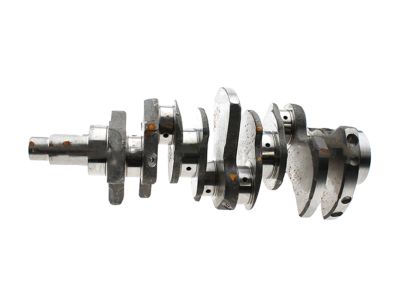
Part Number: 12200-30R00$1339.82 MSRP: $1595.03You Save: $255.21 (16%)Nissan Altima CRANKSHAFT Assembly
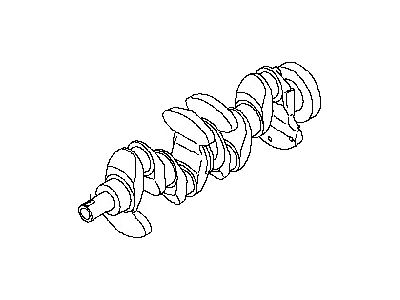
Part Number: 12201-3TA0A$1292.64 MSRP: $1538.86You Save: $246.22 (16%)Ships in 1-3 Business DaysNissan Altima CRANKSHAFT Assembly
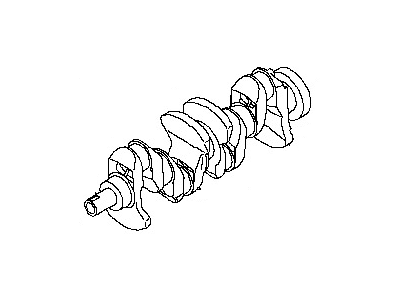
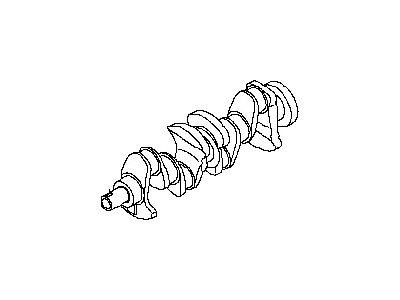
Part Number: 12200-JA12B$408.17 MSRP: $562.22You Save: $154.05 (28%)Ships in 1-3 Business DaysNissan Altima CRANKSHAFT Assembly
Part Number: 12200-JA11B$408.17 MSRP: $562.22You Save: $154.05 (28%)Ships in 1-3 Business DaysNissan Altima CRANKSHAFT Assembly
Part Number: 12200-JA10B$477.15 MSRP: $657.23You Save: $180.08 (28%)Ships in 1-3 Business DaysNissan Altima CRANKSHAFT Assembly
Part Number: 12200-4W001$1110.65 MSRP: $1542.57You Save: $431.92 (28%)Ships in 1-3 Business DaysNissan Altima CRANKSHAFT Assembly
Part Number: 12201-9HP0A$1017.98 MSRP: $1413.87You Save: $395.89 (28%)
Nissan Altima Crankshaft
If you need any OEM Nissan Altima Crankshaft, feel free to choose them out of our huge selection of genuine Nissan Altima Crankshaft. All our parts are offered at unbeatable prices and are supported by the manufacturer's warranty. In addition, we offer quick shipping to have your parts delivered to your door step in a matter of days.
Nissan Altima Crankshaft Parts Questions & Experts Answers
- Q: How can the crankshaft be removed from the engine after it has been taken out of the Nissan Altima?A: It can be unbolted only if the engine has been pulled out of the car and provided with condition that other such parts as flywheel, crankshaft pulley, timing chain, oil pan, oil pump, oil filter, piston/connecting rod assemblies have been removed. Depending on the model of the engine: in the case of V6 engines, the retainer of the rear main oil seal, in turn, has to be unscrewed from the block. Start with using a dial indicator, place it alongside the crankshaft in order to determine the crankshaft end play. Pull the crankshaft to the rear it to set the indicator to zero then move it to the front to check the reading should be between 0.003 to 0.010 inch. Feelers can be used in case the dial indicator is not available to check the clearance on the machine. It is advised to ease out the main bearing cap bolts until they are seized with the access to be unscrewed and then the entire assembly of the main bearing should be raised gently with the help of a soft-face hammer and the bearing insert should not be dropped on to the block. Slowly raise the crankshaft out, if possible with another person helping, then replace the main bearing cap assembly with the arrow pointing in the forward direction. For installation it will be recommended to have the engine block and crankshaft clean and checked. Place the block in such a manner that the bottom of the block is upwards, thereafter unbolt the main bearing cap assembly and clean the bearing seats. New upper main bearing inserts are to be laid in the block with the oil holes aligning; the lower ones are to be placed in the cap. Scrub and examine bearing surfaces and oil way in the crankshaft. Place the crankshaft as per the needed position, put the thrust washers properly in order and use Plastigage to check the main bearing oil clearance. Once the assembly is in place, coat bolt threads with clean engine oil and tighten in the sequence and do not turn the crankshaft. Take out the assembly to check the setting of Plastigage for further clearance, which should range between 0.0015 to 0.0023 inch. If clearance is off, look for dirt or oil interaction and in all likelihood, the bearing inserts need to be changed. Scrape away remaining Plastigage and, with the engine turned over, raise the crankshaft vertically, speaking from the front of the vehicle, coat the bearings with grease, and gently lower the cranshaft back into its position. Scrub the bearing insert faces and put some grease on the faces to be in contact with the washers and put the washers with the 'V' shaped grooves facing outwards. Regarding the four-cylinder engines, smear RTV sealant on the bedplate sealing area, and then bolt the bedplate or the main bearing caps. Install a single thread of clean engine oil to the bolt threads; turn the bolts just enough to engage them, and reinstall the main bearing cap bolts on V6 applications. Torque all bolts to the required specifications, redo the crankshaft endplay measurement and rotate the crankshaft and feel for any bind; the crankshaft should be able to rotate with a running torque of less than 50 in-lbs. Last of all, fit the new rear main oil seal.
Related Nissan Altima Parts
Browse by Year
2023 Crankshaft 2022 Crankshaft 2021 Crankshaft 2020 Crankshaft 2019 Crankshaft 2018 Crankshaft 2017 Crankshaft 2016 Crankshaft 2015 Crankshaft 2014 Crankshaft 2013 Crankshaft 2012 Crankshaft 2011 Crankshaft 2010 Crankshaft 2009 Crankshaft 2008 Crankshaft 2007 Crankshaft 2006 Crankshaft 2005 Crankshaft 2004 Crankshaft 2003 Crankshaft 2002 Crankshaft 2001 Crankshaft 2000 Crankshaft 1999 Crankshaft 1998 Crankshaft 1997 Crankshaft 1996 Crankshaft 1995 Crankshaft 1994 Crankshaft 1993 Crankshaft
