×
- Live Chat
- 1-888-726-6993

My Garage
My Account
Cart
Genuine Nissan Altima Rack And Pinion
Steering Rack And Pinion- Select Vehicle by Model
- Select Vehicle by VIN
Select Vehicle by Model
orMake
Model
Year
Select Vehicle by VIN
For the most accurate results, select vehicle by your VIN (Vehicle Identification Number).
30 Rack And Pinions found
Nissan Altima Gear & Linkage
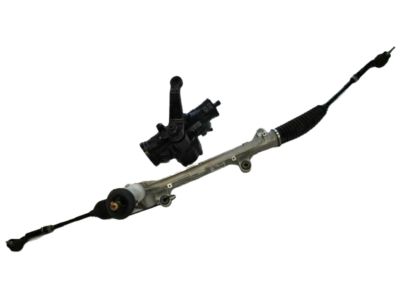
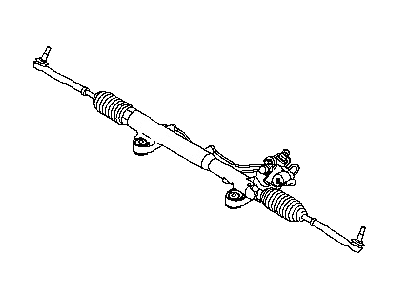
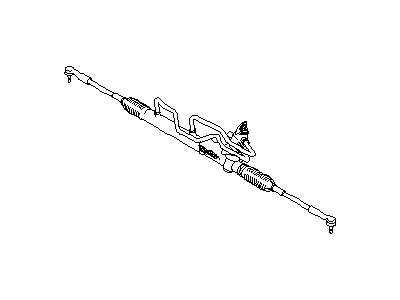
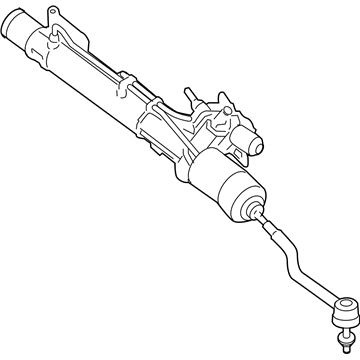
Part Number: 49001-3TA1B$952.37 MSRP: $1456.07You Save: $503.70 (35%)Ships in 1-3 Business DaysNissan Altima Gear & Linkage
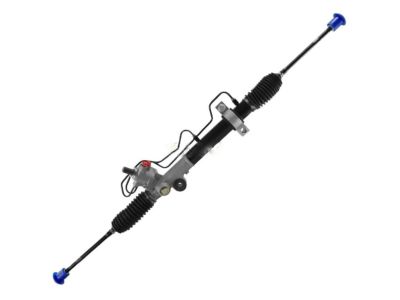
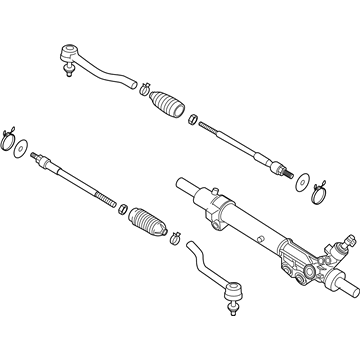
Part Number: 49001-ZB000$956.89 MSRP: $1325.37You Save: $368.48 (28%)Ships in 1-3 Business DaysNissan Altima Gear & Linkage-Power Steering
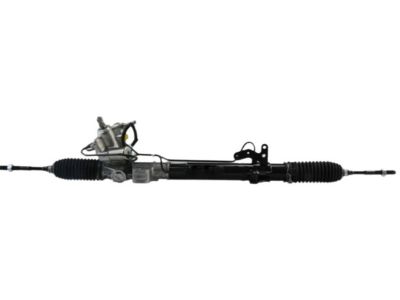
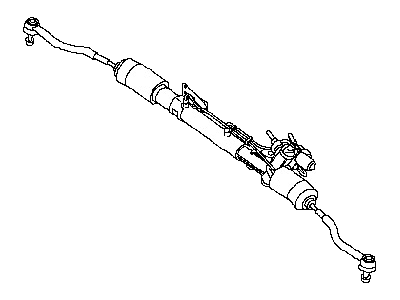
Part Number: 49001-JA000$933.76 MSRP: $1427.52You Save: $493.76 (35%)Ships in 1-3 Business DaysNissan Altima GEAR & LINKAGE ASSY-POWER STEERING
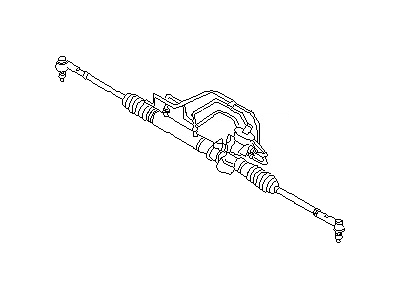
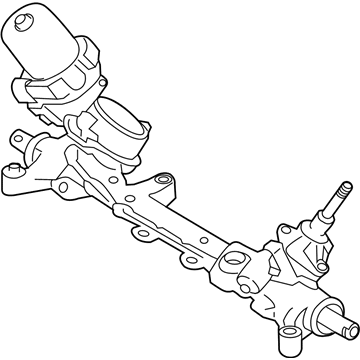
Part Number: 49001-6CA6A$889.74 MSRP: $1561.43You Save: $671.69 (44%)Ships in 1-3 Business DaysNissan Altima Gear & Linkage
Part Number: 49001-6CA1C$889.74 MSRP: $1553.97You Save: $664.23 (43%)Ships in 1-3 Business DaysNissan Altima Gear & Linkage
Part Number: 49001-3TA0B$973.69 MSRP: $1488.75You Save: $515.06 (35%)Ships in 1-3 Business DaysNissan Altima Gear & Linkage
Part Number: 49001-3TA0A$933.53 MSRP: $1292.92You Save: $359.39 (28%)Ships in 1-3 Business DaysNissan Altima Gear & Linkage
Part Number: 49001-6CA0B$872.61 MSRP: $1557.66You Save: $685.05 (44%)Ships in 1-3 Business DaysNissan Altima Gear & Linkage Assy-Power Steering
Part Number: 49001-3TA1A$981.62 MSRP: $1427.52You Save: $445.90 (32%)Ships in 1-3 Business DaysNissan Altima Gear & Linkage
Part Number: 49001-JA00B$933.76 MSRP: $1427.52You Save: $493.76 (35%)Ships in 1-3 Business DaysNissan Altima GEAR & LINKAGE ASSY-POWER STEERING
Part Number: 49001-6CA5A$889.74 MSRP: $1553.97You Save: $664.23 (43%)Ships in 1-3 Business DaysNissan Altima GEAR & LINKAGE ASSY-POWER STEERING
Part Number: 49001-6CA4A$872.61 MSRP: $1557.66You Save: $685.05 (44%)Ships in 1-3 Business DaysNissan Altima Gear & Linkage
Part Number: 49001-3TA0D$973.69 MSRP: $1488.75You Save: $515.06 (35%)Ships in 1-3 Business DaysNissan Altima Gear & Linkage
Part Number: 49001-6CA2B$889.74 MSRP: $1561.43You Save: $671.69 (44%)Ships in 1-3 Business DaysNissan Altima Gear & Linkage-Power Steering
Part Number: 49001-8J010$791.85 MSRP: $1096.15You Save: $304.30 (28%)Nissan Altima Gear & Linkage-Power Steering
Part Number: 49001-JA800$1401.13 MSRP: $1747.91You Save: $346.78 (20%)Ships in 1-3 Business DaysNissan Altima Gear & Linkage
Part Number: 49001-JA01B$986.93 MSRP: $1506.62You Save: $519.69 (35%)Ships in 1-3 Business DaysNissan Altima Gear & Linkage-Power Steering
Part Number: 49001-JA010$986.93 MSRP: $1506.62You Save: $519.69 (35%)Ships in 1-3 Business DaysNissan Altima Gear & Linkage - Power Steering
Part Number: 49001-ZB010$791.85 MSRP: $1096.15You Save: $304.30 (28%)Nissan Altima Gear & Linkage
Part Number: 49001-ZN52B$1052.63 MSRP: $1458.33You Save: $405.70 (28%)Ships in 1-3 Business Days
| Page 1 of 2 |Next >
1-20 of 30 Results
Nissan Altima Rack And Pinion
If you need any OEM Nissan Altima Rack And Pinion, feel free to choose them out of our huge selection of genuine Nissan Altima Rack And Pinion. All our parts are offered at unbeatable prices and are supported by the manufacturer's warranty. In addition, we offer quick shipping to have your parts delivered to your door step in a matter of days.
Nissan Altima Rack And Pinion Parts Questions & Experts Answers
- Q: How do you remove and install the steering gear on Nissan Altima?A: To do this, properly unscrew the front wheel lug nuts, lift the front part of the car and place it on jackstands, turning the wheels straight forward. Put on the parking brake and then, remove the wheels now as well as the engine splash shields. Next, disconnect the tie-rod ends from the steering knuckle arms, then to the lower pinch bolt on the lower end of the steering column U-joint to detach the return hose and pressure line as you maintain the steering wheel on till it is straight ahead and the Rack And Pinion towards the center. Put a drain pan beneath the Rack And Pinion and unfilt the fluid hoses, closing what is left of the tubing to avoid interference. Slide the power Rack And Pinion out of the way and support the gear appropriately, then detach their wiring harness, unbolt the appropriate bolts to take the Rack And Pinion off. Refer to the procedures mentioned in steps 1 & 2 to dis-connect the intermediate shaft from the Rack And Pinion input shaft and to remove the Rack And Pinion assembly, but do not turn the steering wheel. To avoid having the wheel accidentally turned, wind the seat belt round the wheel and buckle it up. Regarding the installation procedure, it is recommended that the Rack And Pinion be in the middle before it is shifted into its rightful place and attached to the U-joint, but with the front wheels facing forward. Mark the orientation of the steering knuckle arms and put them in place, fixing them with the original bolts and applying the correct torque, and connect the tie-rod ends to the one end of the arms, then put the U joint, fixing it with the pinch bolt and the necessary torque. Last, join the pressure and return hoses to the Rack And Pinion; fill the PS pump reservoir with the recommended fluid; fit the Wheels and the nuts; lower the vehicle; further tighten the nuts to the correct torque; and at last bleed the steering system.
Related Nissan Altima Parts
Browse by Year
2024 Rack And Pinion 2023 Rack And Pinion 2022 Rack And Pinion 2021 Rack And Pinion 2020 Rack And Pinion 2019 Rack And Pinion 2018 Rack And Pinion 2017 Rack And Pinion 2016 Rack And Pinion 2015 Rack And Pinion 2014 Rack And Pinion 2013 Rack And Pinion 2012 Rack And Pinion 2011 Rack And Pinion 2010 Rack And Pinion 2009 Rack And Pinion 2008 Rack And Pinion 2007 Rack And Pinion 2006 Rack And Pinion 2005 Rack And Pinion 2004 Rack And Pinion 2003 Rack And Pinion 2002 Rack And Pinion 2001 Rack And Pinion 2000 Rack And Pinion 1999 Rack And Pinion 1998 Rack And Pinion 1997 Rack And Pinion 1996 Rack And Pinion 1995 Rack And Pinion 1994 Rack And Pinion 1993 Rack And Pinion
