×
- Hello
- Login or Register
- Quick Links
- Live Chat
- Track Order
- Parts Availability
- RMA
- Help Center
- Contact Us
- Shop for
- Nissan Parts
- Nissan Accessories

My Garage
My Account
Cart
Genuine Nissan Juke Oil Filter
Engine Oil filter- Select Vehicle by Model
- Select Vehicle by VIN
Select Vehicle by Model
orMake
Model
Year
Select Vehicle by VIN
For the most accurate results, select vehicle by your VIN (Vehicle Identification Number).
4 Oil Filters found

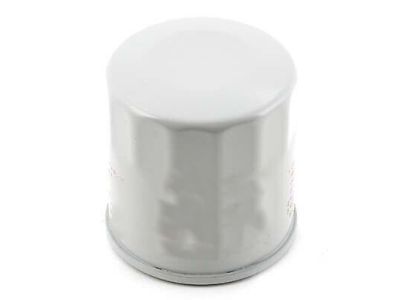
Nissan Juke Oil Filter Assembly
Part Number: 15208-65F0E$6.55 MSRP: $9.48You Save: $2.93 (31%)Ships in 1-2 Business Days
Nissan Juke Oil Filter Assembly
Part Number: 15208-65F0A$6.55 MSRP: $9.48You Save: $2.93 (31%)Ships in 1-3 Business Days
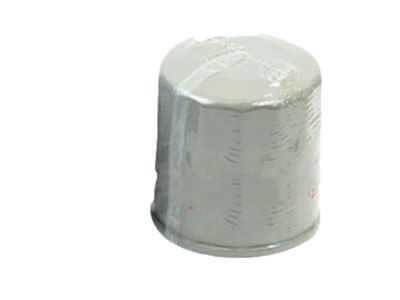
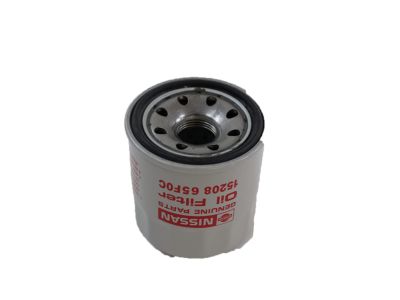
Nissan Juke Oil Filter Assembly
Part Number: 15208-65F0C$6.55 MSRP: $9.48You Save: $2.93 (31%)Ships in 1-2 Business Days
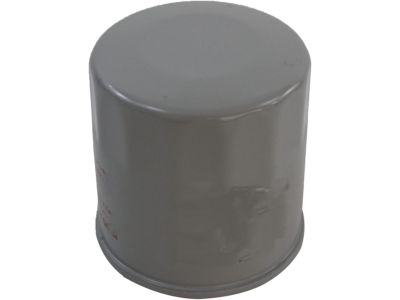
Nissan Juke Oil Filter Assembly
Part Number: 15200-BV80A$13.42 MSRP: $18.50You Save: $5.08 (28%)Ships in 1-3 Business Days
Nissan Juke Oil Filter
If you need any OEM Nissan Juke Oil Filter, feel free to choose them out of our huge selection of genuine Nissan Juke Oil Filter. All our parts are offered at unbeatable prices and are supported by the manufacturer's warranty. In addition, we offer quick shipping to have your parts delivered to your door step in a matter of days.
Nissan Juke Oil Filter Parts Questions & Experts Answers
- Q: Why are frequent oil and filter changes crucial for DIY owners on Diesel Nissan Juke?A:As it has already been pointed out, proper periodic maintenance is an indispensable requirement of DIY deals, especially oil, and filter replacements, for the regularly used oil degenerates in stability and accumulates deposits in the engine, thus causing accelerated wear. At the beginning prepare all the equipment and materials that will be needed and there should always be ample rags and newspapers that can be used to mop up any spills. It is preferably to change the engine oil when it is still warm; this way, the oil is easy to drain and additional sludge is eliminated. Particular care should be taken not to touch the hot parts of the engines , always wear gloves while handling used oil, as it may cause skin reactions. When draining the contents of the vehicle is better done if the vehicle is raised on a lift, ramps or axle stands but the vehicle should be fixed in such away that the drain plug is at the bottom. Take off the oil filler cap and refer to the oil filler tube, which contains the dip stick. Turn the drainage plug counterclockwise and estimate the turn until it slightly unscrews, place a draining container underneath and then unscrew the last half turn of the plug while applying pressure on it and pressing it on the sump. Let the oil settle and, if the container was placed on top of the roaster, move it to the side or below the roaster. After it is drained, the drain plug should be cleaned, followed by removing the sealing washer and replacing it with a new one, cleaning the area around the plug and properly reinstalling it into the Holder with the washer and tightening to the recommended torque. The oil filter, which is situated in front of the cylinder block, is easiest to get at from above; place the container beneath the filter for any drips. Ot a wrench to 'nudge' on the filter hole and then by hand, turn the filter in a counter clockwise position to remove it, ensuring the open end up to prevent further spillage and /or spluttering, and finally, use the container to dispose off the oil. As a result, clean the sealing area of the engine while it is still fixable to make certain that the rubber sealing ring from the prior filter has not stuck. Cover the sealing ring of the new filter with engine oil, put it in the filter housing and tighten it with your hands. Pull out the old oil and the tools located under the car then reduce the height of the car to ground level. Add the correct grade and type of oil through the oil filler tube and use half the quantity of the amount specified, let it settle to the sump for about five minutes. Add more oil until the oil level reaches the dip stick bottom line; further another 1.0 L will help to reach the top line. Once the correct level of oil is established replace the oil filler cap. Switch on the engine and allow it to run for some time, this is to check for any kind of leakage around the oil filter seal and around the sump drain plug also the low oil pressure lamp may take some few seconds to cease. Engine should not be operated at or above idle speed when the warning light is activated. Switch off the engine and let the oil to settle down for about five to ten minutes before checking the dipstick level and subsequently adding more oil if needed. Ensure the used engine oil is disposed in the appropriate way, as it is rather dangerous to put the old filter in the household waste bin, as many local council recycling services offer oily waste disposal facilities along with filter collection points.
