×
- Live Chat
- 1-888-726-6993

My Garage
My Account
Cart
Genuine Nissan Maxima Oil Filter
Engine Oil filter- Select Vehicle by Model
- Select Vehicle by VIN
Select Vehicle by Model
orMake
Model
Year
Select Vehicle by VIN
For the most accurate results, select vehicle by your VIN (Vehicle Identification Number).
18 Oil Filters found
Nissan Maxima Oil Filter Full Case
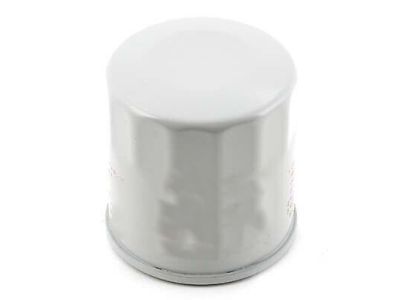
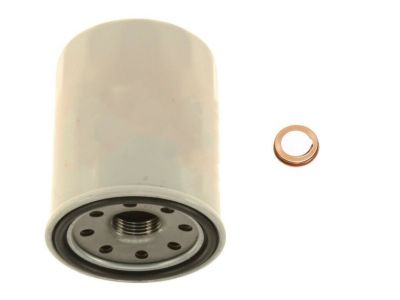
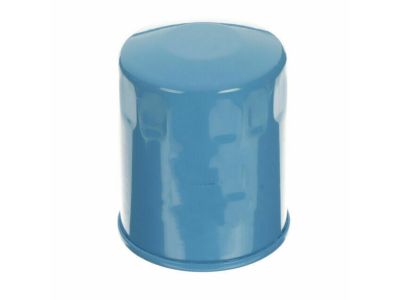
Part Number: 15208-65F0E$6.27 MSRP: $9.25You Save: $2.98 (33%)Ships in 1-2 Business DaysNissan Maxima Engine Oil Filter
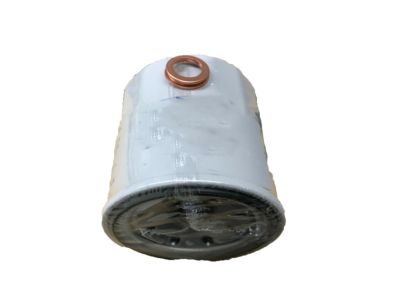
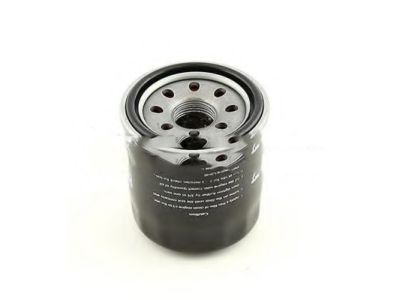
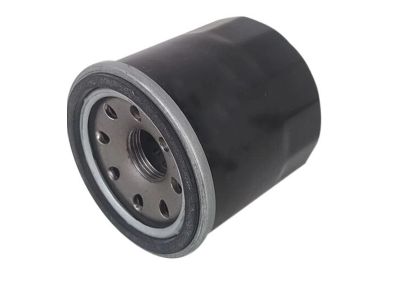
Part Number: 15208-65F1B$6.27 MSRP: $9.25You Save: $2.98 (33%)Ships in 1-2 Business DaysNissan Maxima Oil Filter Assembly
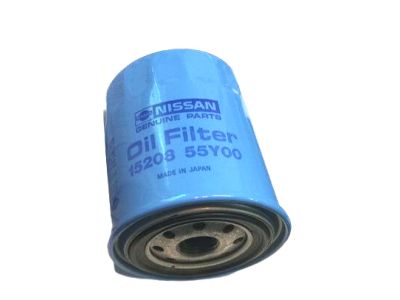
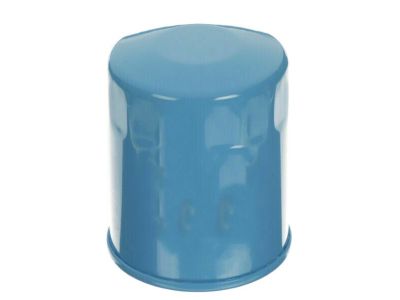
Part Number: 15208-55Y00$6.27 MSRP: $9.25You Save: $2.98 (33%)Ships in 1-2 Business DaysNissan Maxima Oil Filter Assembly
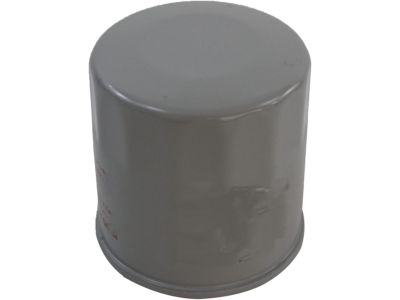
Part Number: 15208-65F0C$6.27 MSRP: $9.25You Save: $2.98 (33%)Ships in 1-2 Business DaysNissan Maxima Oil Filter Assembly
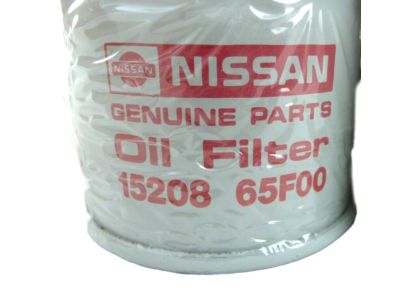
Part Number: 15208-65F00$6.27 MSRP: $9.25You Save: $2.98 (33%)Ships in 1-3 Business DaysNissan Maxima Oil Filter Assembly
Part Number: 15208-31U00$6.27 MSRP: $9.25You Save: $2.98 (33%)Ships in 1-3 Business DaysNissan Maxima Oil Filter Assembly
Part Number: 15208-65F0D$6.27 MSRP: $9.25You Save: $2.98 (33%)Ships in 1-2 Business DaysNissan Maxima Oil Filter Assembly
Part Number: 15200-AR000$27.04 MSRP: $37.25You Save: $10.21 (28%)Ships in 1-3 Business DaysNissan Maxima Oil Filter Assembly
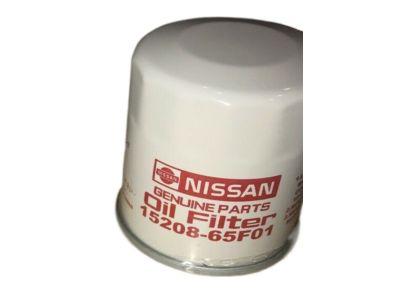
Part Number: 15208-65F01$6.27 MSRP: $9.25You Save: $2.98 (33%)Ships in 1-3 Business DaysNissan Maxima Oil Filter Assembly
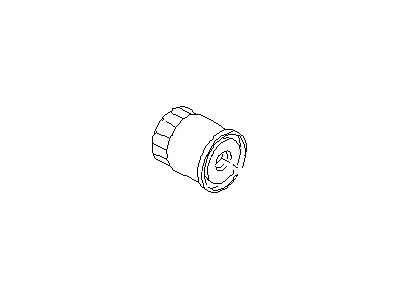
Part Number: 15208-H8903$6.27 MSRP: $9.25You Save: $2.98 (33%)Ships in 1-3 Business DaysNissan Maxima Oil Filter
Part Number: 15208-65F1A$6.27 MSRP: $9.25You Save: $2.98 (33%)Ships in 1-2 Business DaysNissan Maxima Oil Filter Assembly
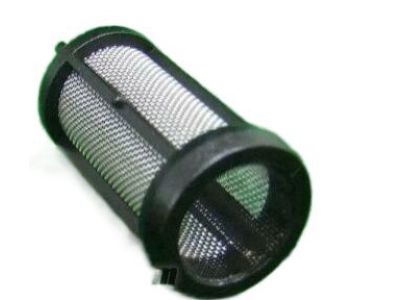
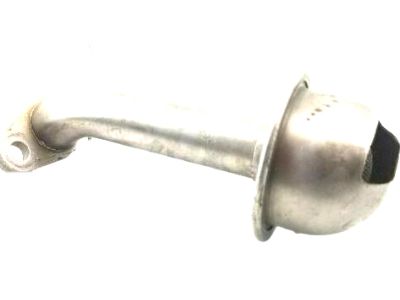
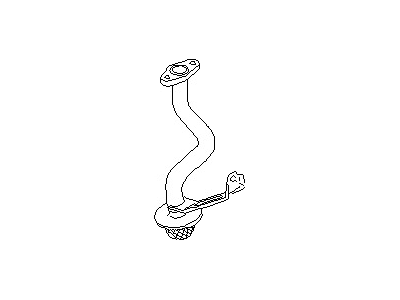
Part Number: 15208-60U00$6.27 MSRP: $9.25You Save: $2.98 (33%)Ships in 1-2 Business DaysNissan Maxima Oil Strainer Assembly
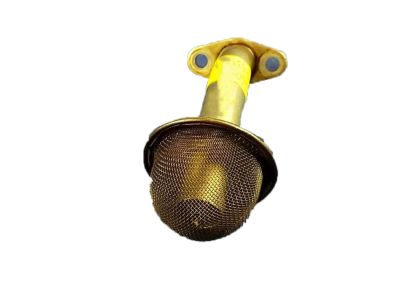
Part Number: 15050-JA10A$46.61 MSRP: $64.20You Save: $17.59 (28%)Ships in 1-3 Business DaysNissan Maxima Oil Strainer Assembly
Part Number: 15050-31U00$63.72 MSRP: $87.77You Save: $24.05 (28%)Ships in 1-3 Business Days
Nissan Maxima Oil Filter
If you need any OEM Nissan Maxima Oil Filter, feel free to choose them out of our huge selection of genuine Nissan Maxima Oil Filter. All our parts are offered at unbeatable prices and are supported by the manufacturer's warranty. In addition, we offer quick shipping to have your parts delivered to your door step in a matter of days.
Nissan Maxima Oil Filter Parts Questions & Experts Answers
- Q: Why are frequent oil and Oil Filter changes crucial for preventive maintenance on Nissan Maxima?A: Preventive maintenance is regularly done by changing the engine oil frequently as this tends to get diluted and get contaminants over time thus resulting in much wear. It is recommended changing the oil filter every time the oil is dumped since it is relatively cheaper and can be easily fixed. In preparation for handling or working with milk, it helps to compile all equipment and substances before handling; this should involve use of newspaper and rags for cleaning spills. Work under the car is convenient if the car is lifted on a hoist or ramps, or it is on jack stands, whereas, one should be very careful working underneath a car being supported only by a bumper or a jack. Touch the oil drain plug and the oil filter locations, bring the engine up to normal temp, and get any other tools or oil that may be needed during this warm up. When it is sufficient, drain the used engine oil, and once the new oil is warm, jack up and safely snug the vehicle and placing the drain pan beneath the plug. Using a wrench, unscrew the drain plug slowly to let the oil to flow into the pan and afterward, clean the drain plug and its vicinity and replace it by tightening it. After that, locate the drain pan and place it underneath the oil filter, tightening the oil filter wrench in order to take out the old filter and disposing it into the drain pan, while the content of the filter is being thrown into the drain pan too. Ally the old filter to the new filter to confirm they have the same specifications, than clean the area where the new filter will be mounted, and finally check the Rubber gasket removed from the old filter to see if it is stuck to the engine. Use a thin layer of clean oil in the gasket of the new filter, then the new filter as per manufacturers recommendation, withdrawing all your tools and rags from beneath the car before reducing the car. Over the engine compartment is where the oil filler cap is found and enough fresh oil needs to be poured through the opening which can be done with the help of a funnel. Pour the correct amount of oil and make sure you read and check the dip stick if the engine has to be started, to circulate the new oil. When it has barely warmed up, drop the pan and scrutinize the dipstick and oil filter location for signs of leakage, then replace the oil pan drain plug and re-insert the filter if removed; check the oil quality by holding the dipstick and top up with more oil if necessary. In the subsequent journeys after the change of the oil in the car, one should check out for any signs of dripping and the level of oil. Safely get rid of old oil as you have to take it to the recycling center do not dump it on the ground or drain. Some models have an item showing when the next maintenance is due; go to the maintenance data, choose "Engine Oil" from the options and set the new interval for the oil change.
Related Nissan Maxima Parts
Browse by Year
2023 Oil Filter 2022 Oil Filter 2021 Oil Filter 2020 Oil Filter 2019 Oil Filter 2018 Oil Filter 2017 Oil Filter 2016 Oil Filter 2014 Oil Filter 2013 Oil Filter 2012 Oil Filter 2011 Oil Filter 2010 Oil Filter 2009 Oil Filter 2008 Oil Filter 2007 Oil Filter 2006 Oil Filter 2005 Oil Filter 2004 Oil Filter 2003 Oil Filter 2002 Oil Filter 2001 Oil Filter 2000 Oil Filter 1999 Oil Filter 1998 Oil Filter 1997 Oil Filter 1996 Oil Filter 1995 Oil Filter 1994 Oil Filter 1993 Oil Filter 1992 Oil Filter 1991 Oil Filter 1990 Oil Filter 1989 Oil Filter 1988 Oil Filter 1987 Oil Filter 1986 Oil Filter 1985 Oil Filter
