×
- Live Chat
- 1-888-726-6993

My Garage
My Account
Cart
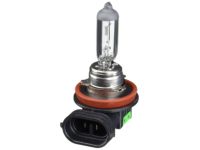
Genuine Nissan Rogue Fog Light Bulb
Fog Lamp Bulb- Select Vehicle by Model
- Select Vehicle by VIN
Select Vehicle by Model
orMake
Model
Year
Select Vehicle by VIN
For the most accurate results, select vehicle by your VIN (Vehicle Identification Number).
8 Fog Light Bulbs found
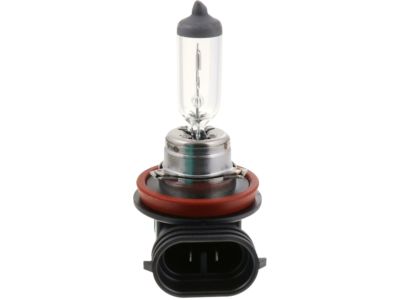
Nissan Rogue Bulb
Part Number: 26296-9B92B$23.47 MSRP: $32.33You Save: $8.86 (28%)Ships in 1-2 Business DaysNissan Rogue Bulb
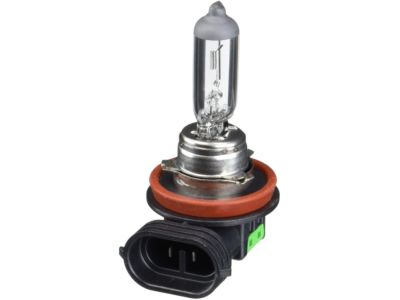
Part Number: 26296-8990A$23.47 MSRP: $32.33You Save: $8.86 (28%)Ships in 1-2 Business DaysNissan Rogue Bulb
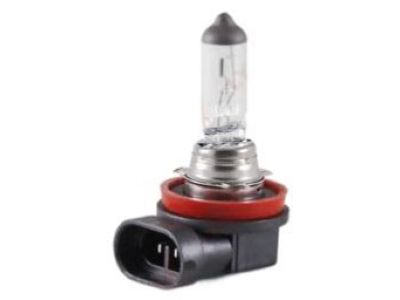
Part Number: B6296-4A001$39.51 MSRP: $54.42You Save: $14.91 (28%)Ships in 1-3 Business DaysNissan Rogue Bulb
Part Number: 26296-8990D$23.47 MSRP: $32.33You Save: $8.86 (28%)Ships in 1-2 Business DaysNissan Rogue Bulb
Part Number: 26296-89946$23.47 MSRP: $32.33You Save: $8.86 (28%)Ships in 1-2 Business DaysNissan Rogue Bulb
Part Number: B6296-89947$23.47 MSRP: $32.33You Save: $8.86 (28%)Ships in 1-3 Business DaysNissan Rogue Bulb
Part Number: 26296-89942$39.51 MSRP: $54.42You Save: $14.91 (28%)Ships in 1-3 Business DaysNissan Rogue Bulb
Part Number: 26296-8994B$23.47 MSRP: $32.33You Save: $8.86 (28%)Ships in 1-3 Business Days
Nissan Rogue Fog Light Bulb
If you need any OEM Nissan Rogue Fog Light Bulb, feel free to choose them out of our huge selection of genuine Nissan Rogue Fog Light Bulb. All our parts are offered at unbeatable prices and are supported by the manufacturer's warranty. In addition, we offer quick shipping to have your parts delivered to your door step in a matter of days.
Nissan Rogue Fog Light Bulb Parts Questions & Experts Answers
- Q: How do you access and replace the exterior and interior lights, including headlights, taillights, fog lights, and license plate lights on Nissan Rogue?A: To replace the exterior lights, begin by identifying the socket from the engine compartment of the bulb in the headlight housing, and to get to the left side bulbs, one needs to get rid of the air filter resonator in the 2013 and early models. Twist the bulb sockets anti-clockwise then cover if required, to remove it then take out the bulb from the holder while the procedure of installation is the opposite of that of removal. For rear turn signal, brake, tail, and side marker lights, open the liftgate and remove the inner trim access panel for 2013 and earlier models or the side spoiler bolts for 2014 and later non SEL models. Deprogram the electrical connectors, pull out the screws from the compartment of the housing assembly, turn the housing towards the rear of the car, and by turning the bulb holder anti-clockwise, it can be removed easily. Liftgate back-up lights are accessed by poping open the liftgate, thereafter, the trim panel is removed, the housing of the back-up light is unscrewed, the electrical connector is disconnected, and lastly, the bulb is replaced. Fog lights have the Body Control Module hence, the lighting switch needs to be in the correct position for them to work; To replace the bulb one has to remove fasteners at inner fender, the splash shield then connected to the electrical connector before turning the holder anti-clockwise. Regarding the fog light aiming, the tire must be properly inflated, and the vehicle must be properly positioned, then a small screw located at the back of the bumper is changed. The removal of the license plate light can be done by taking out the trim panel, then removal of the mounting screws if you have a car model except the Select, pushing on the housing of the light to the right side and detaching the electrical connector then eliminating the bulb. Brake light assembly is located on the higher part of the car and to access it, the liftgate must be opened, the electrical connector must be disconnected and the screws or fasteners will have to be removed based on the model year. For the interior light bulbs, the lens is popped off and the bulb is taken out while for the instrument cluster illumination, the whole cluster has to be changed. As for the other procedures, typical bulb removal procedures are followed all through.
