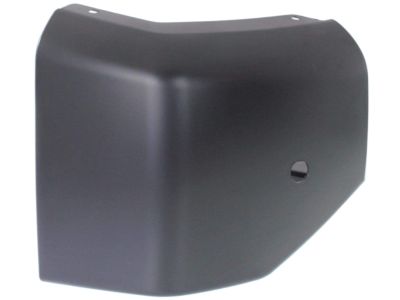
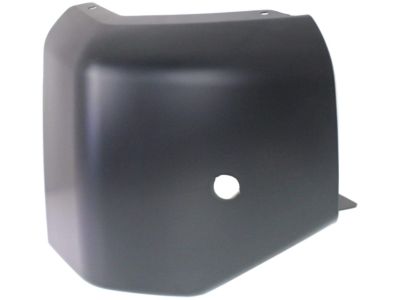
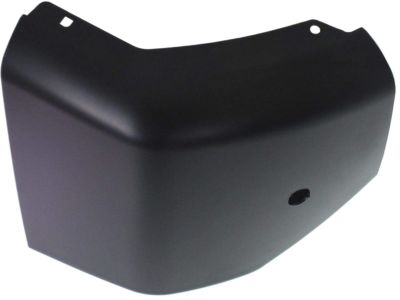
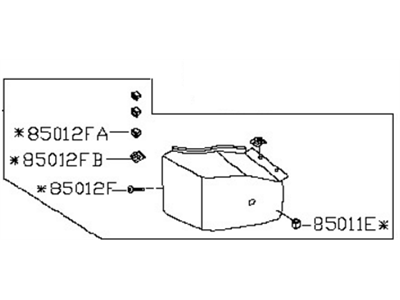
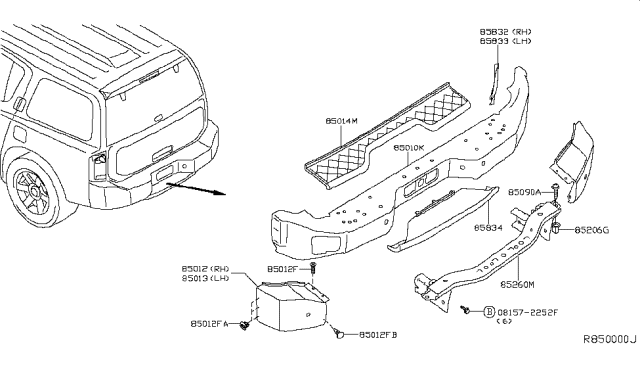
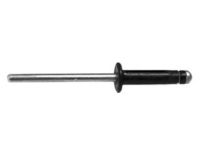
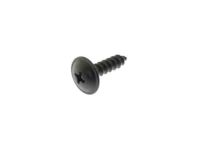
To undo the front bumper there are screws you need to unscrew to release the bottom engine cover or skid plate and then you need to take the cover off. If installed, fog lamps should be pulled out next. For steel types, get rid of the radiator grille if there is, loose the lower front valance screws and the valance if there is one. Secondly, take out the lower intake grille bolts and the intake grille from the bumper, thirdly, the front bumper side bracket screws and the brackets. Then just pull the upper and lower bumper mounting screws and the bumper away, and while pulling the upper part of the bumper back in, tighten the mounting screws. For the plastic types, start it by pulling out the pushpins and mounting screws located at the base of the intake grille, removing the license plate together with the bracket. Subsequently, unbolt the radiator grille, all the screws that are holding the bumper filler panels and pull out the panels. On front side of anterior bumper, remove all fasteners that hold the front bumper cover with fenderwell liner and lower body, moving the later aside for the screws to be seen. Some of the wires that can be disconnected include the wires of the brake lights, license plate lights, reverse lamps and the ground wires that are usually connected to the bumper, the remaining screws that hold the bumper are then removed, the bumper cover is then pulled off with the help of another person and then tightening the holding screws properly when fixing the new bumper. For removing the Titan model's rear bumper, the electrical connector for the license plate lamps and sonar sensors if there is should be disconnected, and the tow hitch should be removed by taking off the bolts affixing the hitch to the frame, together with taking off the hitch and disconnecting the trailer harness if there is. Lift the step pad, disconnect the clips from under the bumper and take off the step pad. The next one is to unscrew the fasteners that link the bumper and the rear bumper reinforcement and then detach the bumper, further, the fasteners of the bumper reinforcement must also be loosened if needed and tightened again while attaching the bumper back. For pre 2009 Armada models, extract the bolts that hold the tow hitch to the frame and untangle the hitch, carrying along the harness in case it was connected. The lower bumper fascia reinforcement and rear bumper reinforcement are next on the list to be removed and the license plate lights and sonar sensors electrical connectors if available should also be detached. Dislodge the license plate lamp and the sonar sensors that are always held by retainers, the step pad clips which are located underneath the bumper should also be disengaged and the pad taken off too. Last, undo the bolts fixing the bumper to the rear bumper reinforcement and then, take off the bumper, realising to tighten up the retaining bolts/screws at the time of fitting. To 2010 models, un bolts the Tow Hitch housing by removing the rear taillight housing, then take off the bolts that fixed the tow hitch onto the frame and then remove the hitch and cut of trailer harness if needed. Take out the lower bumper fascia reinforcement screws and pull out the rear bumper reinforcement, pull the electrical connectors of the license plate lights and sonar sensors if present, and unscrew the amount of screws that hold the bumper fascia and remove the fascia along with the reinforcement as a single unit, be careful while doing this to unclip the sonar sensor harness and each of the sensors if necessary. Last but not least, while installing, make sure the retain bolts or screws are well tightened.
Posted by NissanPartsDeal Specialist 
