×
- Hello
- Login or Register
- Quick Links
- Live Chat
- Track Order
- Parts Availability
- RMA
- Help Center
- Contact Us
- Shop for
- Nissan Parts
- Nissan Accessories

My Garage
My Account
Cart
Genuine Nissan Altima Trailing Arm
Trailing Control Arm- Select Vehicle by Model
- Select Vehicle by VIN
Select Vehicle by Model
orMake
Model
Year
Select Vehicle by VIN
For the most accurate results, select vehicle by your VIN (Vehicle Identification Number).
20 Trailing Arms found

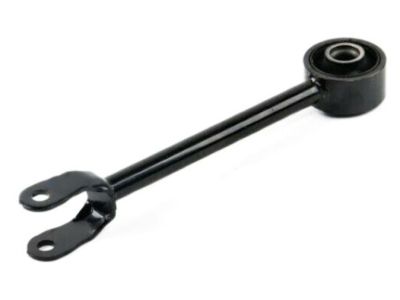
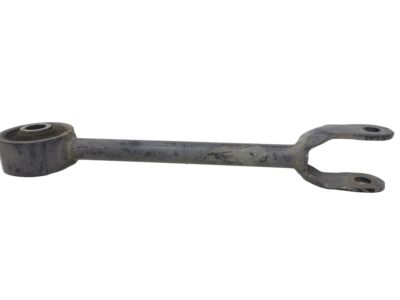
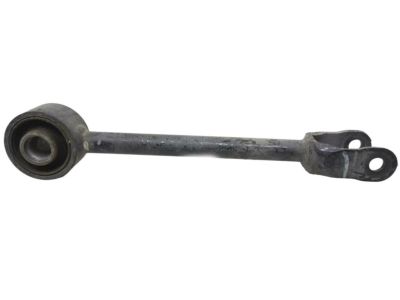
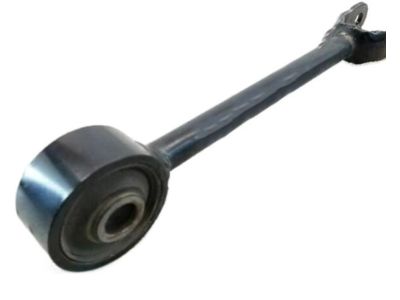
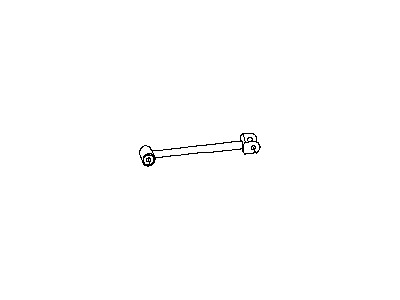
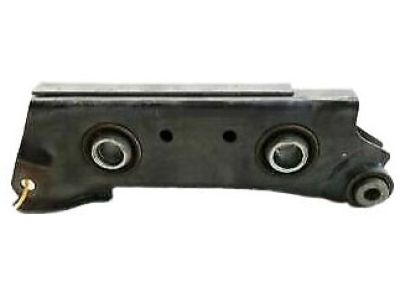
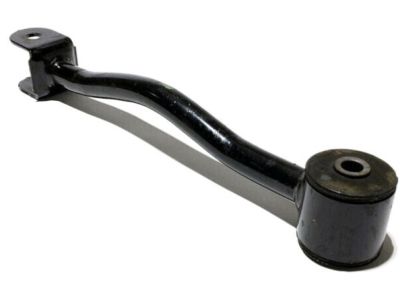
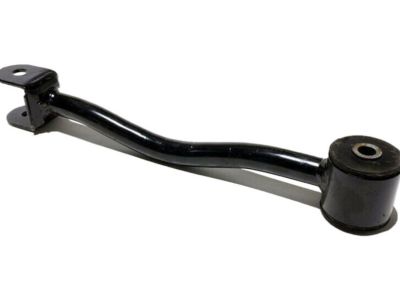
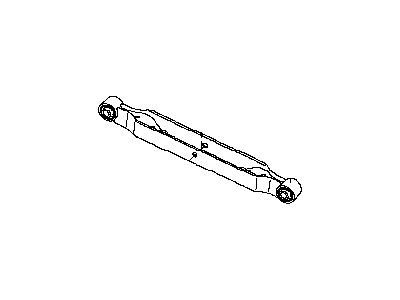
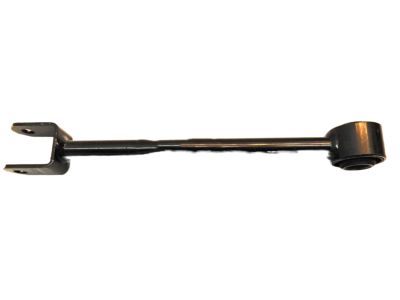
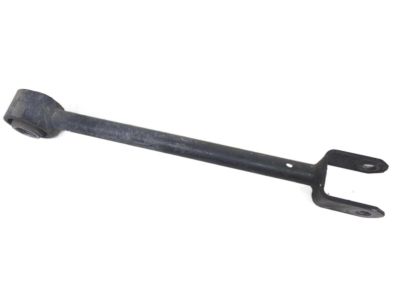
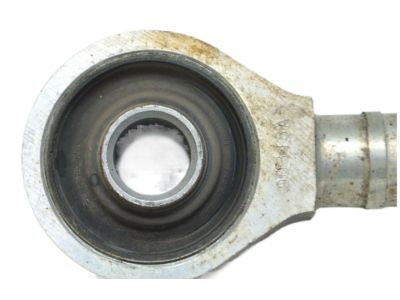
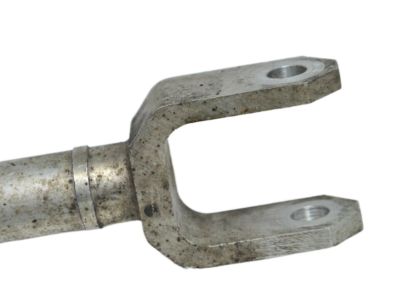
Nissan Altima Rod Complete Radius
Part Number: 55110-ZX00B$42.75 MSRP: $58.93You Save: $16.18 (28%)Ships in 1-3 Business Days
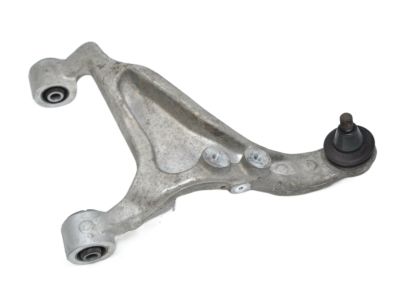
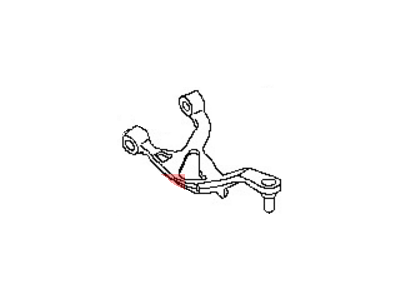
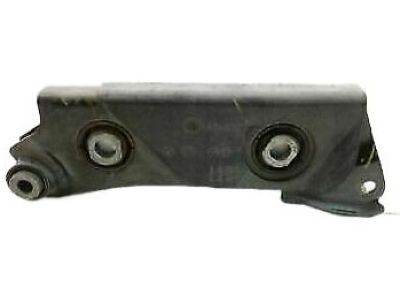
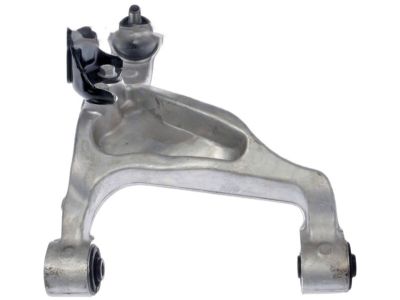
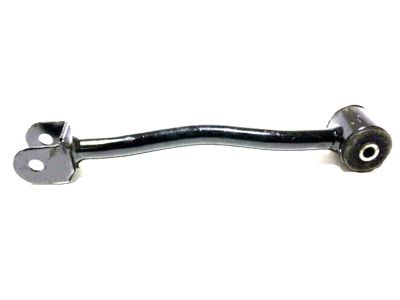
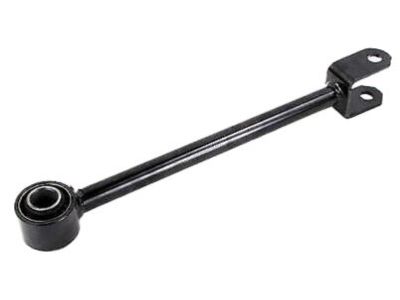
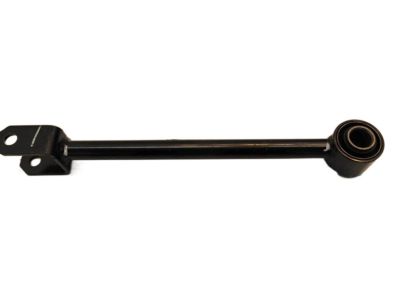
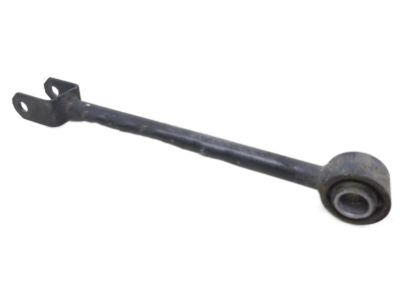
Nissan Altima Arm Rear Suspension RH
Part Number: 55501-JA00A$135.20 MSRP: $200.18You Save: $64.98 (33%)Ships in 1-2 Business Days
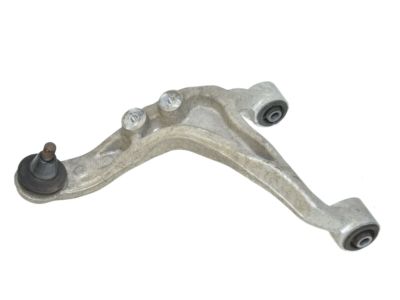
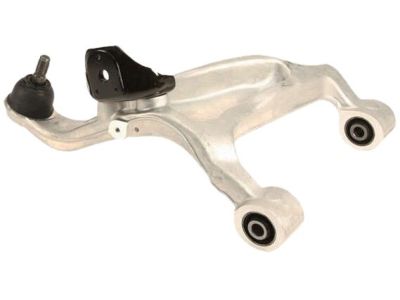
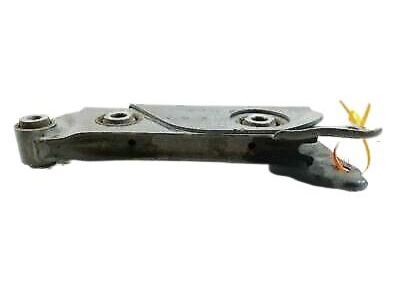
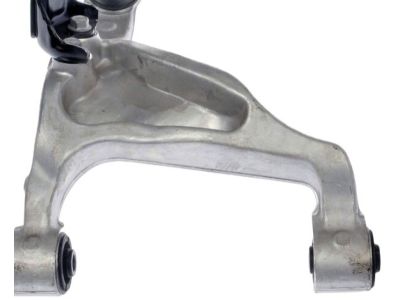
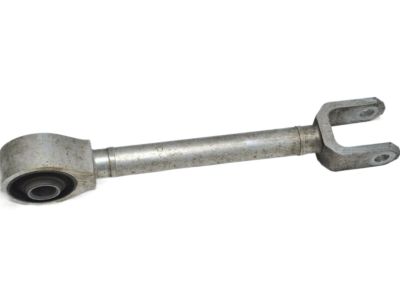
Nissan Altima Arm Rear Suspension LH
Part Number: 55502-JA00A$136.68 MSRP: $202.38You Save: $65.70 (33%)Ships in 1-2 Business Days
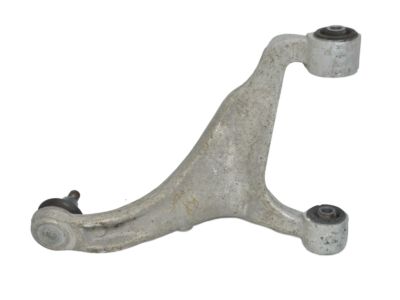
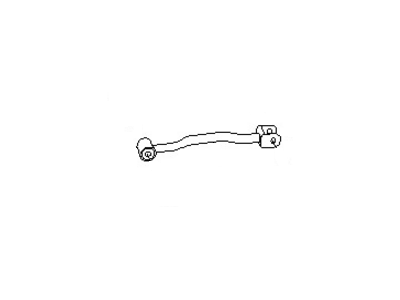
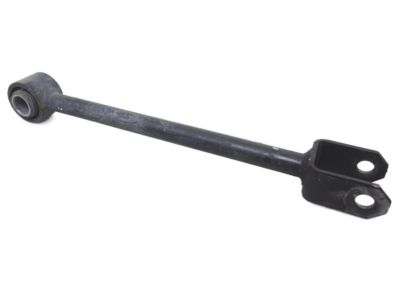
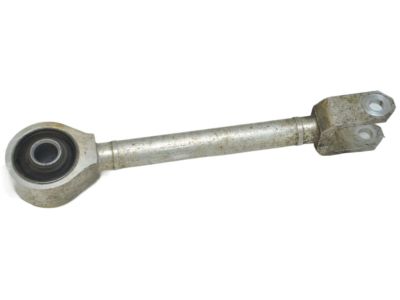
Nissan Altima Link Lower
Part Number: 551A0-3TA0A$109.82 MSRP: $166.47You Save: $56.65 (35%)Ships in 1-3 Business Days
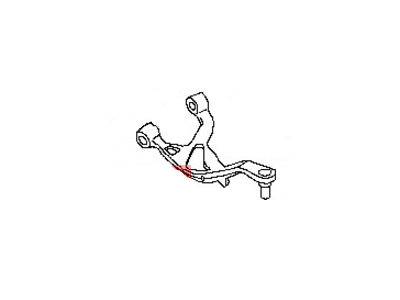
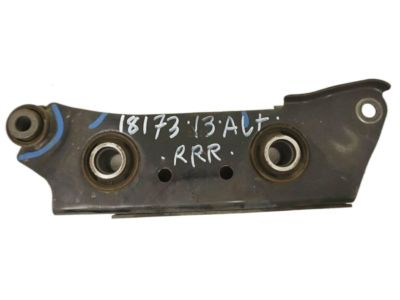
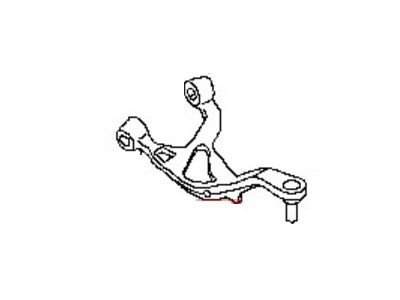
Nissan Altima Arm Assembly-Rear Suspension,R
Part Number: 55501-JA000$135.20 MSRP: $200.18You Save: $64.98 (33%)Ships in 1-3 Business Days
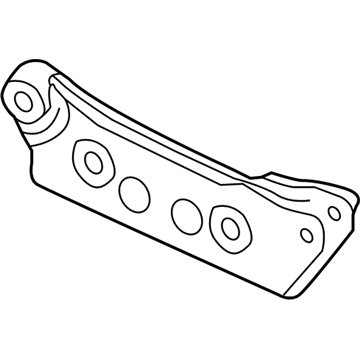
Nissan Altima Arm Assembly-Rear Suspension,L
Part Number: 55502-JA000$136.68 MSRP: $202.38You Save: $65.70 (33%)Ships in 1-3 Business Days
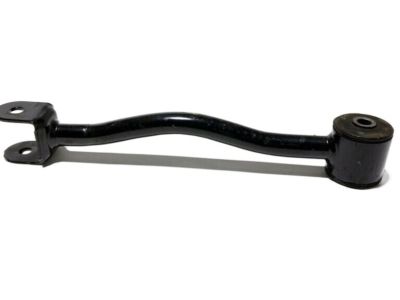
Nissan Altima Link Complete-Radius Rod
Part Number: 55110-0Z000$29.00 MSRP: $39.93You Save: $10.93 (28%)Ships in 1-2 Business DaysNissan Altima Arm Assy-Rear Suspension,LH
Part Number: 55502-ZD90A$180.69 MSRP: $255.22You Save: $74.53 (30%)Nissan Altima Link COMPL-Lower,Rear Suspension RH
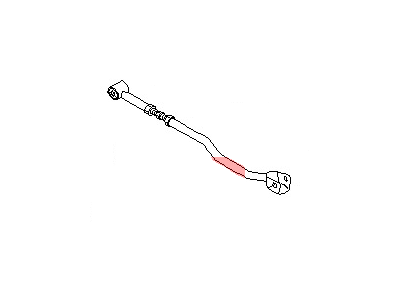
Part Number: 551A0-9HS0B$114.94 MSRP: $166.47You Save: $51.53 (31%)Ships in 1-3 Business DaysNissan Altima Link Complete-Radius Rod
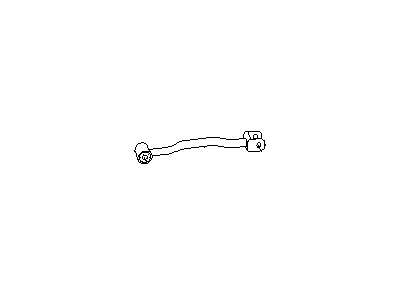
Part Number: 55110-2B001$39.06 MSRP: $53.80You Save: $14.74 (28%)Ships in 1-2 Business DaysNissan Altima Link Complete-Parallel, Rear
Part Number: 55121-0E010$62.87 MSRP: $88.80Limited AvailabilityYou Save: $25.93 (30%)Nissan Altima Arm Assy-Rear Suspension,LH
Part Number: 55502-8J000$180.69 MSRP: $255.22You Save: $74.53 (30%)Nissan Altima Link Lower
Part Number: 551A0-6CA0A$100.15 MSRP: $145.03You Save: $44.88 (31%)Ships in 1-3 Business DaysNissan Altima Arm Rear Suspension RH
Part Number: 55501-6CC0A$169.90 MSRP: $251.57You Save: $81.67 (33%)Ships in 1-3 Business DaysNissan Altima Link Lower
Part Number: 551A0-9HS0A$109.82 MSRP: $166.47You Save: $56.65 (35%)Ships in 1-3 Business Days


Nissan Altima Trailing Arm
If you need any OEM Nissan Altima Trailing Arm, feel free to choose them out of our huge selection of genuine Nissan Altima Trailing Arm. All our parts are offered at unbeatable prices and are supported by the manufacturer's warranty. In addition, we offer quick shipping to have your parts delivered to your door step in a matter of days.
Nissan Altima Trailing Arm Parts Questions & Experts Answers
- Q: How do you properly remove and install the Trailing Arm of a Nissan Altima?A:Loosen the rear wheel lug nuts, then raise the rear of the vehicle and support it securely on jackstands before removing the wheel. Remove the coil spring, followed by the lower arm-to-knuckle mounting bolt/nut, and take out the lower rear suspension arm. For installation, raise the lower suspension arm with a floor jack to normal ride height and tighten the suspension arm bolt/nuts to the specified torque, ensuring the marks on the adjusting cam and subframe are aligned. Tighten the wheel lug nuts to the specified torque. Support the rear lower suspension arm with a floor jack under the coil spring pocket, keeping the jack in place until the arm is reinstalled. Mark the relationship of the adjusting cam to the subframe before loosening the inner pivot bolt, then remove the lower front suspension arm-to-subframe and lower front suspension arm-to-knuckle mounting bolt/nut, and take out the arm. For installation, raise the lower suspension arm with a floor jack to normal ride height and tighten the suspension arm bolt/nuts to the specified torque, ensuring alignment of the marks on the adjusting cam and subframe, followed by tightening the wheel lug nuts. Raise the vehicle and support it securely on jackstands, then remove the rear wheel speed sensors and the rear wheel brake calipers, hanging them out of the way with wire to avoid stress on the hoses, and remove the brake discs. Disconnect the parking brake cables from the knuckles, remove the nuts from the lower shock absorber mounts, and take out the lower rear suspension arms. Remove the cotter pins and nuts from the upper suspension arm balljoint, disconnect the radius rods from the subframe, and remove the front lower suspension arms. Remove the knuckles and the stabilizer bar, then disconnect the wiring harness from the rear subframe and upper arms. Place two floor jacks under the rear subframe for secure support, remove the subframe mounting bolts, and carefully lower the rear subframe until it is clear of the vehicle body. Remove the stabilizer bar brackets from the upper suspension arms, then take out the upper suspension arm mounting nuts and bolts, followed by the upper suspension arms. For installation, reverse the removal steps, ensuring to tighten the ball/joint stud nut to the specified torque, raise the lower suspension arm with a floor jack to normal ride height, and tighten the pivot bolt nuts to the specified torque, followed by tightening all other fasteners to their respective torques.
Related Nissan Altima Parts
Browse by Year
2024 Trailing Arm 2023 Trailing Arm 2022 Trailing Arm 2021 Trailing Arm 2020 Trailing Arm 2019 Trailing Arm 2018 Trailing Arm 2017 Trailing Arm 2016 Trailing Arm 2015 Trailing Arm 2014 Trailing Arm 2013 Trailing Arm 2012 Trailing Arm 2011 Trailing Arm 2010 Trailing Arm 2009 Trailing Arm 2008 Trailing Arm 2007 Trailing Arm 2006 Trailing Arm 2005 Trailing Arm 2004 Trailing Arm 2003 Trailing Arm 2002 Trailing Arm 2001 Trailing Arm 2000 Trailing Arm 1999 Trailing Arm 1998 Trailing Arm 1997 Trailing Arm 1996 Trailing Arm 1995 Trailing Arm 1994 Trailing Arm 1993 Trailing Arm
