×
- Hello
- Login or Register
- Quick Links
- Live Chat
- Track Order
- Parts Availability
- RMA
- Help Center
- Contact Us
- Shop for
- Nissan Parts
- Nissan Accessories

My Garage
My Account
Cart
Genuine Nissan Maxima Brake Disc
Disc Rotor- Select Vehicle by Model
- Select Vehicle by VIN
Select Vehicle by Model
orMake
Model
Year
Select Vehicle by VIN
For the most accurate results, select vehicle by your VIN (Vehicle Identification Number).
27 Brake Discs found

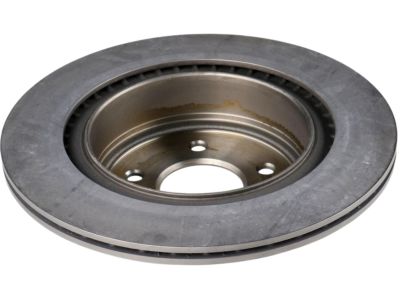
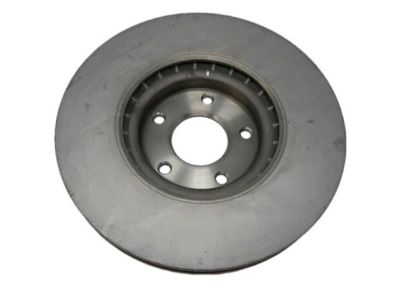
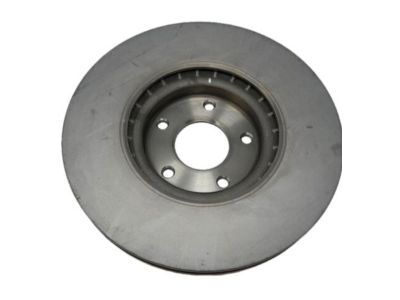
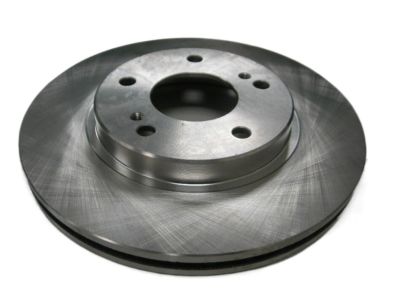
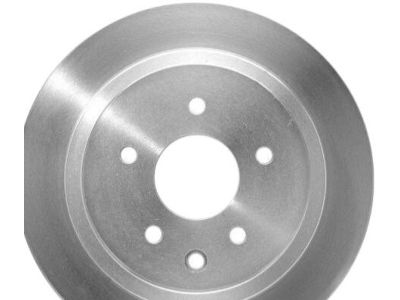
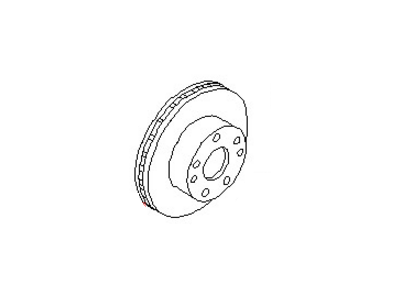
Nissan Maxima Rotor Brake
Part Number: 43206-9N50B$87.53 MSRP: $126.77You Save: $39.24 (31%)Ships in 1-3 Business Days
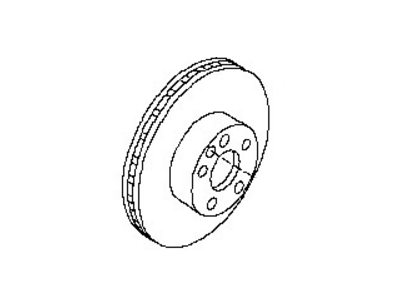
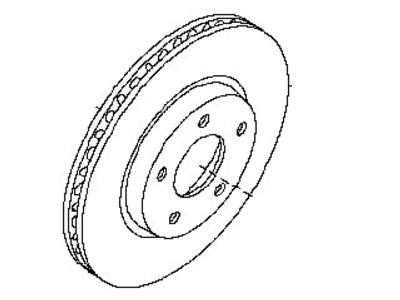
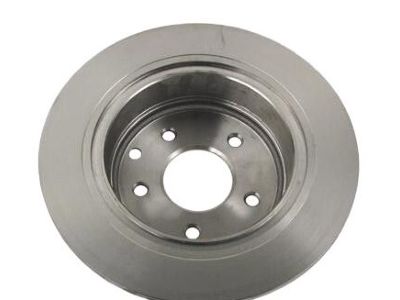
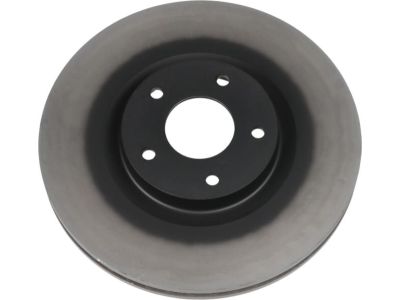
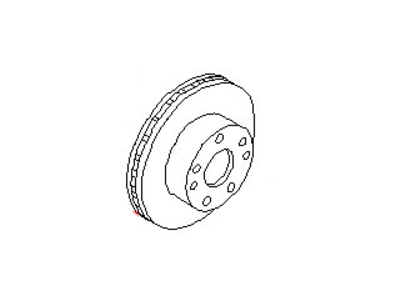
Nissan Maxima Rotor-Disc Brake, Front
Part Number: 40206-9N00C$86.44 MSRP: $125.18You Save: $38.74 (31%)Ships in 1-3 Business Days
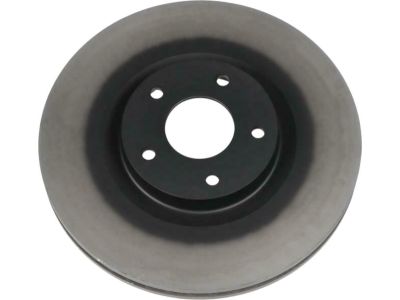
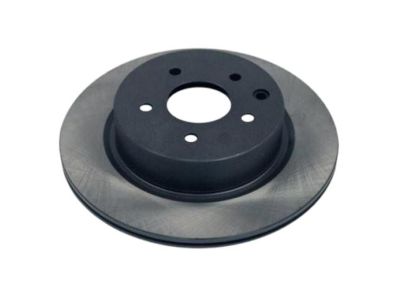
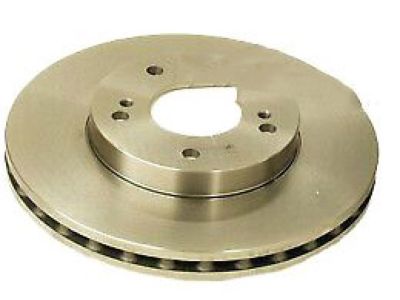
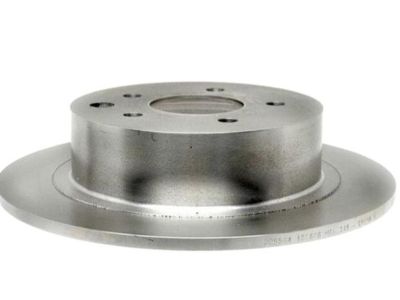
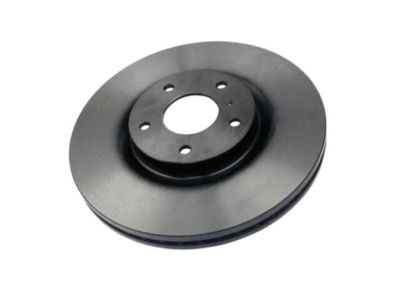
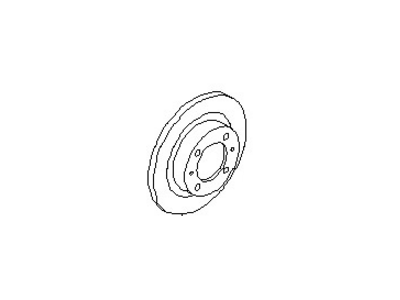
Nissan Maxima Rotor-Disc Brake,Rear
Part Number: 43206-9N00A$87.53 MSRP: $126.77You Save: $39.24 (31%)Ships in 1-3 Business Days
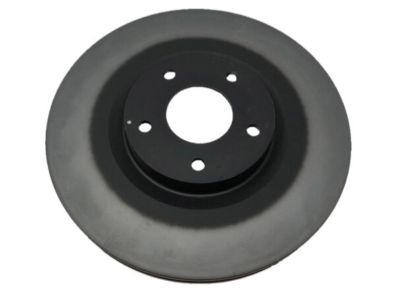
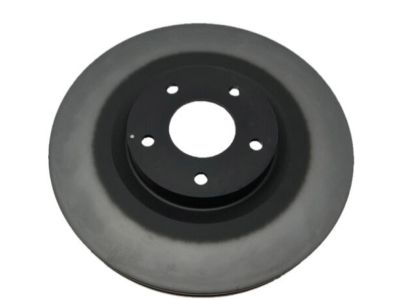
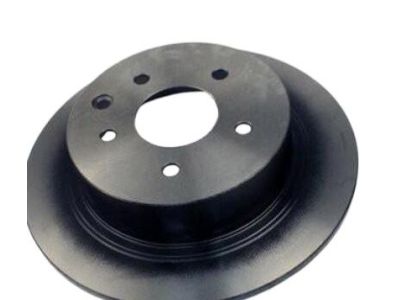
Nissan Maxima Rotor-Disc Brake,Front
Part Number: 40206-9N00A$86.44 MSRP: $125.18You Save: $38.74 (31%)Ships in 1-3 Business Days
Nissan Maxima Rotor, Brake Front
Part Number: 40206-2Y505$91.00 MSRP: $123.00You Save: $32.00 (27%)Ships in 1-3 Business Days
Nissan Maxima Rotor, Brake Front
Part Number: 40206-2Y502$91.00 MSRP: $123.00You Save: $32.00 (27%)Ships in 1-3 Business Days
Nissan Maxima Rotor-Disc Brake,Rear
Part Number: 43206-7Y000$91.00 MSRP: $123.00You Save: $32.00 (27%)Ships in 1-2 Business Days
Nissan Maxima Rotor-Disc Brake,Front
Part Number: 40206-7Y000$88.47 MSRP: $128.13You Save: $39.66 (31%)Ships in 1-3 Business Days
Nissan Maxima Rotor Disc Brake Front
Part Number: 40206-ZA500$88.47 MSRP: $128.13You Save: $39.66 (31%)Ships in 1-3 Business DaysNissan Maxima Rotor-Disc Brake,Rear
Part Number: 43206-4U001$90.42 MSRP: $130.95You Save: $40.53 (31%)Ships in 1-3 Business DaysNissan Maxima Rotor Brake Front
Part Number: 40206-2Y503$91.00 MSRP: $123.00You Save: $32.00 (27%)Ships in 1-3 Business DaysNissan Maxima Rotor-Disc Brake,Front
Part Number: 40206-AL500$87.21 MSRP: $117.88You Save: $30.67 (27%)Ships in 1-3 Business DaysNissan Maxima Rotor - Disc Brake, Front
Part Number: 40206-2L903$88.78 MSRP: $120.00You Save: $31.22 (27%)Ships in 1-2 Business DaysNissan Maxima Rotor-Disc Brake,Rear
Part Number: 43206-WA201$90.42 MSRP: $130.95You Save: $40.53 (31%)Ships in 1-3 Business DaysNissan Maxima RTR-Dsc Brake
Part Number: 40206-88E04$88.78 MSRP: $120.00You Save: $31.22 (27%)Ships in 1-3 Business DaysNissan Maxima RTR-Dsc Brake
Part Number: 40206-88E05$88.78 MSRP: $120.00You Save: $31.22 (27%)Ships in 1-3 Business DaysNissan Maxima RTR-Dsc Brake
Part Number: 43206-31U12$90.42 MSRP: $130.95You Save: $40.53 (31%)Ships in 1-3 Business Days
| Page 1 of 2 |Next >
1-20 of 27 Results
Nissan Maxima Brake Disc
If you need any OEM Nissan Maxima Brake Disc, feel free to choose them out of our huge selection of genuine Nissan Maxima Brake Disc. All our parts are offered at unbeatable prices and are supported by the manufacturer's warranty. In addition, we offer quick shipping to have your parts delivered to your door step in a matter of days.
Nissan Maxima Brake Disc Parts Questions & Experts Answers
- Q: How do you properly replace and install brake discs and pads on Nissan Maxima?A:Loosen the wheel lug nuts, raise the vehicle, and support it securely on jackstands. Remove the wheel and install the lug nuts to hold the disc in place; if the lug nuts don't contact the disc when screwed on all the way, install washers under them. Remove the Brake Caliper without disconnecting the brake hose, and suspend the caliper out of the way with a piece of wire, ensuring it doesn't hang by the brake hose. Visually inspect the disc surface for score marks and other damage; light scratches and shallow grooves are normal, but deep scoring requires disc removal and refinishing by an automotive machine shop. Check both sides of the disc, and if pulsating occurs during brake application, suspect disc runout. To check runout, place a dial indicator about 1/2-inch from the outer edge of the disc, set it to zero, and turn the disc; the reading should not exceed the specified allowable runout limit. If it does, the disc should be refinished. When replacing brake pads, it's advisable to resurface the discs to ensure a smooth finish and a perfectly flat surface, eliminating any brake pedal pulsation. If not resurfacing, remove the glaze from the surface with emery cloth or sandpaper using a swirling motion. Ensure the disc is not machined to a thickness under the specified minimum thickness, which is cast into the disc, and check the thickness with a micrometer. Remove the two caliper mounting bracket bolts and detach the mounting bracket. Remove the lug nuts that were installed to hold the disc in place and take the disc off the hub; if it won't come off, thread bolts of the proper size and thread pitch into the two holes and tighten them to force the disc off. If the disc is stuck, install bolts of the proper diameter and thread pitch into the threaded holes between the wheel studs and tighten them. For 2004 and later models, ensure the parking brake is completely disengaged; if the disc is still stuck, remove the adjusting hole plug for the parking brake shoes, insert a flat-bladed screwdriver into the hole, and rotate the top of the adjuster wheel toward the center of the vehicle to loosen the parking brake shoes. Place the disc in position over the threaded studs, install the mounting bracket, and tighten the bolts to the specified torque before installing the brake pads. Install the caliper onto the mounting bracket, tightening the bolts to the specified torque, then install the wheel and lug nuts. Lower the vehicle and tighten the lug nuts to the specified torque, depress the brake pedal a few times to bring the brake pads into contact with the disc, and check the operation of the brakes carefully before driving the vehicle.
Related Nissan Maxima Parts
Browse by Year
2023 Brake Disc 2022 Brake Disc 2021 Brake Disc 2020 Brake Disc 2019 Brake Disc 2018 Brake Disc 2017 Brake Disc 2016 Brake Disc 2014 Brake Disc 2013 Brake Disc 2012 Brake Disc 2011 Brake Disc 2010 Brake Disc 2009 Brake Disc 2008 Brake Disc 2007 Brake Disc 2006 Brake Disc 2005 Brake Disc 2004 Brake Disc 2003 Brake Disc 2002 Brake Disc 2001 Brake Disc 2000 Brake Disc 1999 Brake Disc 1998 Brake Disc 1997 Brake Disc 1996 Brake Disc 1995 Brake Disc 1994 Brake Disc 1993 Brake Disc 1992 Brake Disc 1991 Brake Disc 1990 Brake Disc 1989 Brake Disc 1988 Brake Disc 1987 Brake Disc 1986 Brake Disc 1985 Brake Disc
