×
- Live Chat
- 1-888-726-6993

My Garage
My Account
Cart
Genuine Nissan Quest Engine Mount
Engine Motor Mount- Select Vehicle by Model
- Select Vehicle by VIN
Select Vehicle by Model
orMake
Model
Year
Select Vehicle by VIN
For the most accurate results, select vehicle by your VIN (Vehicle Identification Number).
55 Engine Mounts found
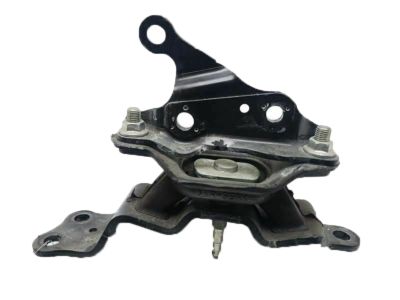
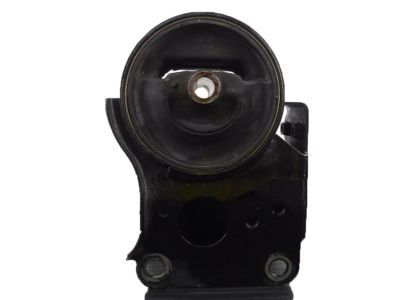
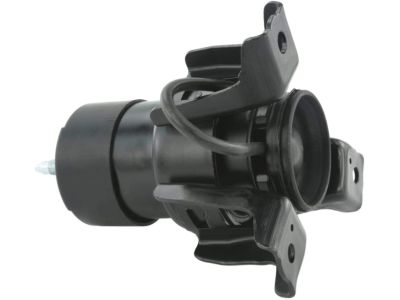
Nissan Quest Engine Mounting Insulator ,Left
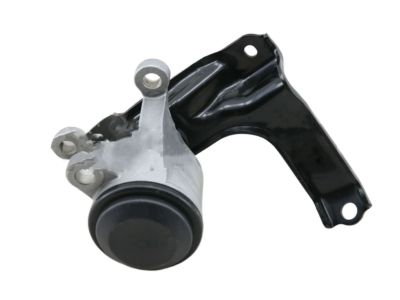
Part Number: 11220-3KA0A$102.01 MSRP: $155.17You Save: $53.16 (35%)Ships in 1-2 Business DaysNissan Quest Engine Mounting Insulator ,Right
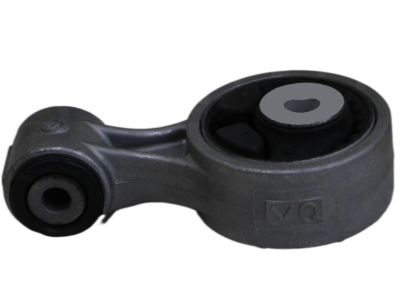
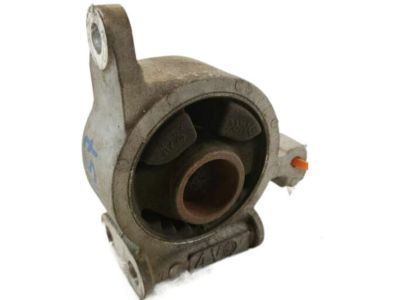
Part Number: 11210-JP00B$167.82 MSRP: $255.27You Save: $87.45 (35%)Ships in 1-3 Business DaysNissan Quest Rod Assy-Torque
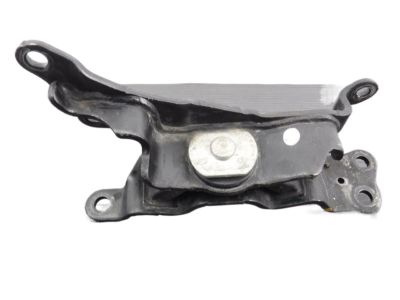
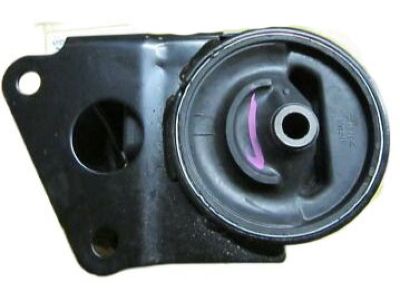
Part Number: 11350-JP00B$107.81 MSRP: $148.50You Save: $40.69 (28%)Ships in 1-2 Business DaysNissan Quest Engine Mounting Insulator , Left
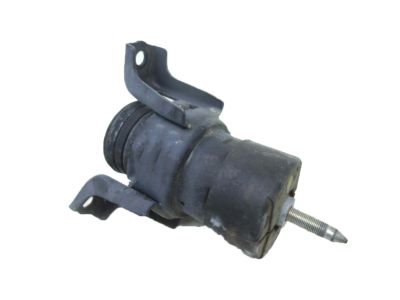
Part Number: 11220-1AA0A$121.96 MSRP: $185.52You Save: $63.56 (35%)Ships in 1-3 Business DaysNissan Quest Engine Mount
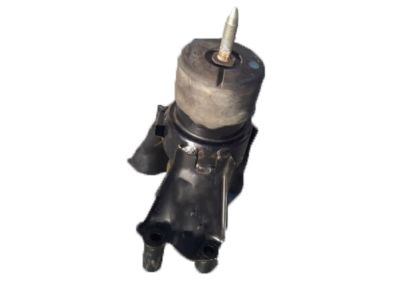
Part Number: 11360-JP00B$152.57 MSRP: $210.15You Save: $57.58 (28%)Ships in 1-3 Business DaysNissan Quest Engine Mounting Insulator, Rear
Part Number: 11320-CA110$140.05 MSRP: $197.82You Save: $57.77 (30%)Ships in 1-2 Business DaysNissan Quest Engine Mounting Insulator Assembly, Front Left
Part Number: 11220-8Y000$133.55 MSRP: $183.95You Save: $50.40 (28%)Ships in 1 Business DayNissan Quest Engine Mounting Insulator Assembly, Front
Part Number: 11270-CA103$175.66 MSRP: $267.22You Save: $91.56 (35%)Ships in 1-3 Business DaysNissan Quest Engine Mounting Insulator Assembly, Front
Part Number: 11270-1AA0E$264.31 MSRP: $405.20You Save: $140.89 (35%)Ships in 1-3 Business DaysNissan Quest Engine Mounting Insulator Assembly, Front
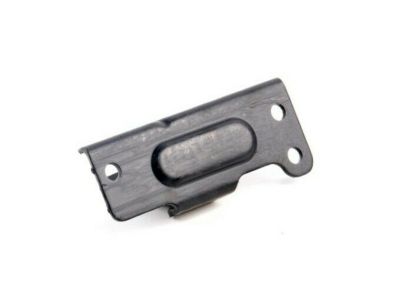
Part Number: 11270-JN00E$302.93 MSRP: $464.42You Save: $161.49 (35%)Ships in 1-3 Business DaysNissan Quest Rear Engine Mount Bracket
Part Number: 11332-JP00B$78.14 MSRP: $107.63You Save: $29.49 (28%)Ships in 1-3 Business DaysNissan Quest Engine Mounting Insulator Assembly,Front
Part Number: 11270-1AA0A$277.89 MSRP: $405.20You Save: $127.31 (32%)Nissan Quest Engine Mounting Insulator, Rear
Part Number: 11320-1AA0B$395.97 MSRP: $607.07You Save: $211.10 (35%)Ships in 1-3 Business DaysNissan Quest Engine Mounting Bracket
Part Number: 11231-3KA0A$130.87 MSRP: $180.27You Save: $49.40 (28%)Ships in 1-3 Business DaysNissan Quest Engine Mounting, Rear
Part Number: 11320-7B001$98.17 MSRP: $147.51You Save: $49.34 (34%)Ships in 1-3 Business DaysNissan Quest Engine Mounting Bracket, Rear Left
Part Number: 11333-JP00B$154.58 MSRP: $212.92You Save: $58.34 (28%)Ships in 1-3 Business DaysNissan Quest Engine Mounting Bracket
Part Number: 11231-2DR0A$130.87 MSRP: $180.27You Save: $49.40 (28%)Ships in 1-3 Business DaysNissan Quest Engine Mounting Bracket Member, Left
Part Number: 75119-7B000$27.33 MSRP: $41.07Limited AvailabilityYou Save: $13.74 (34%)Nissan Quest Engine Mounting Insulator Assembly,Front Left
Part Number: 11220-7B000$50.05 MSRP: $75.20You Save: $25.15 (34%)Ships in 1-3 Business Days
| Page 1 of 3 |Next >
1-20 of 55 Results
Nissan Quest Engine Mount
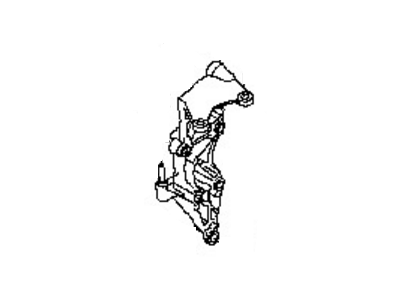
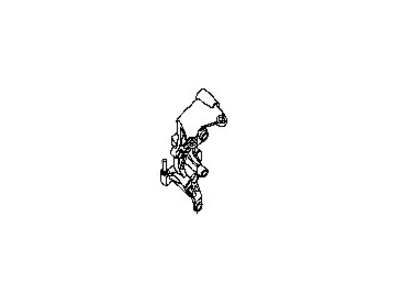
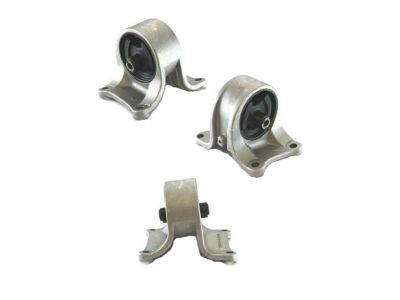
If you need any OEM Nissan Quest Engine Mount, feel free to choose them out of our huge selection of genuine Nissan Quest Engine Mount. All our parts are offered at unbeatable prices and are supported by the manufacturer's warranty. In addition, we offer quick shipping to have your parts delivered to your door step in a matter of days.
Nissan Quest Engine Mount Parts Questions & Experts Answers
- Q: What are the steps involved in inspecting and replacing engine and transaxle mounts on Nissan Quest?A: There are four engine mounts,front and rear mounts on the right side attached to the crossmember, and front and rear mounts on the left side attached to the transaxle. During the check, the engine must be raised slightly to remove the weight from the mounts. Raise the vehicle and support it securely on jackstands, positioning two jacks-one under the crankshaft pulley and the other under the transaxle bellhousing-with a block of wood between the jack head and the crankshaft pulley or bellhousing, then carefully raise the engine/transaxle just enough to take the weight off the mounts, ensuring no part of your body is under the engine when it's supported only by a jack. Inspect the mounts for cracked, hardened, or separated rubber, noting that sometimes the rubber will split down the center. Check for relative movement between the mount plates and the engine or frame using a large screwdriver or prybar; if movement is noted, lower the engine and tighten the mount fasteners. Apply rubber preservative to the mounts to slow deterioration. Disconnect the negative battery cable, set the parking brake, block the rear wheels, raise the front of the vehicle, and support it securely on jackstands before removing the splash shields. Position a floorjack under the crankshaft pulley, using a wood block to support the engine's weight. Remove the through-bolts from the right front and right rear mounts where they attach to the crossmember, then remove the bolt retaining the bracket over the auxiliary heating/air conditioning pipes. After removing the lower bolts of both engine mounts, take out the crossmember-to-chassis bolts and the crossmember itself, followed by the mount-to-engine bracket through-bolts and the mounts. Installation is the reverse of removal, ensuring to tighten the bolts to specifications only after the engine weight is back onto the mounts and the jack is removed. For the transaxle, there are two mounts: one at the radiator side (left-front) and one at the top (left-rear). Support the transaxle with a jack, remove the through-bolt at the chassis, and the bolts holding the left-front mount to the transaxle, then remove the mount. For the left-rear mount, remove the nuts at the mount bracket from below and the through-bolt at the chassis bracket from above, then lower the transaxle enough to clear the transaxle bracket and remove the mount. Installation is the reverse of removal, with bolts tightened to specifications only after the powertrain weight is back onto the mounts and the jack is removed. To ensure maximum bushing life and prevent excessive noise and vibration, the vehicle should be level and the engine weight should be on the mounts during the final tightening stage, using thread-locking compound on the nuts/bolts and ensuring the bushings are not twisted or offset. If more than one mount has been replaced or when installing the engine, tighten the mounts in the order of crossmember bolts, right-rear mount, left-front mount, right-front mount, and left-rear mount.
Related Nissan Quest Parts
Browse by Year
2017 Engine Mount 2016 Engine Mount 2015 Engine Mount 2014 Engine Mount 2013 Engine Mount 2012 Engine Mount 2011 Engine Mount 2010 Engine Mount 2009 Engine Mount 2008 Engine Mount 2007 Engine Mount 2006 Engine Mount 2005 Engine Mount 2004 Engine Mount 2003 Engine Mount 2002 Engine Mount 2001 Engine Mount 2000 Engine Mount 1999 Engine Mount 1998 Engine Mount 1997 Engine Mount 1996 Engine Mount 1995 Engine Mount 1994 Engine Mount 1993 Engine Mount
